fb icon

fb icon
Follow E-tek on fb!

November 29, 2012

Check out my website at www.E-tekRestorations.com


Got the gas filler neck connected to tank. Looks angled down here but it's not. Still, we'll test it to make sure it fills properly, otherwise I may have to shorten the uppermost section a bit more, but that's "rod-work"....


Finished tracing and labeling the EFI harness and got all the various bits grouped into systems. Doing so I found that the MAP (Manifold Absolute Pressure) sensor and BP (Barometric Pressure) sensor were missing (likely still in the donor car).


 I can now pretty much delete the AC section as we're using a Vintage Air stand-lone system here and can tie the GM column mount ignition switch into the IAS aftermarket harness and then have it fire the Ford EFI system.


 Left for tomorrow will be matching the correct wires to the "Run" and "Start" circuits to activate the entire system.


With the grounds all carefully gone through, including this cable from the manifold to firewall, all that will be left is connecting up the custom rad hoses and filling the respective fluids and we'll be in "fire" mode!


November 27, 2012

Just got word I was chosen as one of the members for 
Dupli-color's new promotion, the Dupli-color Paint Crew!


Watch for updates of my work (as usual) here, 
as well as on Dupli-color's Facebook page and 
see my review some Dupli-color products 
on my site:
www.E-tekRestorations.com !


November 25, 2012

Engine Management System

Time to get down and go to town on the EFI....


First, I stripped off all the tape, vinyl wrap and corrugated tubing:


With the corrugated tubing removed, the wires take up a lot more space!


Now I could see all the wiring and trace each to it's source, as well as where it terminated. Many wires go nowhere, due to the engine being pulled apart from the donor car and many of the firewall-residing components won't needed on this car (Vapor canisters, solenoids, etc.).

The alternator was first to be completed, running the power wires to the starter solenoid and the excitor wires to a relay, fired by a wire from the aftermarket wiring harness that connects the GM style column mounted ignition switch.


 Those are wiring schematics on the computer - really! Jokes aside, the page open is actually www.GarageJournal.com...


 The corrugated tube contains wires from the new wiring harness installed in the car. They include connections for the lights, oil pressure and water temperature, as well as the horn.


Odd materials used by the OEM's...


These relays switch the EEC and old AC system. Half will be removed.


Believe it or not, it's all organized:


Details, details....

Time for some catch up posting!

I wanted to get a lot of detail work done sp that if I needed any final bits and pieces I could get them and keep the job moving. As well, getting most everything else started or out of the way will give me a clean slate to concentrate on the wiring.

Gas filler neck is going to be a modern set-up, with the breather cap inside the gas door and a no-spill filler neck:


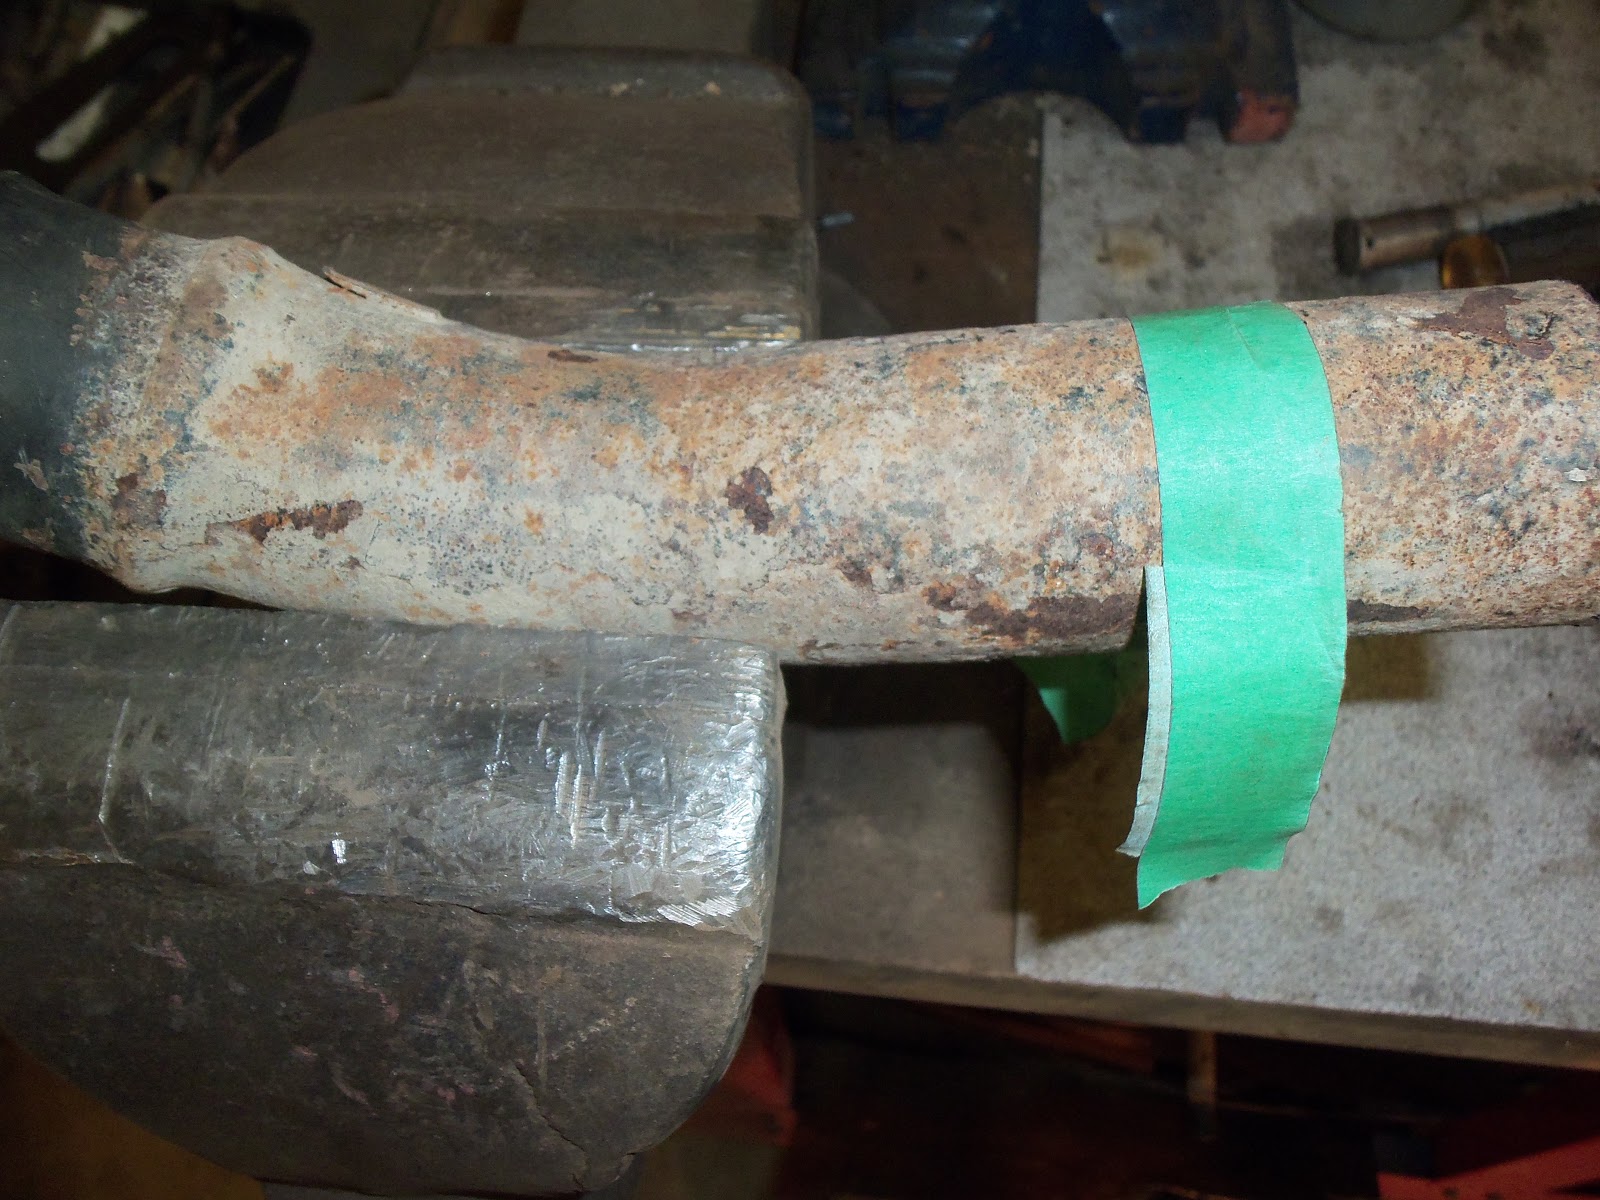
The old piece - can you say CRUSTY!


New piece from a modern car:
Fitting the upper piece:
Then the lower piece....


Looks good from the top side. Lots of fanagling to get the lid to fit properly...

 Close!


Next up was doing a trial fit on the hood latch system:


With those items checked out and parts ordered, I decided to finally dive into the EFI wiring system, then mate it to the aftermarket harness and finally, wire up the rest of the car.

One thing you hear a lot about when people wire up cars - or any time something goes wrong with the electrical system - is bad grounds. That being the case, I made sure the basics were covered, like an engine to body strap, as well as strong battery to frame and frame to body cables.


While buying, I grabbed a 12V power supply to install in the console or under the dash:


 This is what the wiring behind the dash looks like now. Once the dash is mock-wired it'll come off again and everything will be finalized.


 White Zip-ties are still loose, until all wires are routed:


November 18, 2012


Finished up the leading edge of the hood latch plate. Much more solid now.


Repairing hood lip: 


Threw the grille on to see where things would line up:


Don't forget to check out my website at www.E-tekRestorations.com !