

Anyone who's ever done a restoration - or a renovation - knows how much of a pain it is to strip treatments off after years and years of exposure. Rubberized undercoating is the back-yard restorers worse job and there are as many methods to aid in the removal as there are pissed off guys doing it!
A few weeks back I picked up one of these newer tools that vibrate back and forth quickly and the different attachments can cut wood, remove grout and strip paint. I decided to try it on the undercoating that needs to be removed on the Datsun and WOW! The tool easily stripped off any parts that where at all soft and even made short work of the parts that where rock hard after 40+ years.

The blade can even be re-sharpened on the grinder.
I highly recommend this to anyone having to strip undercoating!

A few final (I know I've said that before) parts arrived for the 1956 Chev Truck that is slated to go out the door next week. It now has a new upper rad hose and spring clamps, as well as new parking brake cables.

The cables where a little easier to replace than I thought they might be - not even necessitating the removal of the the pads and springs. That almost never happens!

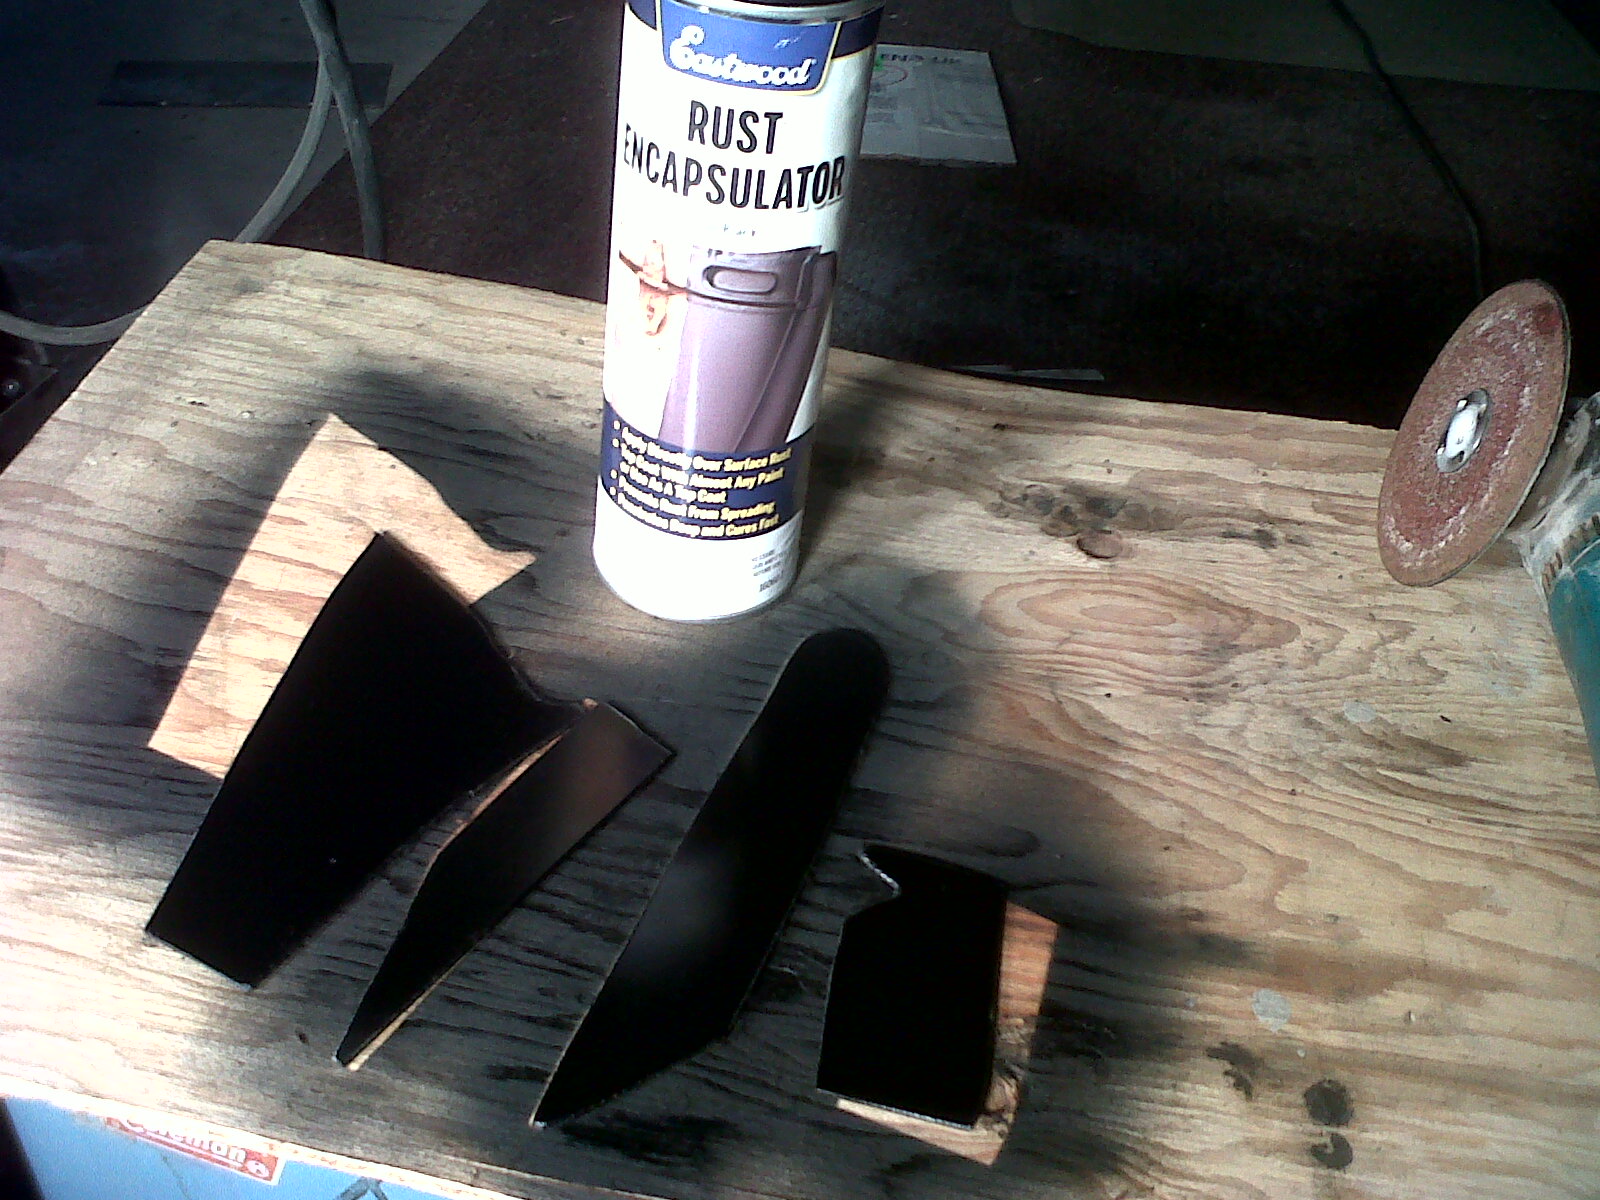
After those fun tasks, it was back to the rust work on the Galaxie frame. Someone on GarageJournal said I was using CAD - meaning Cardboard Aided Design - in making templates for the pieces. I thought it very clever.


Prior to welding them in, I again treated them with Eastwood's Rust Encapsulator. One thing I've noticed about this product is how it barely burns off with MIG welding. After welding up the front piece, I could see the reverse side and it wasn't burned at all, even right at the weld seem.
 I've found that moving the grinder to my work area - mounted on a stand - makes it easy to do all the fine grinding required to fit the parts prior to welding

Here's the area after the first pass and some grinding of the welds. Being 14 gauge steel, I used a higher setting on the MIG welded than usual. It made for a very strong final structure.

Ta da.

Don't forget to check out the website at www.E-tekRestorations.com ! Special thanks to www.Eastwood.com and www.CarCraft.com !