As promised - today was an 8 hour romp in the fun-zone! Got a lot of different bits done or started and other things sorted out for later this week.
First up, I pulled the seat out again, flipped it over on some stools and attached the underseat baffles:
Lubed and attached the runners. It's the last time I'll use graphite lube near upholstery though - it was hard to get off even after a few seconds, so I'm guessing it would stain if left any longer!
Ever screw and bolt gets lubed upon assembly:
Next up was the drivers door that didn't have it's windows installed yet. Even after learning how it should go when I did the passenger door, and having a helper, it took several tries and over an hour!
The "key" is to put the door glass into the static runner (latch side), holding it about half-way in, then carefully sliding the vent assembly in as well, moving it towards the window once it's half-way in to catch it in it's runner. Once that happens, you can then carefully push the vent assembly down into the door and into position, making sure it's tab engages the slot in the door. While still holding the window, put one or two of the small screws in that go around the top of the vent window. Next, put in the large screws that attach the bottom of the vent runner assembly. With the glass in between the two runners, attach the regulator arms to the bottom of the door glass and slowly roll the glass up and down to ensure it doesn't catch on anything, finally tightening the lower vent glass runner screws.

As I mentioned in the post assembling the passenger door, make sure to put a bunch of tape on the door to protect it from scratches. Of course no matter how well I know that, I often don't put tape on - until it's too late.....
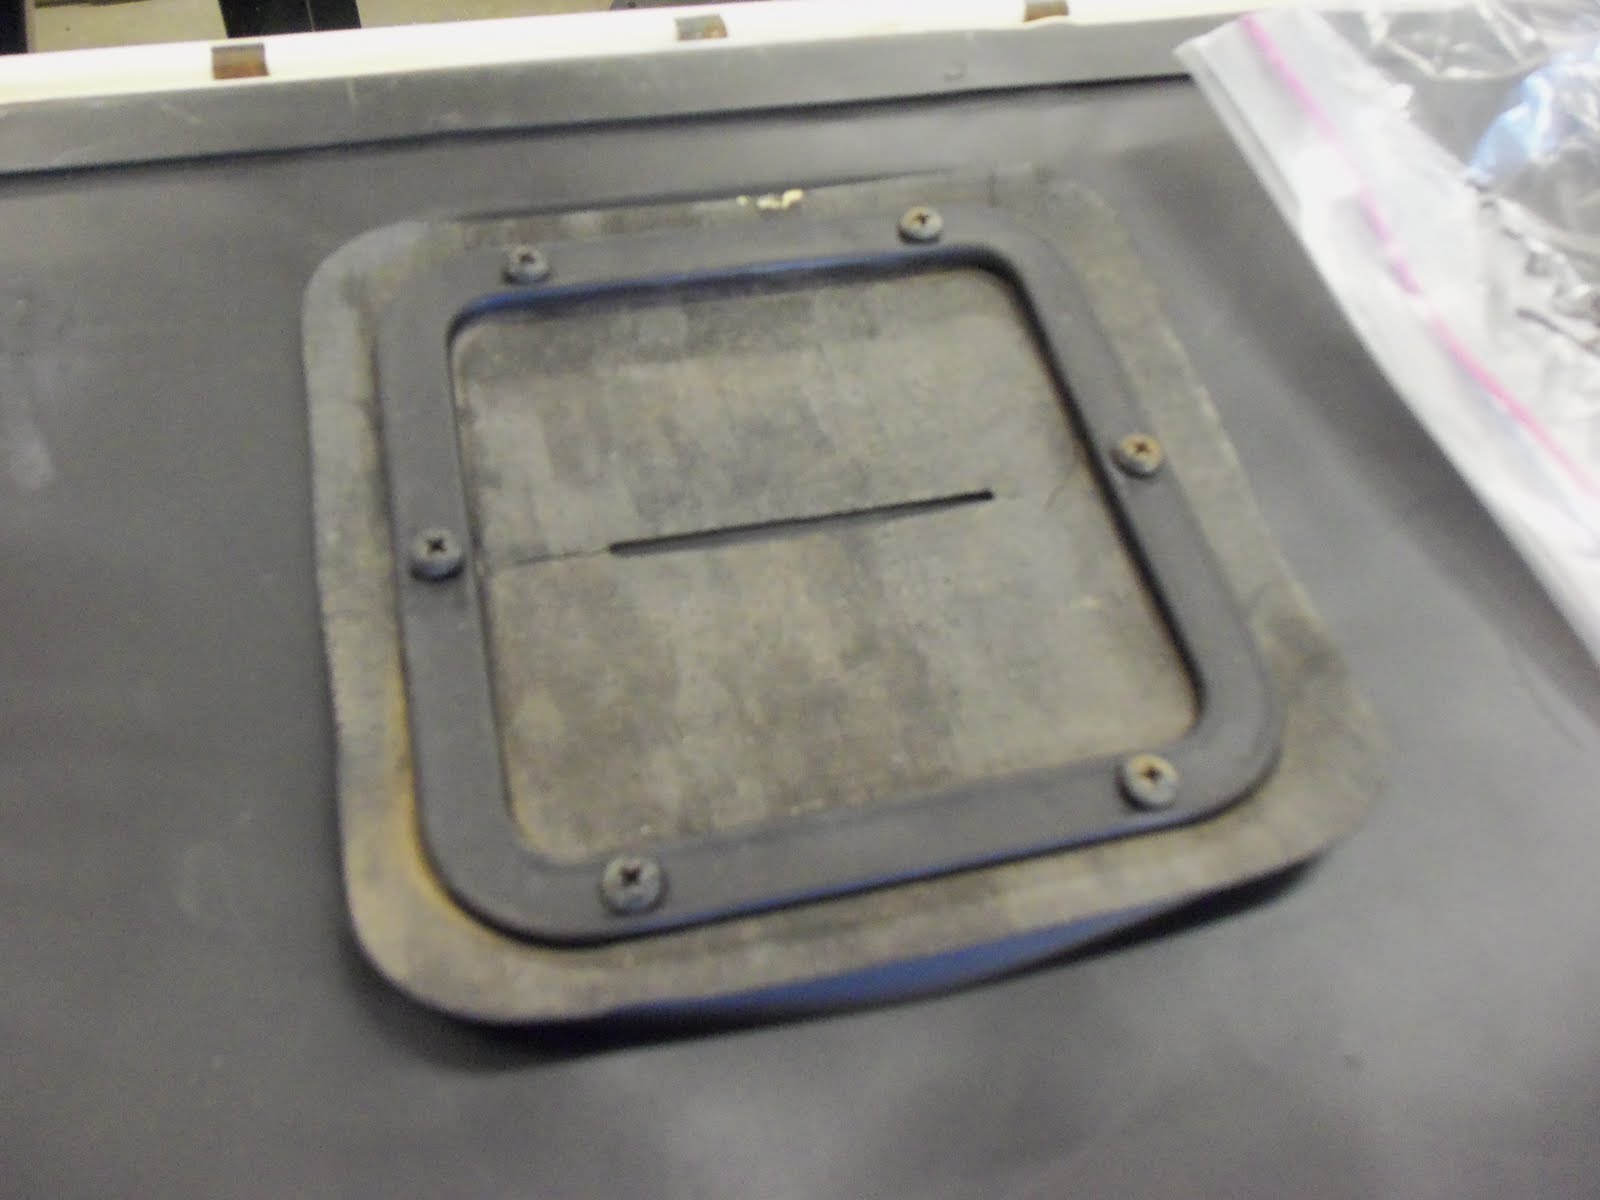
The kick panels where attached - again with white-headed screws, just to add a little sum-sum...
Staying with the interior, I started on wiring the gauge assembly and more:
On the steering column I cleaned up the horn contacts and torqued the steering wheel down:
Next up were the HL buckets and rings. Sandblasted, primered with self-etching primer, the inners where painted with hammered-silver and the outers with flat lack, then rocker guard on the back, This will protect them inside the fender wells.
The retaining rings where cleaned with fine steel wool. It works on all stainless and chrome.
Lastly, I re-installed the window winder knobs in the handles, which consisted of trying to flare what is left of the metal stub. When removed, much of the metal was also removed, so it's not as solid as stock. If they don't stay attached we may have to order new knobs.
Stay tuned - lots to come this week!