fb icon

fb icon
Follow E-tek on fb!

May 22, 2012


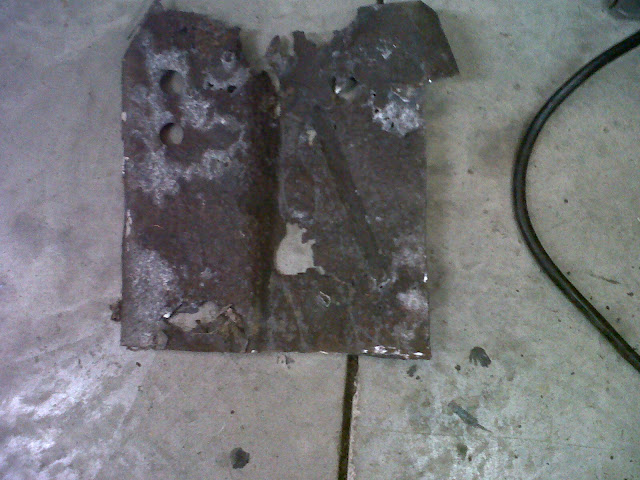
The Owner of the Cougar just dropped off these front inner splash sheilds. They are restored ORIGINALS, which in my book are the best parts you can get (next to NOS). They look perfect.

One of the idiosyncracies of doing this kind of work is all the time and effort that goes into things that will rarely - or never - be seen again. Like these splash shields - the only people that will see them are people changing tires or brakes - and only if they try. Other stuff, like undercarriage work, welding, inner engine work, gas and brake lines, etc., also becomes "no-see" work.

When I got to work with my Dad in his bodyshop, or his top guys (many years ago) I was told to work on these items for those few that will be most intimate with the vehicle over time. They are the ones that will really appreciate it anyways and are the hardest to impress - so do it right.


Don't forget to check out the website at www.E-tekRestorations.com !

May 18, 2012

Floor pan installation - 12 hours total....

First up - make and install top of the torque box for the driver side:


The floor panel has this triangular indendation in it...so I had to make the same in the piece that fits underneath.


I used my flanger to make an edge that would allow the top panel to sit flush once installed over this one.
Which will fit right here:

While I was doing all this work I wondered just how important this panel was! Of course being part of the torque box it adds a lot of stiffness to the drivers side - for the steering mechanism as well as the rotational torque of the engine. I also wondered how many guys would leave this out if doing the same job - LOL!


The shape of it turned out OK after some more break work and some hammer and anvil work.

Once again - never leave bare metal uncoated!


Then the top (frewall) panel....

After grinding the initial weld pass I went around it once more with the mig before a final grinding.


Then, on to the passenger side.
First I cleaned up and primed the frame pieces:

Firewall section installed first:

I used all three methods of attachment here: plug welds, butt welds and a lap weld on top:


Then the floor pan section installed over top - as per originals.

Initial weld pass after grinding -


Another 6 non-stop hours. Still need to do some hammer and dolly work, add a skiff of ALL-Metal over the welds and seam-seal the undersides. Then it's on to the rear window and quarter panels.


Don't forget to check out the website at

May 17, 2012

IMG00320-20120517-1711.jpg.rem

IMG00319-20120517-1710.jpg.rem

IMG00318-20120517-1710.jpg.rem

IMG00317-20120517-1709.jpg.rem

IMG00316-20120517-1709.jpg.rem

IMG00315-20120517-1500.jpg.rem

IMG00314-20120517-1500.jpg.rem

IMG00313-20120517-1425.jpg.rem

IMG00311-20120517-1320.jpg.rem

IMG00310-20120517-1320.jpg.rem

IMG00309-20120517-1256.jpg.rem

IMG00308-20120517-1256.jpg.rem

IMG00307-20120517-1230.jpg.rem

IMG00306-20120517-1141.jpg.rem

Getting floors done on the Cougar....


^^ Out with OLD...

>>>>>>>>>>>In with the new...............


Don't forget to check out the website at

May 15, 2012


Belwo is the "real" 4bbl - 390FE I got for the Galaxie:


But before I get to that, I need to finish up the rebuild on the engine thatI thought was a 390....


I always break one of each of the original rings to use as ring space scrapers:


Here's a before and after of a cleaned piston:


The origianl intake will go back on this engine -  it'll be fine for one of my upcoming rod projects.


Don't forget to check out the website at
                        www.E-tekRestorations.com !


May 3, 2012

The patching continues....

Lots done today - if anyone is wondering how much time I have into it thus far, everything up to and including today comes to 22 hours. I think I should change the sho name to "Honest Ed's"!


SOLID!


Let there be light - LOTS of it!


Speaker hole below cut - by a butcher - I'm guessing!


Not sure why this hole was hacked into the rocker behind the fender....but it had to be closed. NURSE!

I used a small sledge hammer to pull it back out:


Last big thing in front end are these holes cut into the shcok towers. As mentioned, they where cut to access the A-arm ends in order to insert grease nipples. We'll weld them up and install angled nipples. I'm guessing hole saws and angles nips weren't invented when this was done (?)


Don't forget to check out the website at
www.E-tekRestorations.com !