Today I removed the rear lower control arms - of course what should take an hour, took three! The bolts where seized through the bushings and had to be coerced out....
First up, getting the bolts apart. I used my half inch ratchet and a 3 foot extension tube and barely got the front ones out. On the rear ones, the nut came off, but not the bolt.

Screw it, lets cut 'em off!

 To get these gall-darned control arms out I had to use every high-persuasion tool I have! The bolts where seized, so I cut the ends off, but the brackets wouldn't spread enough to go over the stubs still left, so I had to cut inside the brackets (which you can see me doing above).
 After that, they STILL wouldn't budge, so I heated up the brackets and tried to pry them apart and BEAT them out with the sledge! With all that beating and prying I had the lift wobbling pretty good a couple times - scary!
They finally came out, but not unscathed. I still need to get the seized bushings out too! Believe it or not, I've rarely ever needed a press, so here's a great excuse to build one - which I would love to do - if it weren't for the day it would take that I could be doing something "more productive". Of course I like fabricating stuff so much I'll likely buy the metal Monday and get 'er made one night next week!

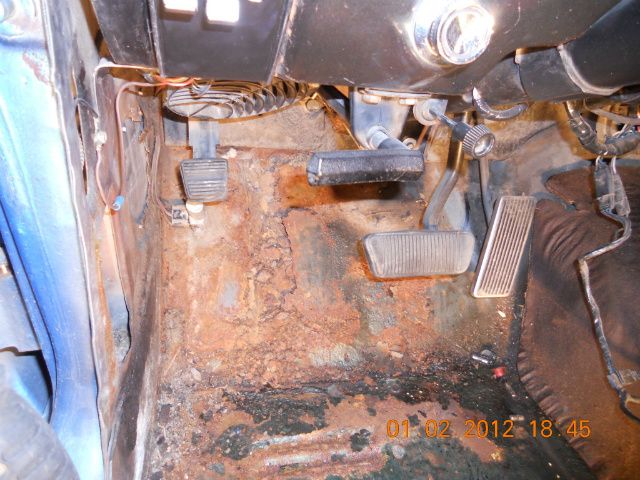
Now that they're out of the way, I can do the repairs to the frame rails. This is where the rails go up and over the rear end - so a very important junction, taking a lot of torque from holding up the entire rear end - it HAS to be strong. Likely, once I make the basic repair, I'll add plates to either side to add even more strength and rigidity to the entire rear section.


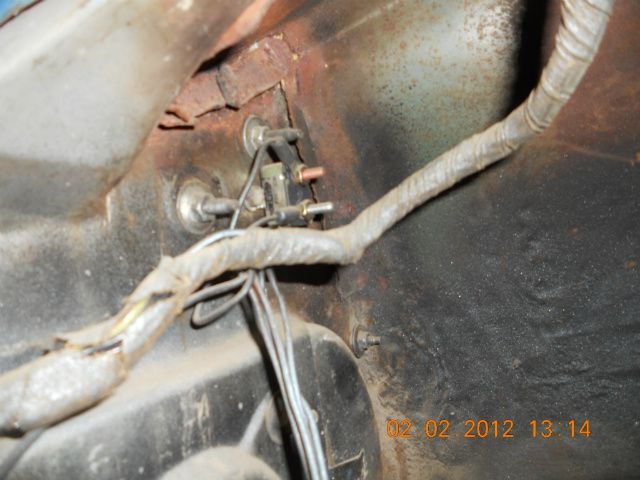
Here's just some of what was hiding inside. It's what causes all that rust!

This baby is going to be a completely different animal after all this work: I've ordered new bushings from Rock Auto, Front and Rear Sway Bars with poly bushings from PST, shocks, brakes, strut rod bushings (as well as some seals and stuff for the top-side) from Dearborn, not to mention headers and dual 2 1/2" exhaust and full-flow mufflers from SUMMIT RACING (along with my flame-thrower idea!), so it's going to be an AWESOME summer for "OUR GAL"!!!!
I know a lot goes on here at E-tek, so tell me if I'm moving too fast!! HAHa!!:lol:
Don't forget to check out the website at www.E-tekRestorations.com!
Special thanks to www.RUSTBULLET.com and www.CarCraft.com!