

Test-fit the Headlight buckets and re-wired them for the single sealed beams and combined park/marker lights:

Left the pigtails off, ready to be connected after paint:


Hot rods require a completely different process than restorations. When I do a restoration, I pretty much know that everything will go back together where - and how - it should, With hot rods, you basically have to build it twice (or more) - once to get everything to fit and work, then you disassemble it all for paint and then rebuild it again to make it pretty!
Did some reading on these hoods and found that the latch plate causes a lot of issues with the hood - both in alignment and damage done due to the repeated flexing. My plan to strengthen both sides is to double-up both the hood edge and the lock plate mounting tab areas:


Below is the latch panel. You can see it's bolted right at the very (thin) edges.


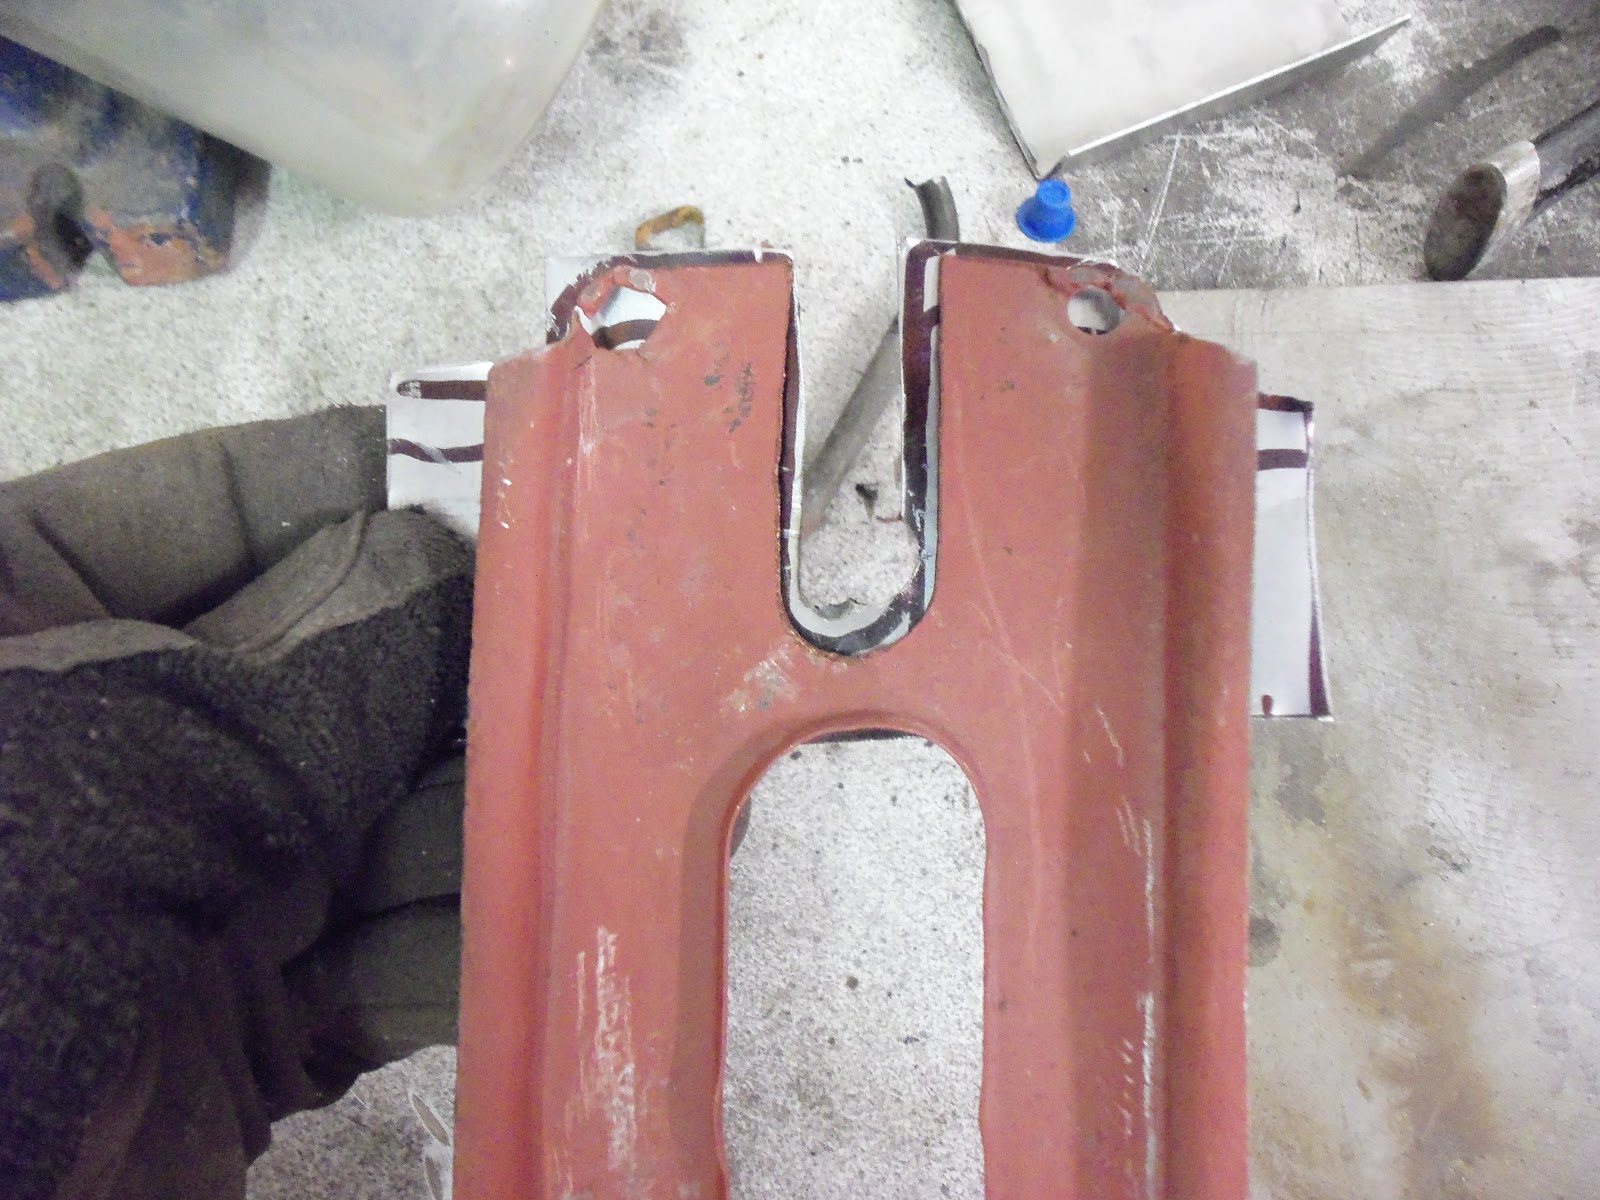
This electric shear might be the best metal tool I've ever owned - easy peasy!


Now that it's trimmed to shape I'll clean up the edges, weld it to the top-side of the original panel and it'll be completely hidden. Should add a lot off strength to problem area.


