fb icon

fb icon
Follow E-tek on fb!

May 17, 2015

1968 Camaro - time for a shake down!

Whenever you take a vehicle apart - or build one up from scratch - there's going to be issues that need to be figured out -  and repaired - at the end - and sometimes even later. It's known by various names: Shake Down, Debugging and the Road Test, being just a few.


The Camaro went to my go-to AC shop, ADVANCED RAD, where Darren and Len attached, routed and crimped all the hoses, then custom-fabricated and aluminum-welded the March compressor hard-lines, tested and re-toqued the entire serpentine system and then filled and leak-tested the cooling system, then vacuum-leak-tested and filled the AC system. Lastly, Darren set the sliders on the retro-fitted controls and left me some notes to complete the installation back at my shop.


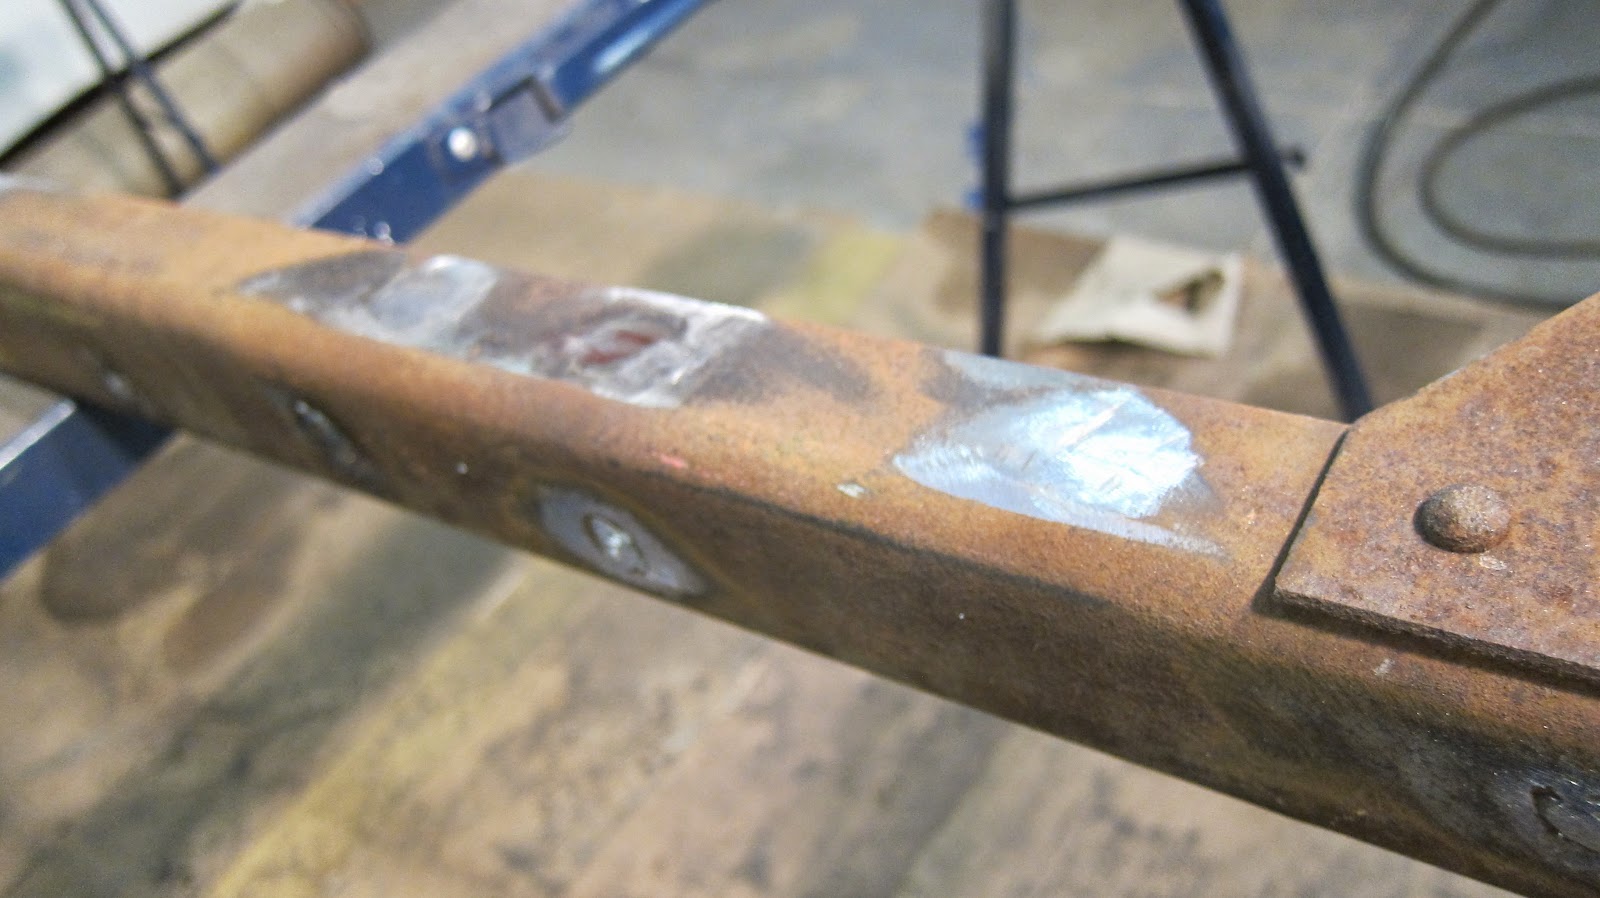
Above, the March stamped SANDEN compressor with newly welded ends.
Below, Advanced Rad connected everything at the firewall bung, routed the AC hoses and even gave the wiring a nice finishing 'twist' ;)


Below - Added to the "still to do" list, is a fan shroud. This open-rad setup will not do once the AC is running on a hot day.....

The Camaro then went next door, to Paragon Auto, my go-to alignment and initial run-up guys. The alignment went smoothly and they doubled-checked all fasteners and re-set the cotter-pins on all the new parts as required. Safety First!  On running the engine for the first time, they found a missing ground strap to the engine and noticed gas leaking form the fairly new carb. After 2 years of sitting during the restoration, the big Demon carb's seals had dried out and were no-longer sealing. A carb overhaul ensued, along with a timing check and it was running....but not without issues...

The new gauges are all electric - and the oil sender was showing no oil pressure. The mechanic was understandably wary and called me immediately upon noticing the issue. We agreed they would drain and re-fill the block with the 7 litres capacity of the MOROSO pan and - after I assured him it was running prior to the restoration and that the engine remained sealed - he started the engine.

Before the Camaro came back to my shop, the Camaro went to my new glass man, Mike. I finally found a guy who has been doing glass all his life and is a muscle-car fan, owner and builder himself. The Camaro was towed to his place and he re-insalled all the moulding clips - which is the part I was most concerned with. Get them wrong and the chrome surround mouldings will never fit properly. Get them right and everything fits flush. Even the factory got it wrong on many occassion - but Mike got it right. He then urethaned in new back-glass, the windshield and then fit new back mouldings and most of the new front mouldings. He showed me how the front bottom moulding and clips are all messed up and so that little mess will also be added to the list to be done at my place....


Back on the flat deck for  - hopefully - the final time!


   As soon as I got the newly-coined Ultra - Camaro back to the E-tek compound, I began to troubleshoot the gauge issue.  First thing I did was confirm Oil Presssure by  removing the electronic bung and hooking up a manual oil-filled gauge to the same hole, confirming 50lbs of pressure:


Pulling paopart the dash again to gain access to the back of ther gauges was NOT fun - but apart it came and my trusty meter was pressed into service. I had a signal at the bung when the car was started - about 3-4 Volts. Kinda low, but a signal none-the-less. At the back of the gauge - no signal. So, I hooked up a jumper wire to test the wiring I installed from gauge to bung....it showed a signal, though eratic. I then tested the actual gauge by grounding the pin - which pegged the needle - all good there. So I re-read the manual and all I can think is that the sensors are not getting a clear ground. So tomorow I'll clean the threads on the water and oil sensors and maybe add a ground strap from engine to body and see if that works....stay tuned.


The towing adds up, but there's little alternative when the project nears the $50,000.00 mark....as most of them do.
                                            Below - Women tow-truck drivers....is there anything they can't do?


May 12, 2015

Rust, rust, RUST.....COMET Caliente teardown!

As I said in an earlier post, the little Comet looks good from afar....
but up-close, she's FAR from good!


Unfortunately, the closer one looks, the more rot one finds....


Under the rockers, the entire inner rocker is rotted out.


The rotted metal peels back like the tin on an old tabacco can


Previous repairs made use of silver tape and some kind of filler that was still somewhat pliable.


The torque boxed (behind the front wheels) will have to be completely replaced - or more likely - built from scratch. At this point, the only replacement panels for these somewhat rare cars are lower quarter, panel patches and front fenders - which sell for $800.00 apiece!


I had to clean out many, MANY pounds of dirt, mud and rusted metal!


Setting the IH 4x4 up for dissassembly


With the final snow out of the way and the old, deteriorated tires aired up and round again, 
we pulled the IH 4x4 the last few feet into the E-tek Shop with the shop van...


It's tight - but Colton's got an eye on things!


Colton jumped in to help, squirting all the fender bolts with WD40...


Next up for the IH is total disassembly for sandblasting and body work.


May 11, 2015

BENDPAK - going OVER and ABOVE - as always!!

 So most know that Bendpak is the lift-of-choice at E-tek Restorations. One of the many reasons for this is how they go "Over and Above" for their customers, including this radical transformation in appearance from their corporate BLUE to a very anti-corporate "rusted patina"!

       Check out the treatment they gave the boys at Discovery Channels Vega's RatRods:         http://www.bendpak.com/vegas-rat-rods


Vegas_Rat_Rod_Collage.jpg

May 10, 2015

1963 Comet Caliente - good from afar.....


                           The Comet's a "50-50" -  looks OK from 50 feet and 50 mph ........                                    


                                           Any closer and things start to fall apart - fast. LOL!


Looks like we'll need new quarters - time to start searching!


Again - looks great from afar! And most of the trim is in good shape - it's just the metal underneath....


Even the interior looks OK at first blush....


But wait till you see the "up-close" shots!


OK, so we'll do a partial strip down and see what we're dealing with up close....stay tuned!

May 6, 2015

New projects!


The newest projects in the E-tek Shop couldn't be any different! 
1963 Comet Caliente Convertible and original model-T frame for the E-Rod.


 She showed up in the last big snow storm of the year...


Original yes - but rusty too!!


                     The owner was the Contrller at Jubilee Ford.
 His daugter is having it done for his grandson - perfect.


The Model T frame will barely contain the flathead power going in the E-rod!!


                              Above & Below - holes are filled with weld and then ground flat.


Copper vice grip pad helps keep weld from falling through hole.