With the IH on the lift we were able to get at the brakes. Once the wheels and drums where off we could see it would need everything...
August 16, 2021
August 13, 2021
Changing gears: 1971 Datsun 240Z restoration
Time to totally change gears and work on the 240 said that I had painted in the shop with Duplicolor paint about two years back. Everything is there to complete it, including a few thousand $$ in new parts, but other projects got in front. I told myself I'd finish it for my sons 16th birthday and he turns 14 this year so time to get cracking!
The engine has to go back together before I can get to everything else that needs to be done to renew this sweet 71 sports car....so that's where I'm starting...
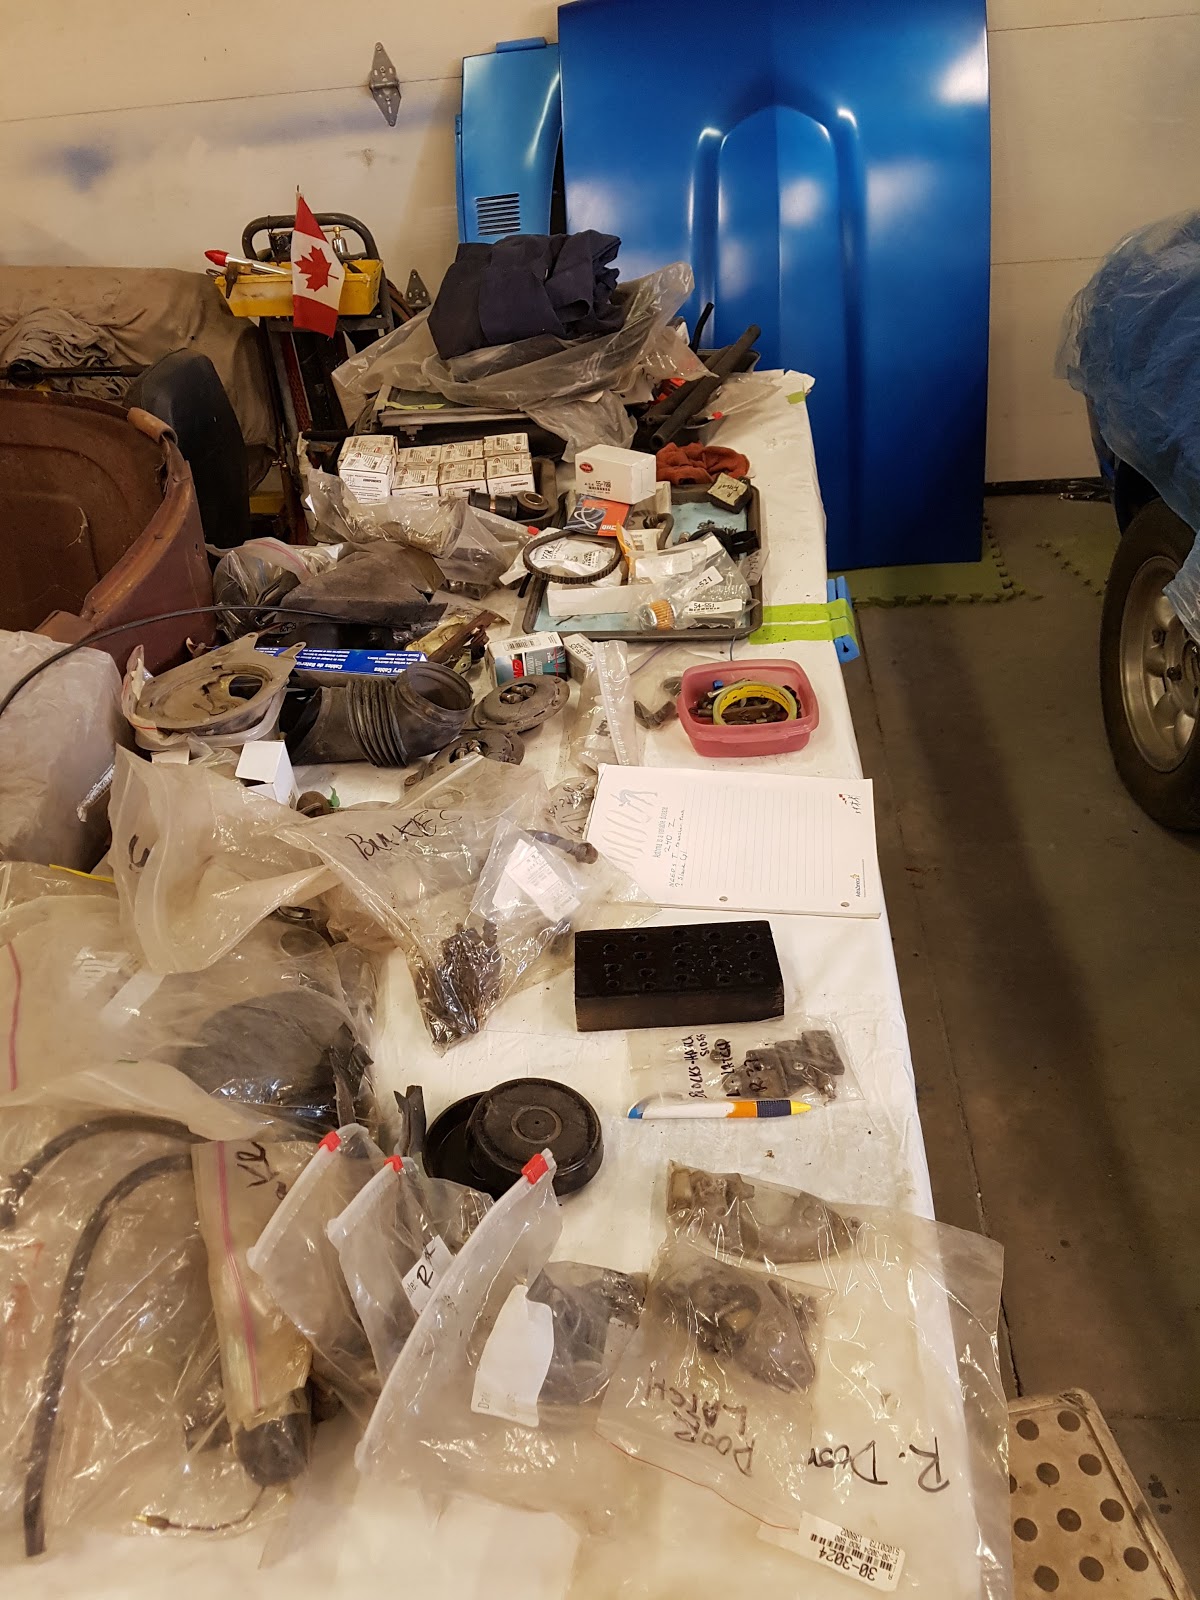
After 2 years it's lucky that everything is labeled and in bags. This is the most important thing you can do in a restoration! Fuel pump was bolted back on after timing cover was reassembled.
I had previously removed the cam and timing chain sprocket to change the timing chain. It's quite a bit of work to get it back on and to time everything properly by getting all the marks lined up.
Once the timing chain and sprocket are back in their correct location it was time to affix the exhaust and intake manifolds.
The oil pump on the 240Z has to be removed cleaned rebuilt and the distributor gear clocked property before being reinstalled. I used two different Factory manuals to get it back into the proper sequence.
The pan bolts barely required 3 ft pounds each and at first I had them at 5 would squeeze the neoprene seal out past the edges. Easy Does It!
Cleaning up and reinstalling the block off plate.
After looking in both manuals and everywhere online I could not find a single source that showed the sequence to reassemble the relief valve spring and cap in the Datsuns oil pump. I finally figured out so for other people's future reference here it is:
The engine has to go back together before I can get to everything else that needs to be done to renew this sweet 71 sports car....so that's where I'm starting...
The pan bolts barely required 3 ft pounds each and at first I had them at 5 would squeeze the neoprene seal out past the edges. Easy Does It!
Cleaning up and reinstalling the block off plate.
After looking in both manuals and everywhere online I could not find a single source that showed the sequence to reassemble the relief valve spring and cap in the Datsuns oil pump. I finally figured out so for other people's future reference here it is:
Stay tuned as I complete the 240Z's 6 cylinder engine renewal and get it back in the car on the way to finishing another awesome restoration of a classic motorcar!
Labels: hobby, hot rods
1971 Datsun 240Z,
datsun,
Datsun 240Z,
Datsun 240Z restoration,
Nissan,
Nissan 240 Zed,
Nissan six-cylinder restoration
August 5, 2021
The IH S120 moves to the lift!
While awaiting parts (Windshield seal, vent glass, wiring bits), the IH was moved to the lift, where it will be easier to work on the brakes and running gear.
1956 International Harvester: wiring, glass, trim
With the engine in and the paint polished, we moved on to glass, wiring and some trim reassembly....
Unfortunately, the WS rubber turned out to be a no fit. The glass is right but the rubber has one too many slots for the single pinch weld. A lot of work to find it out....
And with a truck with this provenance, finding parts is a lot harder than, say a '69 Camaro or '71 Datsun...
The vent windows took a combination of used, salvage and new to make a complete set...
But finding correct, 1-year only HL trim rings is next to impossible...
Unfortunately, the WS rubber turned out to be a no fit. The glass is right but the rubber has one too many slots for the single pinch weld. A lot of work to find it out....
And with a truck with this provenance, finding parts is a lot harder than, say a '69 Camaro or '71 Datsun...
The vent windows took a combination of used, salvage and new to make a complete set...
But finding correct, 1-year only HL trim rings is next to impossible...
Time for some 240Z catch up!
After another haitus due to completing someone else's project (the 56 IH S120), I got a little time to do some work (OK re-organizing) on the Zed....
Labels: hobby, hot rods
1972 Datsun 240Z,
240z,
datsun,
Nissan
July 16, 2021
Time for a change: Porsche 986 repairs
After seeing a small release of coolant on a short drive, I found the Boxster had a pin-hole leak CRAP! Oh well, thats the car hobby...it's either drive 'em or fix 'em.
Step one, remove front bumner cover to get at the rads....
With the cover off you can see the years of dirt and debris that gets stuck in behind....
It's like a prairie natural museum in here...
The one one the left - behind the AC condenser was the one giving me the problems...
Due to the pin-hole (?) leak, debri had been collecting and turning into mud....which would have been blocking the cooling ability of the rad as well.
Getting the rad out wasn't too much of an issue. One the fender skirt and cover where removed and the hose clamps loosened off, 3 bolts holds its frame to the main inner structure. Then it's just upper and lower rad hoses, a vent hose and the fan wire. I recommend applying wd40 or similar to loosen the hoses from the piping.
Here's the rad from behind out of the car and on the floor...
Subscribe to:
Posts (Atom)