fb icon

fb icon
Follow E-tek on fb!
Showing posts with label 240z. Show all posts

August 19, 2021

Rebuilding the twin SU carburetors for the 240Z!

This weekend I'm completing the SU carbs rebuild and shining up all the bits before refitting the carbs to the intake runners. The twin SU set up, from rebuild to reassembly can take 6-8 hours!


Also, while we're on this side of the engine, the thermostat and housing needs to be reinstalled...


As I forgot to include a new thermostat when I ordered all the parts for the rebuild, I threw the original one in some boiling water to ensure  it was still in working condition - which it is!


Before starting I collected everything I needed -including the manual,  rebuild kit and all the parts and pieces, doing one side at a time on an old cookie sheet I borrowed from the kitchen... ssssshhh! ;)


 As floats are often WAY off from the factory, adjusting the float level was first up, bending the small tine on the backside of the float and utilizing the little ruler that comes in the rebuild kit to measure 14 millimeters of space between the bottom surface and the float....


Changing out the float nozzle was next.... The new float nozzle was a little different than the old one. Hoping that it's just new and improved.


 And after all of that was done, I reassembled the entire carb assembly with new gaskets and it was time to put it all back together on the engine.

Below the carbs you can see the warm air duct that comes off the exhaust manifold and links up to the airbox...


The entire assembly is very blingy and a defining hallmark of the twin-SU setup used in the Datsun's, as well as some Ferrari's and other interesting marquis of that era.

The original Japanese hose-clamps (known as wire-clamps) came out like new when hit with the wire wheel. Not exactly sure what metal they are made from, but the corrosion was just on the surface and a few minutes on the wire wheel revealed a like-new appearance.


Same with the screws. The one on the left was cleaned and looks painted - but wasn't...


I love restoring cars and I especially love restoring all the nuts, bolts, washers and anything else the car came with. No Gas-Station hose clamps on my rebuilds!


Stay tuned for much more!

August 5, 2021

Time for some 240Z catch up!

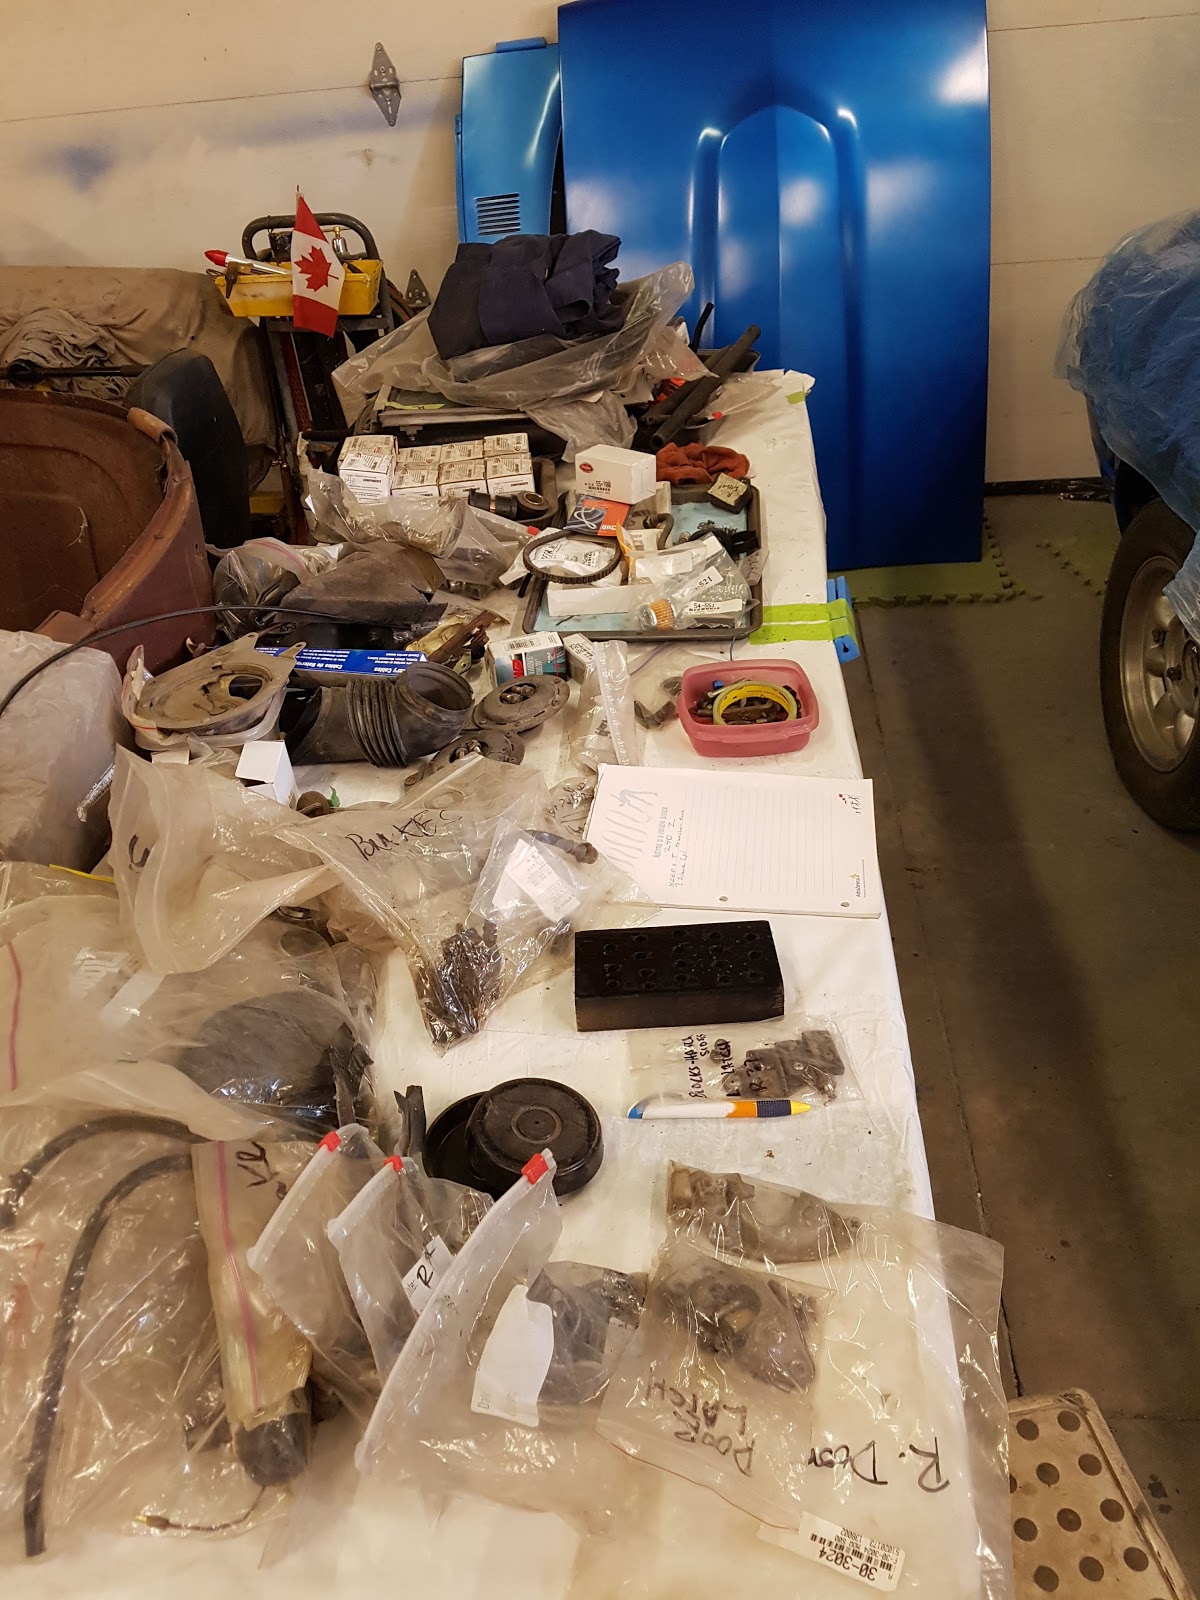
After another haitus due to completing someone else's project (the 56 IH S120), I got a little time to do some work (OK re-organizing) on the Zed....


November 8, 2014

Removing soft-steel bushings: 240Z rear lower control arms

The 240Z project has been a long time in coming off the rotisserie - due to the time its taken for me to remove and replace the bushings with the hard Urethane pieces I bought. After several failed attemps at removing the soft-steel sleeve from the rear lower control arms, I finally consulted a local expert, who told me to cut the sleeves in order to be able to collapse them from within:


With the control arm secured in the vise, the first step was to cut through the sleeve, on either side. Sleeves of this nature are generally made of a softer material than the structural pieces surrounding them, making it relatively easy to cut through them, stopping once through, without damaging the outer, structural piece.

I used both an air saw and a basic hack-saw blade to cut the length of both sides.


Beginning with a chisel and hammer, 
I carefully sperated the inner sleeve from the harder outer piece.


Once seperated enough, I switched to the air hammer, with a pointed tip, carefully pushing the inner material down and away, until the enire peice began to loosen its grip on the surrounding structural component.


With the metal inner sleeve completely removed, I cleaned and smoothed the arm and inserted the urethane bushing in its place.


This replaces the factory original, soft rubber bushing and will serve to stiffen the suspension points considerably.


Thus adding one more peice to my collection of rebuilt suspension bits. Next weekend I just might be able to bolt it all up and put the 240Z down onto it's wheels - for the first time in 2 years!


Via www.E-tekRestorations.googlepages.com !