fb icon

fb icon
Follow E-tek on fb!
Showing posts with label re-assembly. Show all posts

September 10, 2021

1956 International Harvester S120 re-assembly


With the truck painted inside and out (and partially color sanded), it's finally time to tackle the re-assembly of all the bits and pieces. Although I'm still waiting on the rebuilt engine, re-rimmed wheels  and tires and re-upholstered seat set, I can get to all those peripheral parts in the interior, a well as the lighting, electrical, door glass and chrome. This is the reward for all those hours welding, hammering, sanding and sanding...and sanding....


Every itme going back is prepped and coated in either POR15 Semi-gloss, or Eastwood's Chassis Black which is a very Gloss Black.


The vent glass frame was painted in chassis black. Very nice stuff it is.


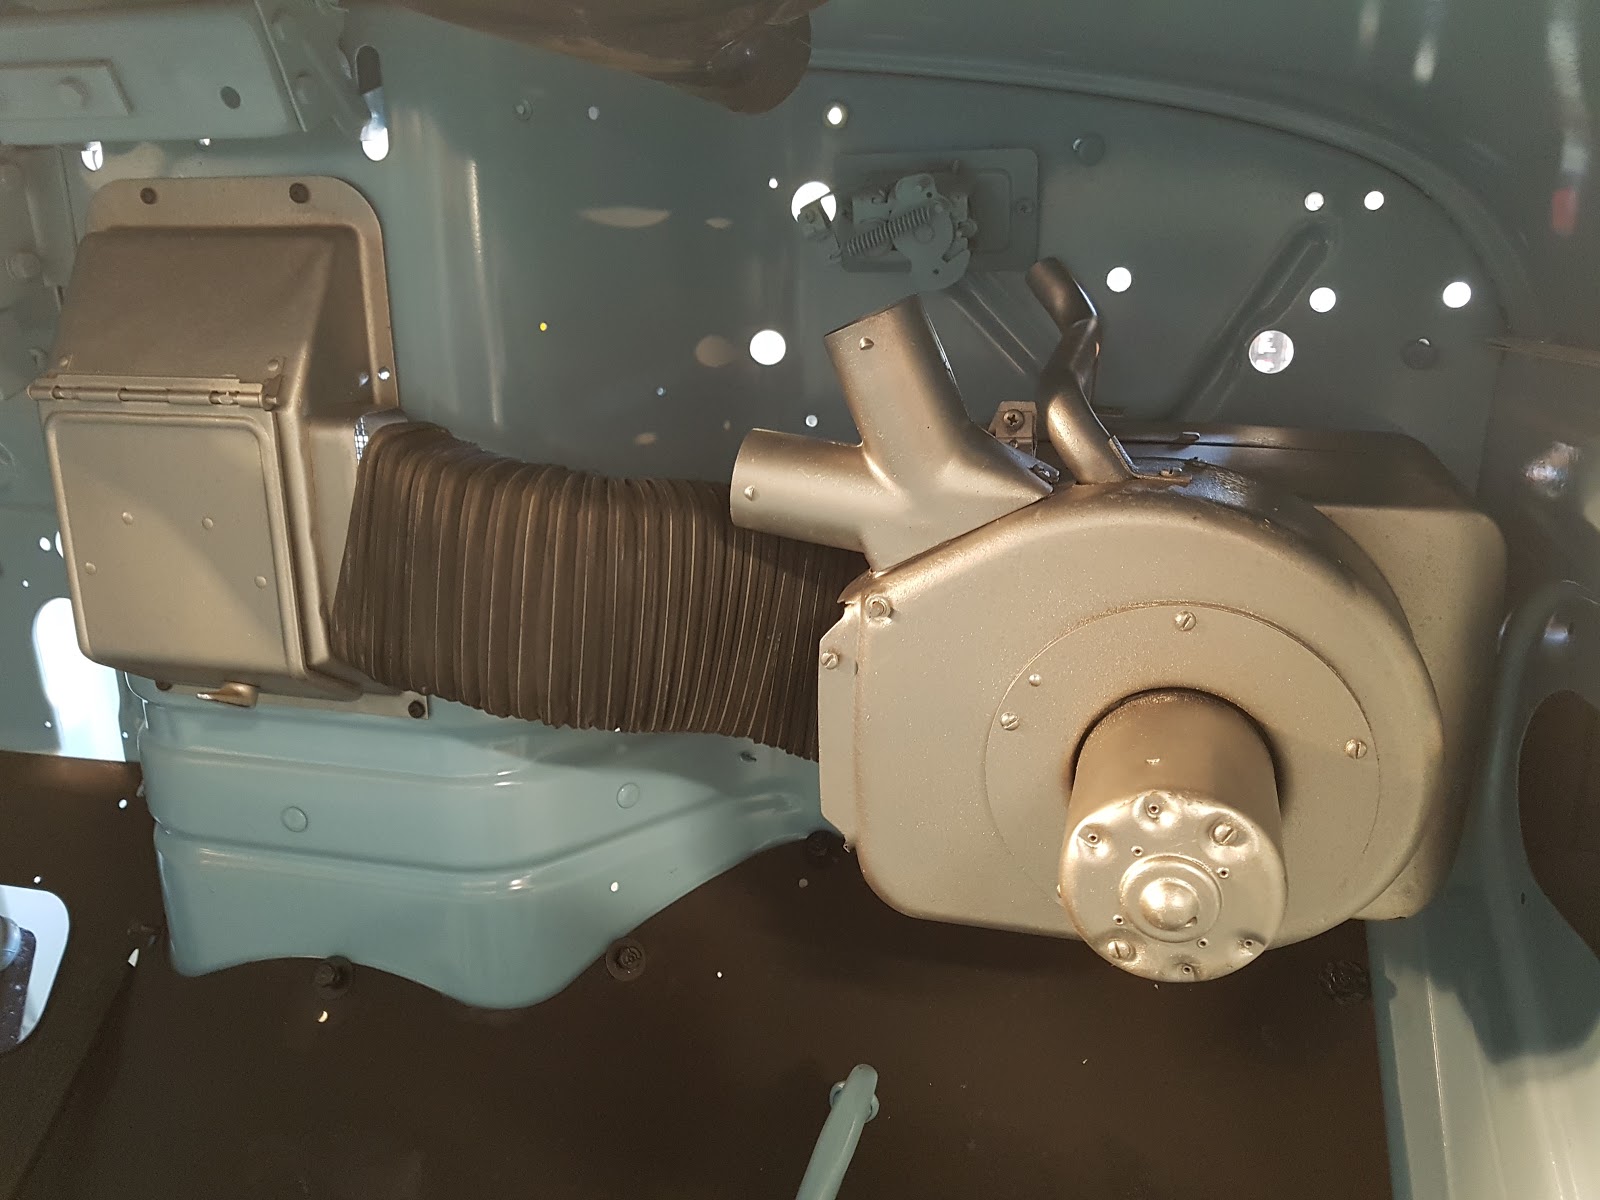
The heater box, motor and central mix-box was tested and installed next.


Windhsheild wiper motor was installed next.


One of the last items needing paint was the gas tank. As it was originally galvanized metal, I wanted to go with a silver hue, which luckily was one of the colors of the POR15 palette...


Unfortunately, the jar I had stored the leftover product in had a bit of an air-leak and - as I've talked at length in previous posts about the incredible hardening nature of this single stage urethane paint -  you'll know that this generally means premature hardening and issues with long term usage...

Sure enough, screw drivers and ice picks would not penetrate the hardened upper most layer:


It looked like it was still liquid further down into the jar, so I drilled a 1/2" hole
 into the top 1\2" hardened layer to get to the usable part below.


After a full coat it looked fantastic and will look 'show' 
once hung in it's original location under the running board.


               Stay tuned for more re-assembly on both the '56 IH 4x4 and the '72 Datsun 240Z!


June 24, 2021

1956 Binder post-paint reassembly

with the truck painted and the bed textured, it's time to start reassembly!


Of course you don't throw old, rusty, crusty and bashed up parts back on a fresh body....First off, let's remember what the parts and pieces looked like when we started the project....

Pre teardown....


Post-teardown...


     Not too nice - but 60 years of wear, tear and age will do that...

Having done nearly 20 project over 20 years, I've amassed a ton of paints and specialty coatings for detailing all the parts and pieces of various builds. 
Each has it's purpose and every part has a different sheen, tint and texture 
and its the matching of those that makes the final product. You just can't use something "close"...


Before paint however, the parts need to be sanded, prepped and primered..
.


 Lots of POR15 to be applied to the undercarriage and attached parts! I've tried and tested quite a few different undercoating/rust paints over the years and I've never come across a better preparation. Its tough as nails, adheres extremely well, looks like a factory chassis paint and is easy ri apply and touch up.


After paint, many of the threads need to be 'chased' so that the bolts that bolt them to thier siztwr parts will go back in:


Once painted, the contrast of ancillary parts against the fresh paint on tje vehicle always makes the vehicle 'pop'!


   After the major bits are detailed out, there's lots of chrome and other  bits to be disassembled, prepped, painted and polished.


Again, don't forget where we were just a few months ago! Another few months will see her ready to run and  able to provide many years of fun and service!