fb icon

fb icon
Follow E-tek on fb!

March 22, 2015

Finishing touches - Part 1 (of 10 at least - LOL!)

 Grille and headlight doors.... funny how they never go back in as easily as they came out!


                                           Everything fits nice and tight behind new grille -


The grille looks so good I couldn't use the top chrome strip due to some previous damage. We'll order that up with the front market lights.


Bumpers where finally next on the agenda.


With the front end ready to be lowered back down, I did a rough toe adjustment -


These new tie-rod adjusters really simplify toe-in 


Getting far enough along that the name plates may as well be on...


Looks almost done here!


A quick buff o the center caps before they where re0installed...


 Next week I'll trim the carpet, install the console and a few other things and it'll pretty much be ready for sub-trades: Interior, AC system finalize and charge, wheel alignment and such...


 As with every proejct, while bitter-sweet to see it go, it'll be a blast to see it at a car show, or carving turns at an aautocross!

March 21, 2015

Modding the suspension: SpeedTech tubular control arms and Viking Shocks


Upon posting up my work on the completed Left side, I was reminded that I was supplied with new Viking coilover, double-adjustable shocks. D'Oh!


Luckily I had only done the one side and it didnt take much to swap out the shock set-up....


 The Viking set up is a very nice kit -


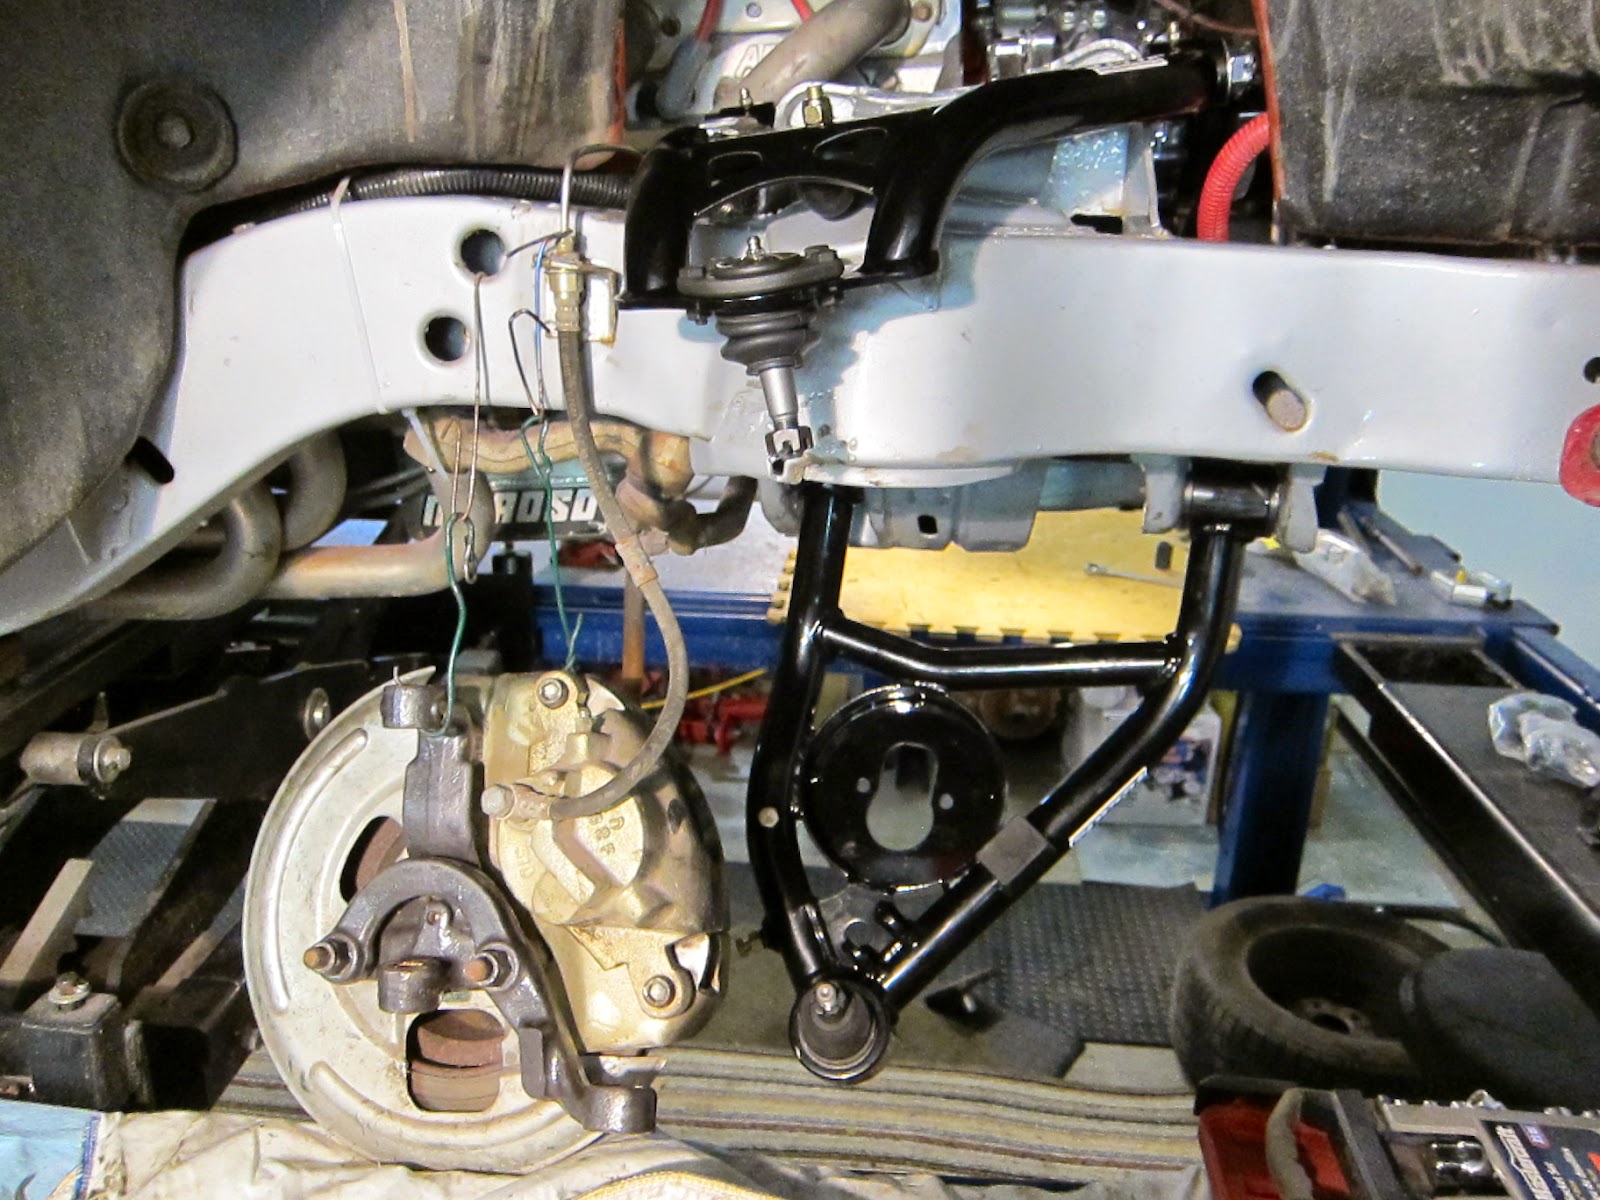
The right-side lower control arm was a hell of alot tougher to install, likely due to a slightly tweaked cross member. Jusdging by the bent lower lip, this side of the cross member contacted something solid at some point in it's life. This will have to be kept in mind during the alignment phase and if shims are not enough to correct for it, it may have to be measured and pulled forward.


With the upper and lower control arms installed, it was time to install the Viking shock system - 


Double-adjustable coilovers should add a lot of tuning ability to the front end. With the right tires this Camaro should be a hoot on the track!


 Cinching up the ball joints -


The big new sway bar was next. After coating the rubber busing and steel mount with the included lubcrication, I bolted them up the frame.


The old sway bar hangars and arms were still in faily good nick - 


The included sway bar arm replacements where exactly like the originals removed, but the Speed Tech hangers (that came with the tubular control arms) where stellar units.


 Judging by the condition of the upper mounting bolts, the rear shocks had been on the car for a while....but off they finally came and the shocks were swapped out.


But the new double adjutables sure look sweet!


More scrap parts for the parts bucket!

March 15, 2015

SPEED TECH -Tubular front suspension install on the 68 Camaro


SPEED TECH parts are high qulaity pieces with laser-cut profiles, high quality inserts, power coating and hardware -


 First thing was dissassembly - which included busting the ball joints free -


                            Camaro already has adjsutable coil-overs, which just needed agood cleaning


Removal of the coil-overs was straight forward, Lower pocket mounts needed to be swappd over.


 Hopefully they are compatible with the new arms....
I put the same numbr of shims back in each side for now, 
but a professional wheel alignment will be required


New sway bar was also ordered in. Pretty sure the one I took out was already over-sized, 
but another 1/8" can never hurt - right?

Out with the old. I did take a photo yet, 
but the new control arms came with an ultra high end roll-bar end kit.

                       With the car way up on the lift now, it was easy to get at the last bits of wiring up front, so I connected up the dryer switch, as well as the AC ground conenctions.