fb icon

fb icon
Follow E-tek on fb!

December 9, 2012

VERY BUSY SUNDAY - 390 and flathead teardowns, 240Z inners,

We all have days where it seems - no matter how hard one tries - it seems very little gets done. That was yesterday. Then there's days like today....

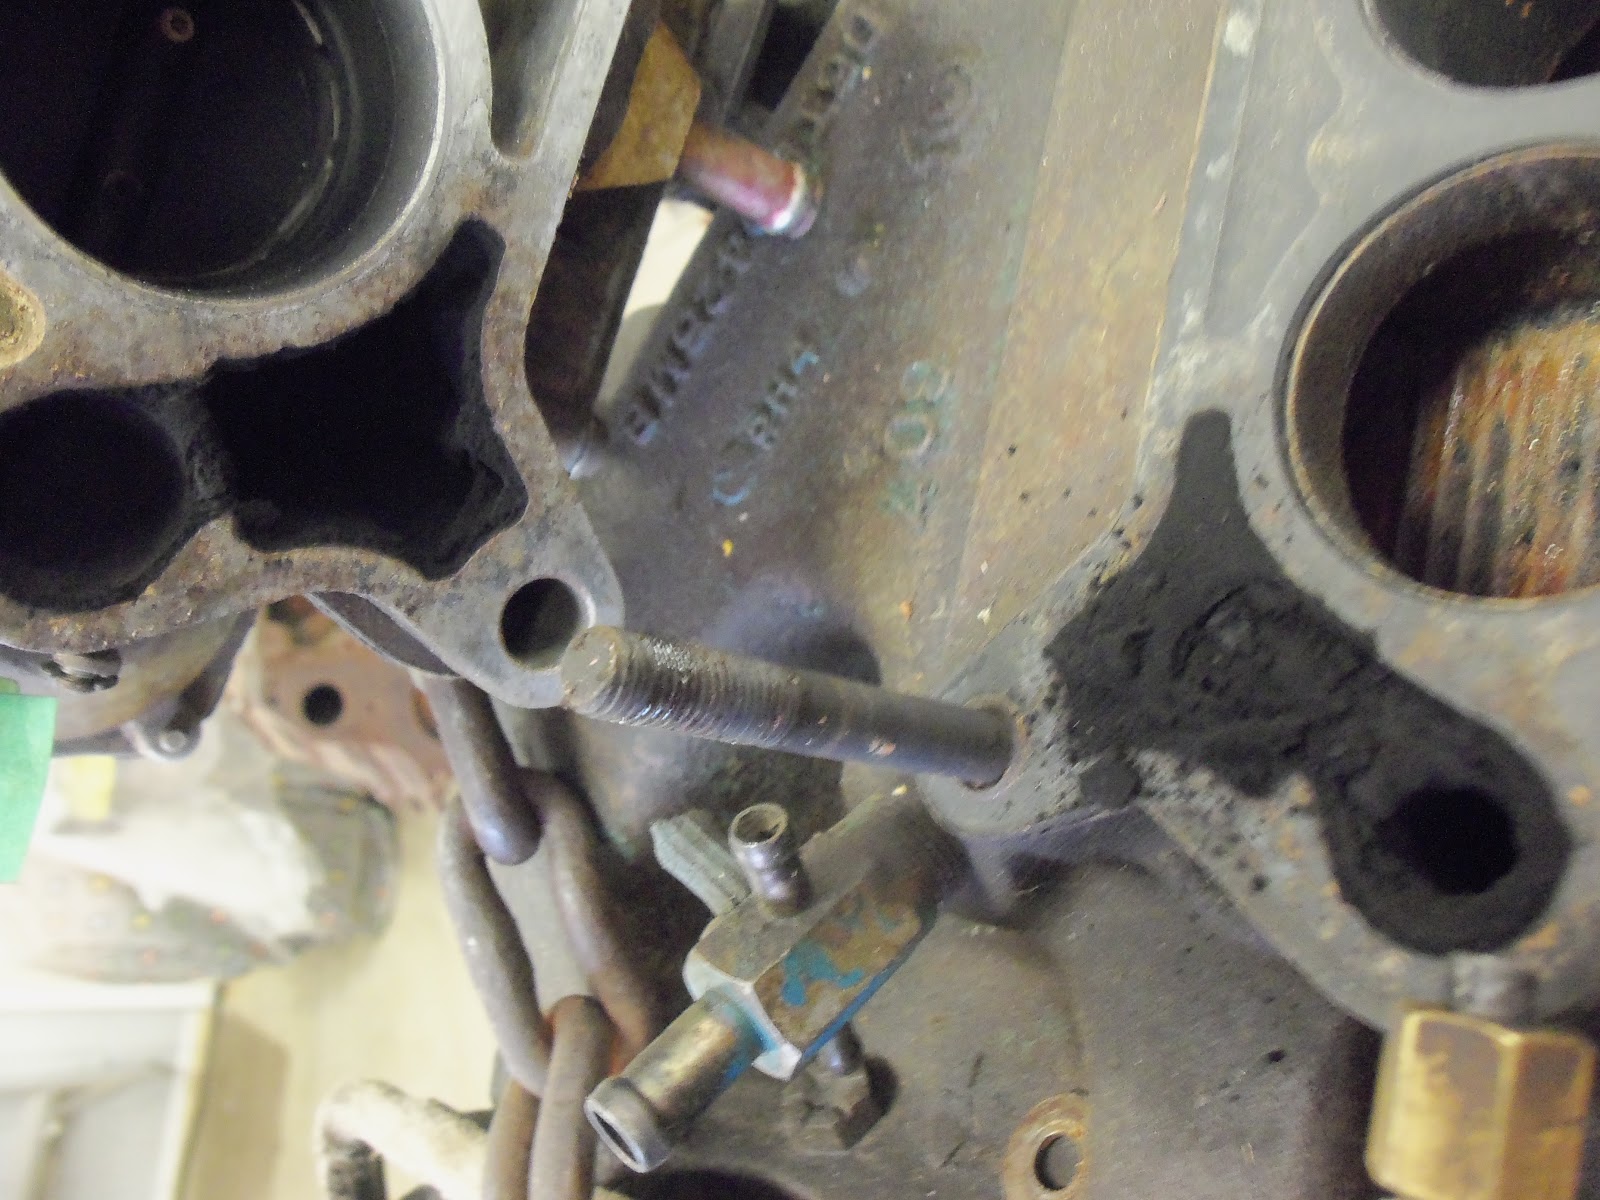
The 390FE for our Galaxie Convertible is getting torn down. Most of the accessories came off with little effort, but not the exhaust manifolds. For these bolts I had to resort to what is often called the "heat wrench" - which is using the oxy-acetylene to apply heat in order to release a rusted bolt. Most came out after a lot of heat and a lot of work....but 2 ended up breaking in the head - of course.


The carb from the 390 was removed earlier and after a couple days soaking in the parts washer, I gave the 4 bl Holley a good scrub in preparation for  it's tear-down and rebuild.


While I was in the cleaning mood, I gave the pistons from the 2 flathead engines a good scrub too


 With 3 different engines being torn down it can get a little confusing at times....here the parts washer has a basket full of flathead valve springs and keepers and the distributor for the 390. At least it's all FORD!

Oops - spoke too soon! )
The Datsun seemed to be calling my name as well today and I've been happy to get a little done each weekend, so I spent some time fitting the inner wheel well section. 
Much of the original portion is in good shape, so I needed to measure just the bit I needed and trim the rest away, then weld the new to the old.


This electrical shear is by far the best metal cutting tool I've ever owned. It makes all the times I used the cut-off wheel seem archaic! It trims straight, fast and clean, with no waste and can even make tight radius cuts.

I always trim a little at a time so as to not over-cut a panel. Sometimes it's called "Sneaking up on it", rather than hacking off too much at once and leaving it too short.

Here's a view from the underside:


Outer panel went on and off about 20 times before all was said and done!


In the end, I'll end up only using the portion I'm holding - and only the part under my thumb. Sometimes it seems like a waste, but splicing in a small part and leaving most of the original section intact is the best method.


 With everything measured and fit one last time, I cleaned everything up again with the grinder, then sprayed both sides with Weld-Through Primer. This will minimize any rust formation in between and around welds.


At the bottom I left a flange and then drilled holes for plug welds. This will add considerable strength to the piece.


Here it is, welded solid. Next week I'll grind down the welds, check for any missed spots, then I'll final fit the outer panel and get it welded on as well. At this rate I may have all the welding work done for January!

Also today (really!) I decided to get a start polishing one of the sets of aluminum flathead heads that I bought with the 2 engines last spring.


These heads where truck-issue only and have "Made in Canada" stampings on them. You won't see them on many flathead builds and with a LOT of work, they polish to a high shine.

I used a "Scotch Brite" pad on the angle grinder, which mostly took off dirt, grime and rust, but also ground a bit of the surface, beginning the smoothing process and showing where the spots are that will require more work.
After about 20 minutes, this was the result:


Backside cleaned up pretty well too, though it would appear they will need to be surfaced at the machine shop.


Lastly, I decided to again energize the 40 Ford's electrical system and finished up a couple circuits I had started yesterday. I hooked up the battery charger and confirmed that most everything I've tested is working, except for the door locks - which have a remote system - so it could be one of a number of things....


On my way out, I could feel a little more (minus 20!) air coming through the doors than usual, so I loosened the tracks, pushed the door tighter against the side wall and tightened them back up - made quite a difference!


December 7, 2012

A little water, some oil and LOTS more Spaghetti!

This week was again taken up with a lot of electrical work - which is looking good, with most circuits now working in Start and Run.

Also added safety circuits to the heater/AC system -


Checked and re-checked grounds -


Checked the rad and lower hose by adding clear water first (who wants to clean up antifreeze?) -


Of course there's a lot of system parts that won't get tested until the first run up....


But for now the project moves forward into other areas. Tomorrow I'll start building the custom console from the patterns I made a while back. MDF will serve as the backbone and I'll finally get to use a router I purchased last summer!

On another note, a neighbor offered me his '81 TransAm CONVERTIBLE, which were built from factory T-top cars from 1979-1981. This is a very nice 1981 car, with the 5.0L, full loaded with Air, Tilt, Cruise, all original down to the wheels, but with new dealer-issued BFG radials. Another great toy to look forward to playing with come spring!!!


Don't forget to check out my website at www.E-tekRestorations.com!

December 2, 2012

Phew - What a GREAT weekend!

                                     Check out my website at www.E-tekRestorations.com

Lots got done this weekend - on several different vehicles. For a change of pace, I spent some time on my 1971 Datsun 240Z, removing the badly deteriorated partially-fiberglass quarter. First thing to do was scribe around the new replacement panel so I would know where to make the initial cuts:


It took a fair amount of cutting, grinding and ripping to remove the several layers of glue, fiberglass and  fillers that connected a fiberglass panel and made up the wheel arch:


In order to minimize the dust cloud that would be created by using a cutting wheel,
I used the air saw to cut through the fiberglass and filler instead.


Judging by what was on top, it was not as bad as I thought underneath. It'll take some custom work to rebuild these inner portions, but the fiberglass work - in addition to being stored for much of the last 15 years, may have protected it from further deterioration:


 Over the years I've found the air chisel - and now those newer cove cutters 
- to make quick work of undercoating.


Cutting the quarter away gave much more access to the gas tank filler and vent hoses.


I'm always amazed at the amount of crap that comes out of a rusted car. 
This pile of metal, rust, fiberglass, glue and fillers.


 Uh oh - "Made in the USA" pieces on my Made in Japan car?!  Yikes!
I'll use the new inner wheel house to seam this area like new.

Here I've clamped the new quarter panel section on the cut-out portion. Nows the time to fit it into the exact position, then measure and make the other parts that go in and around this panel. As well, one has to decide whether to butt weld, overlap or crimp a flange into it. Butt welding leaves the nicest finish in and out, but is not always the strongest choice. Overlapping may be the easiest method, but requires too much filler to cover the lap joint and leaves a gap between the two sheets where rust can start again.


Here's something very rare on these cars original, clean, no-rust metal!

 Next I'll begin making and fitting the various pieces to be welded in under the quarter skin.....


But before getting to that, I also wanted to also get a start on the 390FE I bought from the local chapter moderator (Morris) of FTE.com, my favourite truck site. Morris is one of those guys that always has a few extra's of everything and the stories to go with! I've now purchased a '53 Flathead engine (which cuurently resides in my '46 Merc) along with this 390FE.

This particular engine was apparently running when removed, turned easily and had the factory 4 bbl manifold and Holley carb on it. This would be a great exhange/spare for my '67 Galaxie Convertible.

Getting the original Holley 4 bbl carb off for an initial clean and soaking was task 1.


 I always take photo's of linkages and small complex parts in case I need to refer back to them on re-assembly.
 Duraspark Ignition wiring.
 Reluctor wheel inside distributor. Looks like it's been DRY for a while!
 Some of the hoses still had the original spring clamps!
 Carb ID plate calls out Original Equipment Holley 4 bbl.


 Also still present was the fiber (asbestos?) covering on the choke warming tube from the exhaust manifold.
Original style clamp on one side of the water pump bypass....
This photo reminds me that I need to get the lift chain back to Morris....
Pulling the carb shows little dirt and just a light coating of moisture-caused rust.
 Various other clues together make it appear that this engine has not been apart for a very long time - if at all.
Spacer below is a nice piece without a bunch of vacuum openings that would have been added later.


 Finally, time for a bath to wash some of the surface gunk off.


Detailed reference photo's for re-assembly. We'll come back to these when the engine is back together and looking like new!


The 390 really wakes up when these restrictive exhaust manifolds are replaced by headers.


Once torn down, it'll go to the machine shop....about the same time this flathead block comes back!


Finally, I got back to a few things on the 40Ford Rod, like connecting some last bits on the dash cluster.

Here I'm adding ringed terminals with shrink tubing to lengths of wire to connect the gauges to the wiring harness already in the car. When I wire things up, I always remove the hard plastic end pieces from any terminals and replace them with shrink tubing. The hard plastic ends always get crushed when crimped and not only look like sh*t, but often leave bare areas or fall of altogether.


The ground wires from the LED turn signal wires came into close contact with a power terminal, so I cut a small piece of electrical tape to act as a protective barrier between the two:


Below, this small button gets wired into the digital speedometer to calibrate and set the various parameters built into the speedo's software. It'll get mounted under the dash.


Also looked at were the seat belts would be located. It's important to look forward as you go in case you need to make any changes, adjustments or considerations as assembly continues.


PHEW!!  What a great weekend (for a car-geek)!!