fb icon

fb icon
Follow E-tek on fb!

July 1, 2012

Time to get up to date with the work on the 67 Cougar....

Although it hasn't been getting done as quickly as I (and likely Trent!) would like, there's been some good excuses, including a long bout of Pneumonia....but I have gotten a few things done and I have a month of time "off" to devote to shop time coming up - which should see the metal work get very close to complete.

Last episode saw the completion of the metal-work around the back window, quarter tops and filler panel. I left it in a skiff off metal-ready and I'll go back and attack all the sanding at the same time - once I separate the area off to somewhat contain the dust in the one area.


The Right quarter was next. Whoever did the repair last was not exactly a master metal-worker, but was pretty good at hiding un-repaired damage! That has to count for something...right? NOT.


A quick pass with the flap-disc revealed 1/2" of filler in this one spot. That meant there was a LOT more to come and there's no way I was going to sand it all out and coat the entire shop in a film of filler...


Looking at the inside, there where some pretty big gaps left in the seems - which tells me that's all filled with "bondo" from the other side....


So instead, I just cut it off with a cut-off wheel. This way the filler stays more intact making less of a mess. The difference is that you don't get to see exactly what's under it all - but in a patch panel situation, as long as you cut conservatively (a little at a time), there's no issue.


You can see the line I scribed where the new patch panel will sit and - although it'll be butt-welded - I want to make sure I don't cut away more metal than I should.


Even after cutting enough for the patch panel, there was still a fair amount of filler above it. This all had to go, which still made somewhat of a dust-pile. No way around it!


Inner (trunk drop off) and outer panels cut out:


I hate filler....

Trial-fitting new trunk drop-off. Even though this is way-early, I always put the new panels up to see where things will be going. This drop-off is made way longer/bigger than it needs to be, maybe so it would fit different applications. For this application, I'll likely get the outer panel tacked in place, then the inner, before trimming it out.


There's quite a bit of damage left un-finished from the last repair(s). There's gaps where none should exist and form lines had been pulled or hammer out. My job is to RESTORE, which means I put all these aspects back to how they would have been prior to being damaged and 'repaired'. I really enjoy this part of it - as it takes some creativity to figure out what lines go where and which tools will get me there. It also has a finish-line that you can see yourself getting closer to as you work.


Below you can see the work done in that area - about half way through getting it all back to 'normal':


Once the filler was all removed from the outer panel, I found signs of old-school repair methods. I used these methods in the 70's - the difference being that at my fathers shop, we would have welded up the holes from the slide-hammer screws! Now-a-day, you may still use a slide-hammer, but with spot weld-studs that don't damage the panel.


After removing all the undercoating that was hiding the damage from the inside, I sprayed any surface rust down with MetalReady - a Phosphoric Acid solution that turns rust (Iron Oxide) into an inert substrate (Ferric Oxide).

Next up is to repair the old damage on the quarter before final-fitting the patch panel. The patch is just large enough that I can cut-out any old damage around the wheel well and where it butt'sup on the quarter panel. It's going to make a much nicer repair than previous and of course alleviate an rust issues, including the opening of factory drain holes that were plugged with filler....

Don't forget to check out the website at 
www.E-tekRestorations.com 

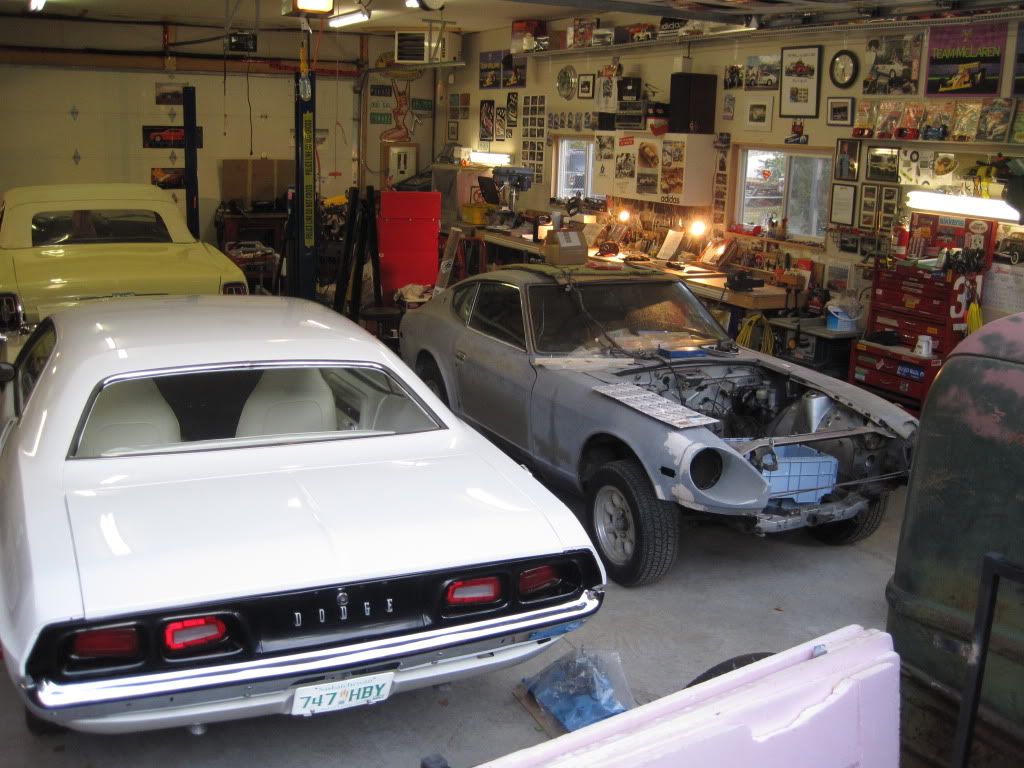
Lately, I've been thinking about the Challenger I finished - and sold - last year. With the money I got I was able to buy another project (the 27 T), a few engines and some tools and even though I don't totally regret the sale, it will still go into the category of "ones that got away".... After five years of work it was a show car and a strong runner - but for some reason I just didn't want to keep it. I say it's because it's not a convertible, which I prefer - especially since we only drive them in the summer and 'verts feel so special....


A couple years later though and I still lament (different than regret?) selling it. Even though I "traded" it for all this other stuff (including the down payment on another rental house) I am now down to "only" 2 drivers and two projects. Oh well, I guess it's time to get that 240Z back to roller status - maybe that'll fill that hole in my automotive heart!


Don't forget to check out the website at www.E-tekRestorations.com

June 13, 2012

Getting BACK at 'er!

Whoa!! Haven't posted for a couple weeks due to being down and out with a case of  Pneumonia. Of course I wasn't right out - I managed to have enough energy one day to pick up this 1927 Model T chassis which will form the basis of a rod project I'm calling the "Pussycat Project":


The gentleman I got it off had a trailer FULL of parts he "inherited" from another old collector when he bought some land:


Got it home and pulled it off the trailer (which wasn't pretty due to not having a ramp)..


Upon further inspection, I found it came with several antique cans and bottles. Maybe some will make it into the final build...


Good front suspension, complete with I-beam, wishbones and steering links:


Rear end turns easily, tho the old banjo won't likely make it into the final iteration!


 I dug out 3-4 inches worth of accumulated mud from the seat pan...


To find very little - and I mean very little - rust under it all! Amazing.


The undercowl gas tank is also in good shape - no leaks!


I removed the rotting wooden box, again to find little rust underneath..


The wooden battery cover seems to have survived - unless it was rebuilt at some point..


Even our cat, Bubbles is getting into it!


 As for a power plant, I have lots of options, one being a Ford Big Block (FE) engine that is just going back together....


May 22, 2012


The Owner of the Cougar just dropped off these front inner splash sheilds. They are restored ORIGINALS, which in my book are the best parts you can get (next to NOS). They look perfect.

One of the idiosyncracies of doing this kind of work is all the time and effort that goes into things that will rarely - or never - be seen again. Like these splash shields - the only people that will see them are people changing tires or brakes - and only if they try. Other stuff, like undercarriage work, welding, inner engine work, gas and brake lines, etc., also becomes "no-see" work.

When I got to work with my Dad in his bodyshop, or his top guys (many years ago) I was told to work on these items for those few that will be most intimate with the vehicle over time. They are the ones that will really appreciate it anyways and are the hardest to impress - so do it right.


Don't forget to check out the website at www.E-tekRestorations.com !
May 18, 2012

Floor pan installation - 12 hours total....

First up - make and install top of the torque box for the driver side:


The floor panel has this triangular indendation in it...so I had to make the same in the piece that fits underneath.


I used my flanger to make an edge that would allow the top panel to sit flush once installed over this one.
Which will fit right here:

While I was doing all this work I wondered just how important this panel was! Of course being part of the torque box it adds a lot of stiffness to the drivers side - for the steering mechanism as well as the rotational torque of the engine. I also wondered how many guys would leave this out if doing the same job - LOL!


The shape of it turned out OK after some more break work and some hammer and anvil work.

Once again - never leave bare metal uncoated!


Then the top (frewall) panel....

After grinding the initial weld pass I went around it once more with the mig before a final grinding.


Then, on to the passenger side.
First I cleaned up and primed the frame pieces:

Firewall section installed first:

I used all three methods of attachment here: plug welds, butt welds and a lap weld on top:


Then the floor pan section installed over top - as per originals.

Initial weld pass after grinding -


Another 6 non-stop hours. Still need to do some hammer and dolly work, add a skiff of ALL-Metal over the welds and seam-seal the undersides. Then it's on to the rear window and quarter panels.


Don't forget to check out the website at