fb icon

fb icon
Follow E-tek on fb!

November 9, 2012

Center Console Mock Up & Hood Repair

Re-installed the bare dash panel in order to begin the mock up of the center console:


Started with some bristol board - which is easy to cut and shape:


Once I had the side shape done I traced it onto a piece of 3/16" fiber board:


I cut two sides and a front panel and then screwed it all together with some wood blocks in between:


After some quick shaping and some adjustments, I installed it in place in the car. Looks pretty good for a first go!


Once the general shape is decided on, the hard work can begin. Car audio guys are experts at this kind of work as they build a lot of custom consoles, amp and speaker enclosures. Starting with an MDF buck, fabric is draped and stapled over to start the rounded edges, then it's all filled and shaped with fiberglass and body filler. A custom console like this may end up with 30 hours or more into it.


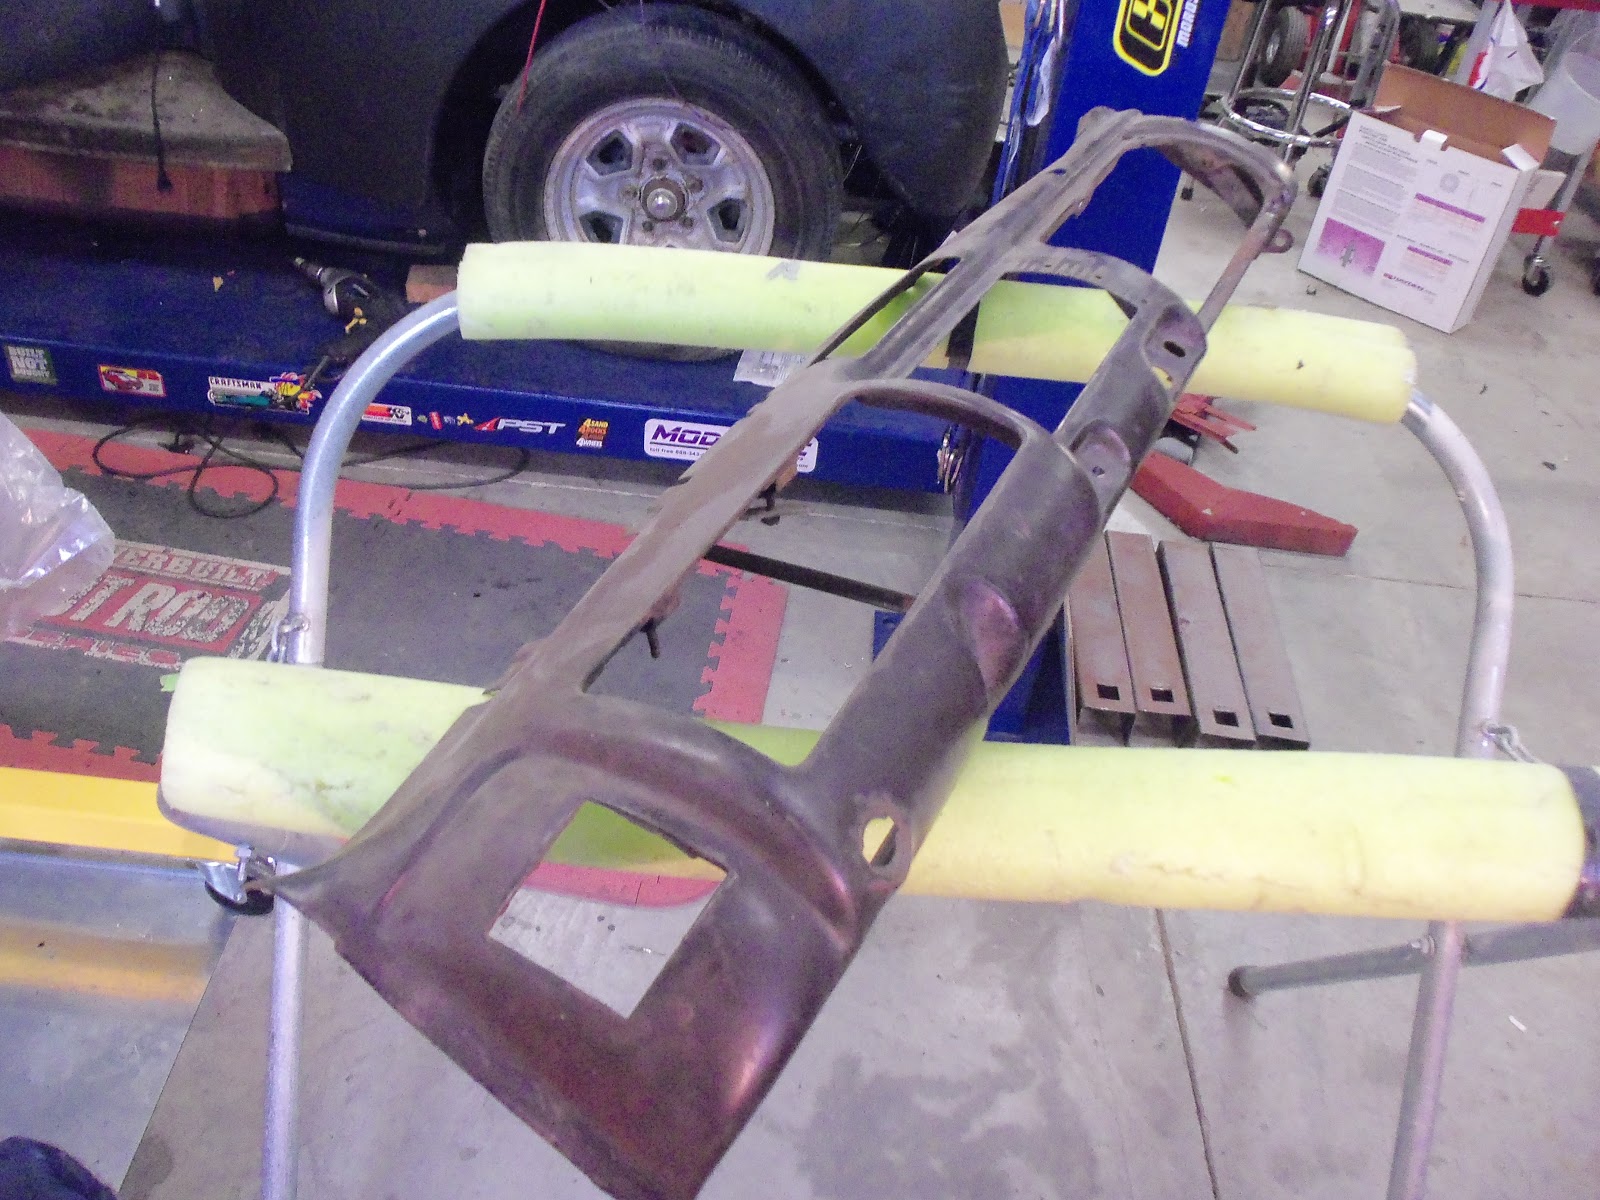
 With that part done for now, the hood had some damage that I needed to address in order to mount it later.


After a quick pass with the grinder, I saw what appeared to be lead filler. The grinder marks are much deeper in the soft lead.


A quick swipe with the torch proved my hunch.


...and within seconds it was on the floor.


Another swipe with some coarse steel wool and it was all gone.


Now we can see the cracked edges that need welding right were the latch  plate bolts on. It doesn't look like it was welded in the prior repair many years back and if it had even a tiny crack it would have gotten worse with the constant flexing that would occur every time the hood was closed and latched. I'll be sure to strengthen this area to ensure that won't happen again.


Don't forget to check out my website at 
www.E-tekRestorations.com!

November 8, 2012

More Wiring, Seats, Dash vents


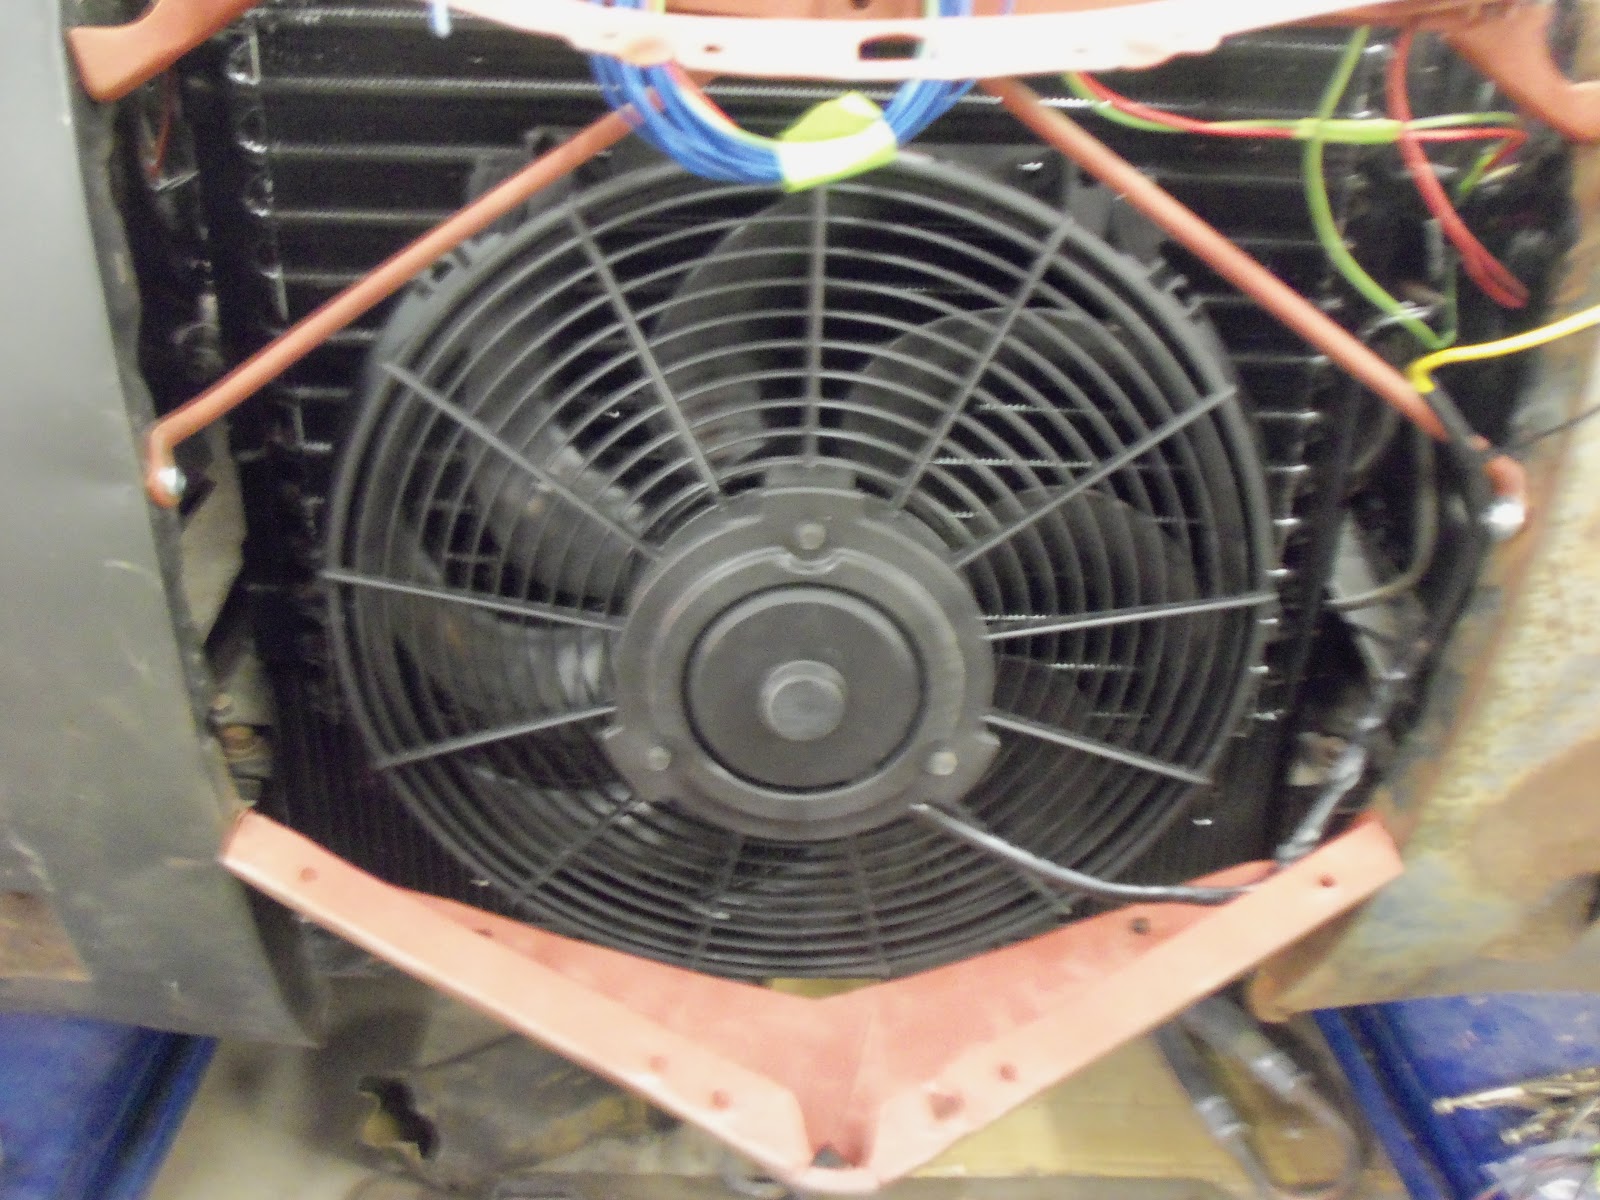
Finalized the fan wiring on the 40 Ford with a 40Amp relay:


Mounted other engine relays to the inner fender:


Wired up the water temp and alternator leads:


Put it all in wire looms, then bolted the front end back together:


 Inside, I re-arranged the pedals as per owners request (surprise!)


Then removed the seats in order to fabricate some mounting tabs so they could be bolted in:


The seats supplied had these tabs in front that clipped into holes in the original vehicle:


Which needed to be removed and some feet welded on in their place that could be bolted down.
I turned the seats over on a stool and taped cardboard down in order to protect the seats from burns:


Off came the tabs:


New feet cut and drilled:


Then welded onto the seat bottoms:


I then turned the seats over and welded the tabs from the top-side. We don't need them coming apart!


The seats were re-positioned, holes drilled in the floor panel and then they were bolted in using spacers to get them leveled out. I used pieces of wood for now, but will try to source something else for a permanent solution.


 These side vents are supposedly made to fit these holes in the 40 Ford dash. They don't fit very well no matter which way I inserted them....


I'll have to either re-work the edges to even them out, or find some type of bezel that could fill in the gaps...


Tomorrow we'll be able to put the dash in loosely in order to begin the initial mock up of the console. Lots of "big changes" coming up!


Don't forget to check out my website at 
www.E-tekRestorations.com!

November 4, 2012


Here's the original dash - in very good shape!


Glove box opening needed a bit of tweaking to get the door to fit straight:


Simply bolts up from the back - no plastic tabs, grommets or snaps!


Modern gauges look great in it:


 this old clock was in the box but I don't think it's from this car. Just thought it looked cool.


Radiator, then front nose pieces went on. It's a tight fit due to the narrowing style.


Tight fit with the engine not set back. Many 40 Fords have the firewall cut in order to set the engine further back. This one was dropped right in the cross member.


Rad inlet will likely have to be moved top the center, which will like up directly with the engine thermostat housing:


The tranny cooler lines come close to lining up. I'll get the rad and AC shop to put their touch on these when they do the rest of the fittings. 


Wired in the headlights and ran the fan wire from the aftermarket harness:


I like to use unique fasteners in my builds. Purchased these SS #3 Robertson headed screws to put this rod together. Of course they can always be changed out after paint.


A Hayden Rapid-Cool pusher fan was purchased and installed with a 40A relay:


The front end is coming along now. Just gotta keep the wiring organized!


Don't forget to check out my website at 
www.E-tekRestorations.com !