
Of course good PR is easy - build great products, send out some of that product andsome PR materials to the right places and get your company name in as many places as possible!
Don't forget to check out the website at www.E-tekRestorations.com !

E-TEK RESTORATIONS: Re-counting the adventures of the restoration, rebuilding, and renewal of significant vehicles, from classic to crazy!


 As is fairly obvious, this engine stand was made completely from scrap. The base was made from the parts that held my BendPak lift together during shipping and the engine cradle bits where just procured this week from my local steel recycler. The entire cost? About $35 including the casters.


 Here's the bung welded into the pipe and the sending unit screwed into it. I know, I know - that's FAR from a pretty weld! I'm a little embarrased to show it, but it wasn't the easiest spot to weld. That's my excuse and I'm sticking to it!


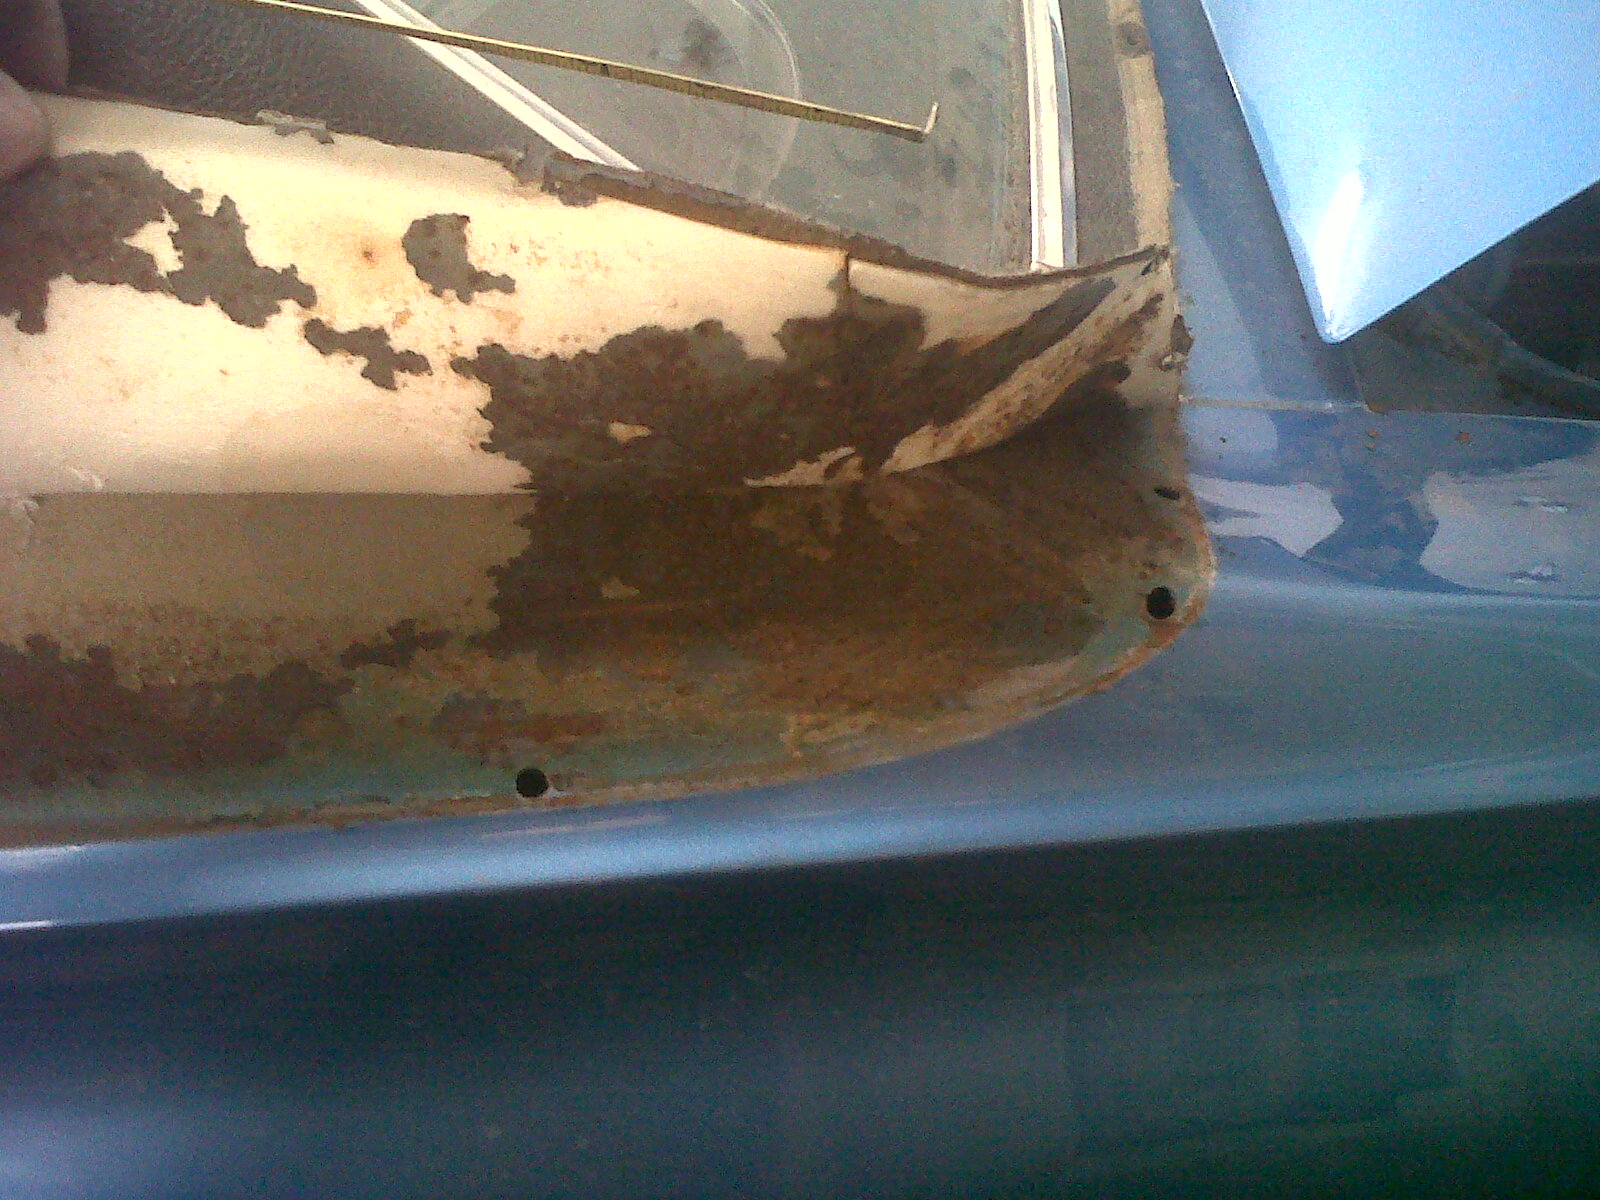 At first glance, the car looks solid and fairly clean, save for the wear of many years and 3 paint jobs. Looking a little more closely, we start to get clues as to where some more time will need to be spent and also where some more investigation will be required. Under the vinyl top on the left side is some fairly heavy surface rust. This makes me thing there will be some perforation in the corner where the glass sits - very common. So, very first thing I did is call my glass guy, Chase from Showtime Glass. He'll come out tomorrow and remove the delicate original glass mouldings - front and rear - as well as the glass itself. If there's one thing I've found over the years, sis that ome things are best left to the sub-specialists!
 Looking closely up front, we can see it had been hit at some point, hard enough to damage the front of the inner fender. This means that this panel, and therefore this side and corner, are "shorter" than the other, non-damaged side. Critical here will be to get some measurements of the front end in an X-pattern to see if the front-end is square. It should be close, as the gaps all look decent, but there's lots of ways to hide stuff like this and even-out gaps, even though the substructure may not be square. Along with another clue - that of the hood hinges being welded to the inner fender apron, means a lot of study and likely some work will be required to get everything lined up - BEFORE bolting or welding anything to the front end.
 Here's a 'sweet' (I mean disgusting!) old-school access port. Trent tells me it was common on these Cougars for mechanics to cut a hole in the shock tower to access the upper ball-joints grease nipples. I guess we can say that at least someone greased the nips - but hell, they could have at least used a holesaw and then fitted a rubber button in it afterwards. Of course Ford could have thought of that too...which always leads me to think: am I REALLY the first person to think of that?? Unlikely.

 So today I continued the exhaust mock-up and fitment and then got started on installing some of the suspension parts. First up was replacing the lower control arms that where removed to repair the frame and torque boxes.
  The Rolling Jack on my BendPak lift came in handy in an unexpected way too. I slid it under the mufflers to keep them at the right height while I set up the axle section of pipe.
 Getting close here - a little more adjustment at the other end and it should come together nicely.
 Here's the two sections welded together. The key is tucking them up nice and close - but not so close so as to cause excess heat on any key parts, as well as the cooking of any feet in the passenger foot wells.


