fb icon

fb icon
Follow E-tek on fb!
Showing posts with label filler. Show all posts

November 6, 2021

Closing in on 400 hours....


400 hours seems like a lot!

That's 10 work weeks. But if you say 2 and a half months, it doesn't seem that long. Thing is, restoring a vehicle is almost ALL labour. While a body shop would charge $100.00 per hour, which would be $40,000.00 to date, I charge half of that. Restoring vehicles and paying retail is cost prohibitive for most people, not to mention having way more into most vehicles than they can ever be worth when sold or insured. I'm happy to help though as I love my side job, love restoring great vehicles and always appreciate a great reason for restoring something for someone.

On the '56 International 4-by, the filler work is coming along. The box was by far the worst of it, but it now has a new floor, is reinforced to way more than factory standards, is completely rust free and getting straighter by the hour, as is the cab.

Filler work on right door. The side had entire bottom portion replaced with new metal -


Filler work on box - a minimum of fill was required due to so much work in metal finishing.


February 5, 2021

Getting ready for primer....

After another long weekend of sanding, scraping, cleaning, repairs, removing final bits and pieces, we are getting very close to the milestone of a first high-build primer coat. 


Everything has been completely stripped, rust-treated and  rust-proofed. After primer we'll rust proof the inside of all panels with either Rust-Bullet or POR-15 products and spray a protective Dura-guard coating which decreases sound and vibration making for less sound transfer and a quieter ride.


Inside the cab we still have the heater and final dash panel to remove for paint and rebuild:


These knobs are being a MAJOR PITA!! They have a tiny hole on one side that obviously has a release mechanism inside, but I have yet to figure it out!! more research needed!


The roof panel has this discoloration that appears to be baked-though primer, not rust. None-the-less we'll sand it down, treat it with POR-15 and paint it to be sure it's right.


                     Teaching the next generation of car builder, much like my Dad taught me!


 Grille and undersides of hood sanded down to metal where required and rust-treated several times over - a level you'll never see done in a for-profit body-shop!


Even pieces like the trasn cover get scraped and treated  - that's QUALITY workmanship!  :)


Also, the interior kick-panel, which holds the gas pedal assembly, was rusted through on one side and needed a lot of work throughout. I cut and welded in a piece on one side, smoothed out the rest and we'll rust-board, then gravel guard the entire thing for durability.


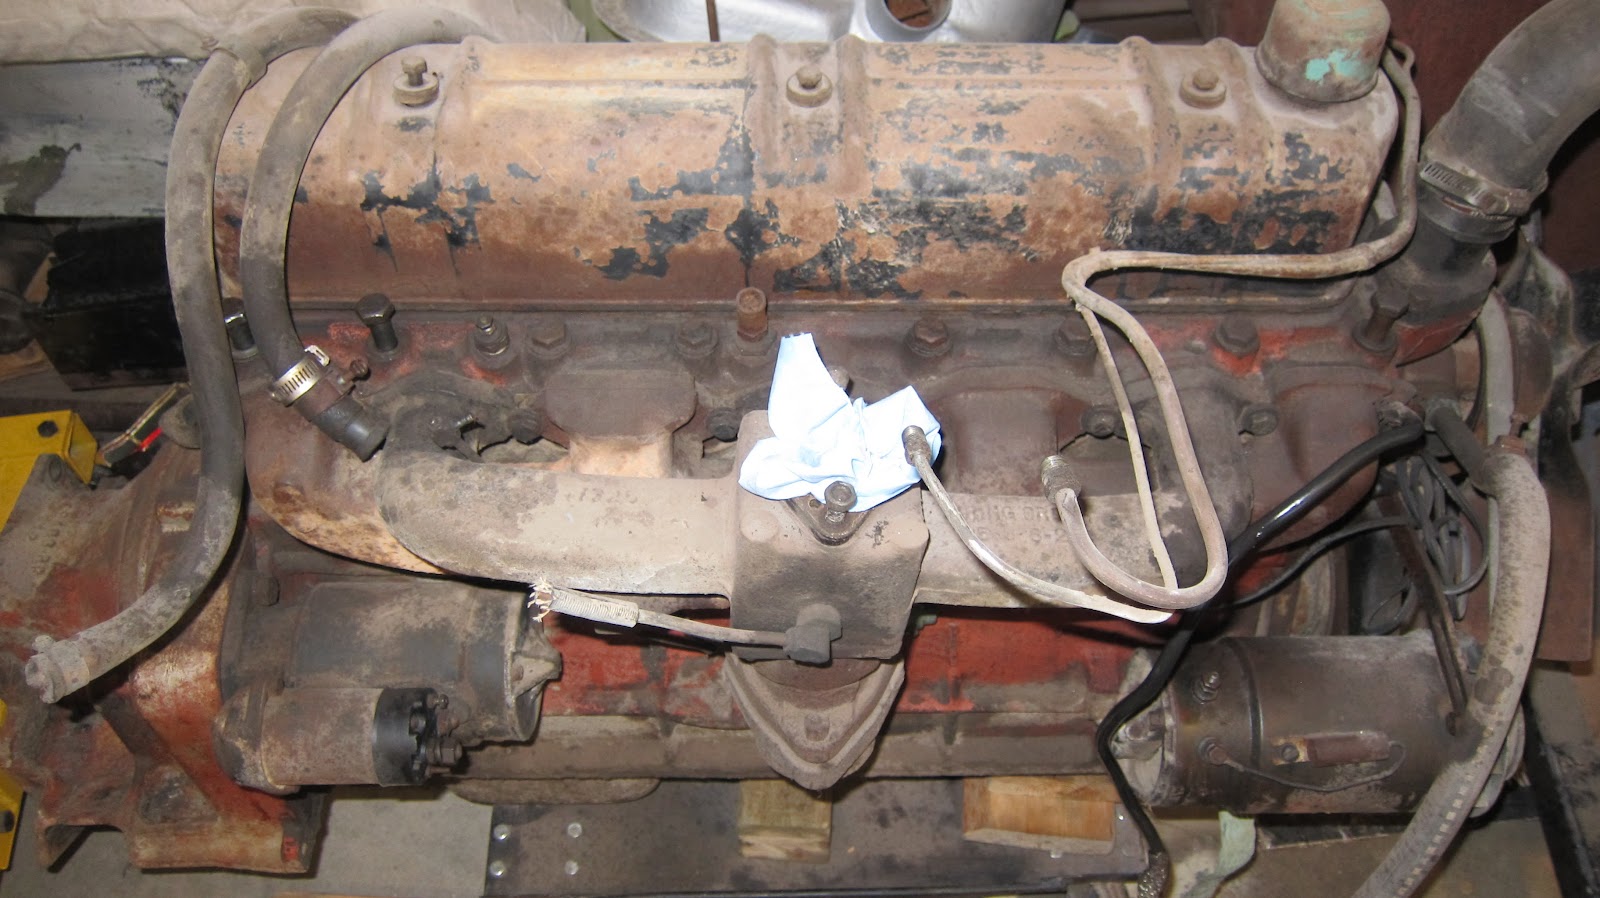
The engine is also on the agenda as we get closer to paint. Time to assess all the parts, measure the bores, check the lash and top end and see if we can't run it up on the bench.


Unfortunately, I made this potentially problematic discovery as I was removing the carb... a missing frost plug. This could mean it had a freezing issue at some point in its past many years of sitting idle. Now the question becomes: still go ahead with the bench start and see what happens - or go straight to full disassembly to have the block magnafluxed. 


Or....pull the head off and Magnaflux the top end of the block - 
which is likely the best half-way measure at this point.

 Heater assembly was removed and will be gone-though, tested and detailed. It's these parts that make the entire project a show-stopper, inside and out!


After removing the heater core I sanded it down and disassembled it. I'll take the core in for a pressure test and then re-assemble it for paint.


Based on the shape of these duct-pipes, the heater hasn't done much good for a long while!


                                                              Stay tuned for more!

October 18, 2020

1956 International Harvester S120 4x4 truck Restoration

With the extensive metal work nearly completed, it's almost time for some filler work. Now filler (aka Bondo) has had many negatives attached to it, but only because of unscrupulous so-called bodymen who have historically used filler like they are troweling cement, or as a sculptor would use hunks of clay.

To start with, one has to know the MAJOR limitations of talc-based filler products: for one, filler should never be used to "fill" anything - only to smooth the final imperfections after metalwork has been properly performed. Second, talc-based fillers are NOT WATERPROOF - and as such, should never be W usedin an area or space that may get wet, or could hold moisture - and thirdly, it is not structural! It won't "hold" anything together, won't re-enforce anything and will definitely not flex.

For those last 2 items - waterproof and flex - the correct product to use is a fiberglass reinforced product. It comes in both short and long strand mixes and uses plastic resins to bind instead of talc. This product should be used over any welds, to "fill" anything deeper than 1/8 inch or if some partial re-enforcement is required. Again, it's not to be used in place of proper metalwork, but is a key product in bringing that fine metal work to its finished stages.


The other key consideration to filler use is proper panel prep. Many guys will just run some coarse paper over the area (or grinder) and slap on the filler when these products are meant only to go on to properly prepared metal. 

First step in preparing metal for filler is to treat any rust with a phosphate rust-converting product. My favourite has long been from POR15, which is a non-toxic phosphate wash. This product converts Iron-Oxide (Rust) to Iron-Oxite - a black hard substance that doesn't spread, which  means no bubbles will be popping through your expensive paint job years down the road!


The wash chemically treats both the rust and all the metal for maximum 
corrosion protection and adhesion:


Once the wash has sat overnight, it is cleaned off with a solvent wipe, which also degreases, 
removes  wax and dirt residues and ensures the perfect substrate for any filler work. 

Time for many hours of block sanding !