Another month, another 100 hours in body work! This thing is rough, it's rusty, its beat and - its tough to work on! Oh well, not much different than the last 5 restorations I've tackled! ;)
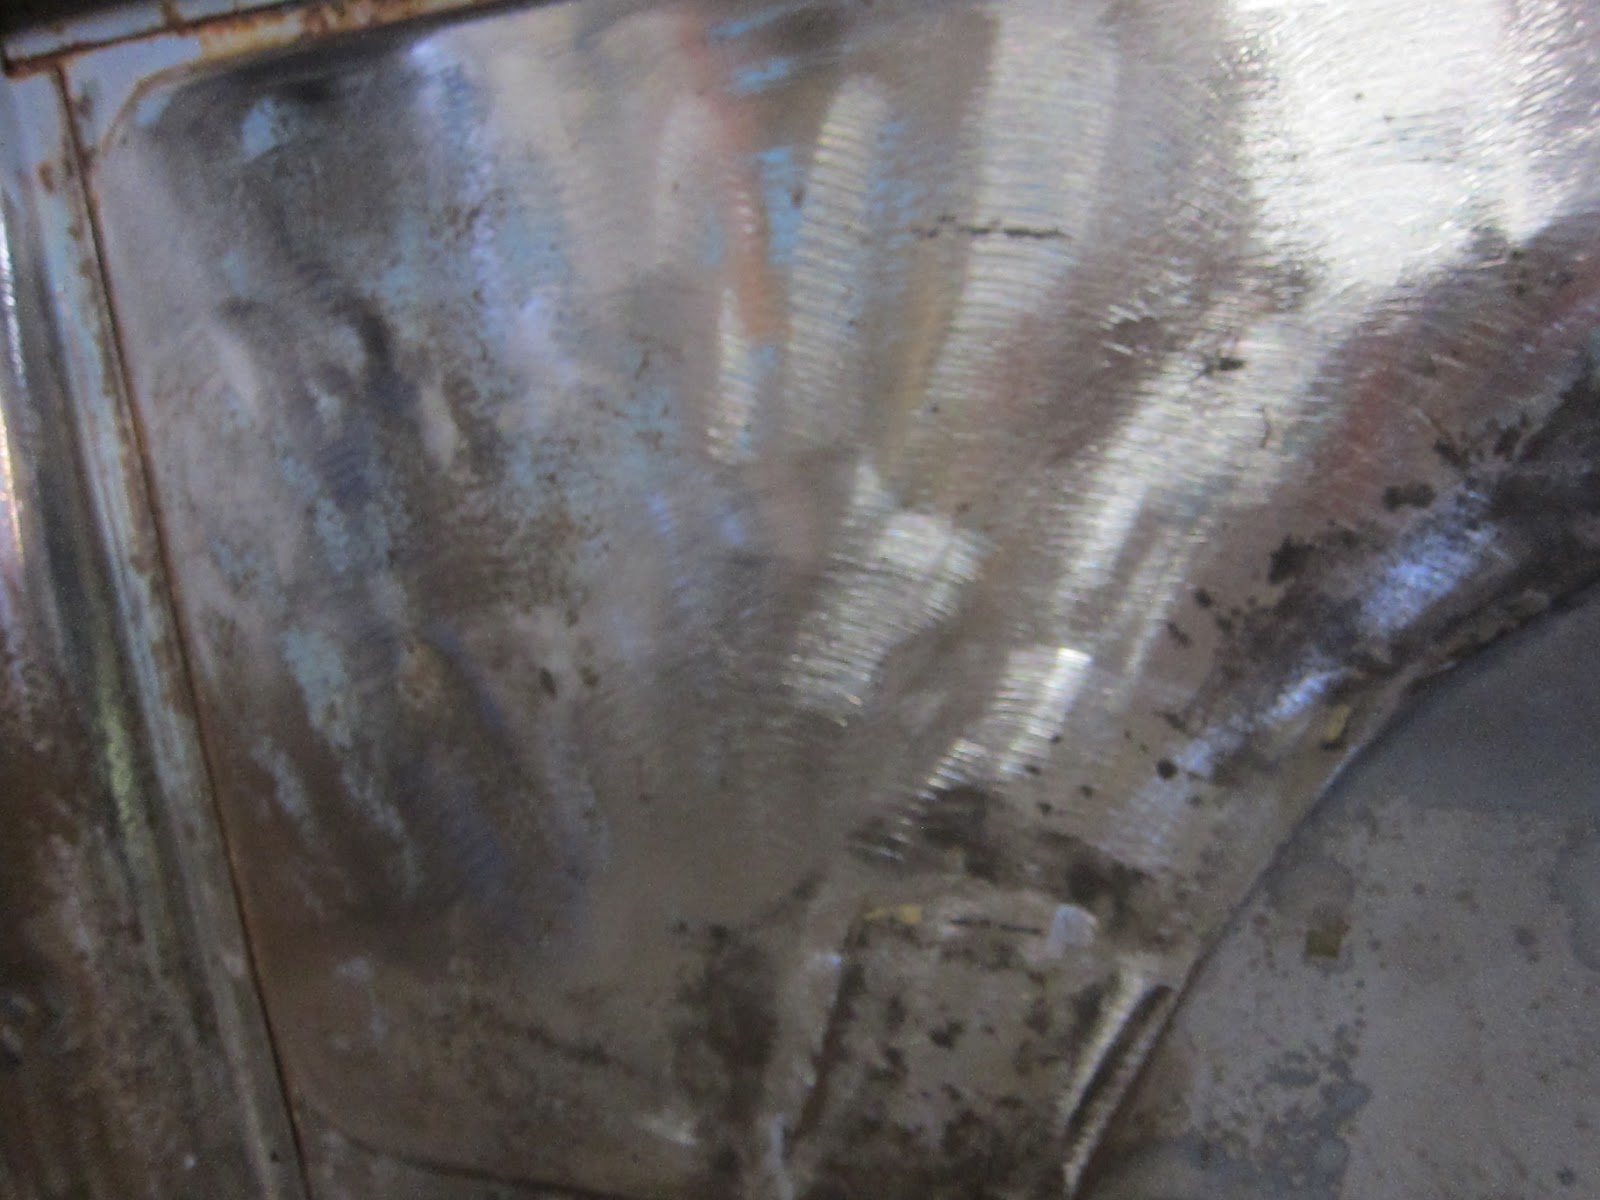
The primer on the top surfaces of the IH had been ultra-hardened by so many years in the sun and harsh environments. It saved parts of the body from major detioration but is a bear to remove!
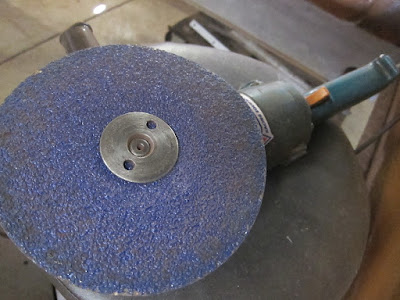
Even these special-hard 24-grit discs would not strip the primer from the roof without clogging and quickly going dull...I went through several getting to where you see here!
After a lot of work, much of the old paint and primer has been removed from the area requiring bodywork...
Rust in the front glass channel. Tmese areas are treated with POR15 which chemically alters the rust to a black paintable surface.
Box sides - the box was also rough - to say the least. Aside from some patches thoughkokmm
The roof had a huge dent that was never properly repaired. In my previous post I showed how I had to resort to the slide-hammner to pull it out. Here, we close up the holes to ensure moisture can't penetrate and cause issues with the new repairs.
My trusty Lincoln 180
Cab corners arre always rusted out on old trucks. They collect dirt and hold moisture.
This one was no exception.
The affected metal will be cut out and new pieces fabricated from scratch.
Check out what we found ...
The inner panel is compromised only at its corner.
Fabricating parts generally begins with a template:
Once the template is perfected, a new peice of metal is cut to the size of the template.
The hard part is shaping the part to fit the contours of the original. I use a variety of anvils, hammers, sand bag and other "tricks of the trade" to get the metal to yield to my needs.
Checking the part occurs about 20 or 30 times during the shaping process/
The inner structures are treated with Rust Bullet to preserve it for another 50 years.
A commercial shop would never go to these lengths.
Next up was the lower portion of the adjacent door sill:
After cutting the entire length of the door skin, I grind the edges to expose the folded seam.
With the seam visible, the skin can be split open and the lower part of the door removed.
The Tailgate we have is rough as well. repairs begin with welding up the cracked edges: