fb icon

fb icon
Follow E-tek on fb!

November 24, 2011

OK, here she is - EVER CLOSER to being completed! Sure, there's still many details to attend to (like bleeding the brakes!), but what you see now is a 1956 Chevy Truck, as it appeared new (OK, likely a little better than new!)

Today I finished up the doors: trim plates, seals, mirror and outside handles. as well, the bed wood was trimmed to fit and now it all goes together like butta'. Warren (the owners son) and I bolted up the fenders and bolted on the steps. Then I re-installed the spare tire carrier and put some clear rock gaurd sheets on the step sills to protective those areas from wear (again, a great idea attributed to Warren!).

Tomorrow there'll be a lot of nuts and bolts to tighten and check, the Tailgate will be hung and the doors rechecked.

Luckily, the temperatures have warmed, so I can get the Galaxie off the lift and put the truck back on.  That'll allow us to bleed the brakes, do a lot of undercarriage work and even work on getting the engine broken in. Keep watching!


About the only things I'm still waiting on are the front marker lights and front shocks. They should show up soon I hope. Don't forget to check out the website at www.E-tekRestorations.com - lots of How To, Why to, Who to and absolutely  no doo-doo!!!

November 19, 2011

Doors and more!


Went motorcycle shopping with Mrs E-tek today. She likes the softtails.  The day may end up costing me $30K.... So, back to work!

After motorcycle shopping, I got a little more done on the Chevy prior to the owners coming to check it out.  With those adjustments, the doors close very nicely. (Not Acura nice - but 50's Chevrolet nice.)


The gas tank line - from the cab to the rail -   needed to be hooked up in order to get gas for the next start up. Of course, as go most things in the resto of a 60 year old truck, one of the lines had a seized end on it, so after first trying several spray-lubes, heat and knocking the fitting loose, I ended up cutting the end off and flaring on a new fitting. Once the end was free I was able to hook the parts up so fuel will once again flow to the pump and engine.

The truck is looking the part once again. Here's a photo of the front end, nearing completion.


As with so many things, it's the details that make the whole. The hubcaps, with creme colored centers, with white-wall tires, really give a nice contrast to the trucks robin-egg hue.


After a couple months in this position, I cleaned up the shop, got a 390FE engine I'm working on (for the Galaxie) onto a stand and out of the way and swung the '56 over. This way there will be enough room to get the box done without danger of being too close to anything else in the shop.

Here's that 390 I put on the stand. One day it'll be as clean as the truck (with twin turbo's too)!!


Stay tuned!

November 18, 2011

Doors, glass and paint protection

After so much work went into paint, the owners decided that - while paint protection was paramount -
they didn't want to see undercoating covering so much of it. So, instead of attaching the rear fenders and coating the box sides with rubberized undercoating, I sourced clear rock guard film from a vinyl graphics and sign company (Trimline in Saskatoon) for the box sides under the fenders. Now when you  look from the side, you won't just see black undercoating. Expensive, but definitely worth it!


After it's cut to fit, a soapy water is sprayed to allow time to place the film and work out the air.
Once all the water is worked out the film is nearly invisible.


As I was applying the clear film, the front and rear glass where being installed. It was my first time using Showtime Glass and the owner, Chase really impressed me with his expertise, care and attention to detail. He'll definitely be our glass vendor of choice fro now on!


A suction cup is used to pull the glass into the truck so the rubber seal can be manipulated into place. It takes some wiggling and a little slapping, but he got it in and it really completes the "look".

On a side note: one of the trucks' owners was over, helping me get the doors mounted and he took a couple photo's with his BB Phone - basically the same device I use to take all these blog photo's. One look at his photo's however told us there was something wrong with my device. His photo's where SO much more crisp, with WAY more depth, contrast and clarity! Was it maybe my lens? Could it just be dirty?

Sure enough, he cleans it out and the next photo's where like day and night. So, if you're using a digital device(especially a phone), remember to clean the lens regularly. It makes a HUGE difference:


The doors also went on today. It's nice to have two guys for this job, even just to get them hung. Of course hanging them is barely one-tenth the job. If you've ever done this, you'll know how many times you have to loosen and tighten the hinge bolts while moving the door -  in, out, up and down -  to get it to fit right. A real time-saver is to drill a small (1/8") hole in the hinges - on both the body and door sides. This gives you a "close-enough" point when first bolting them up, then final adjustments can be done when the door seals are installed.


Next, we'll tackle the bed wood install, then the rear fenders and steps!


November 15, 2011

Bed wood and chrome trim

The bed wood was delivered by one of the owners. It looks spectacular! Several coats of marine-grade Epoxy where used and they look like glass was glued to each piece! This is really going to be a crowning touch.


What should be a fairly straightforward install was thrown into disarray when I noticed some fitment issues. The rails that where replaced on the box sides where giving me grief. Although a lot of measuring and fitting was done - there doesn't seem to be enough room to get the wood under those pieces. Everything else fits well and it should go together well, as soon as I figure out this issue!


Anytime I run into a "problem", I generally think it through for a while, then go on to something else before going back to it. Next up was installing the (now black) trim pieces. To further protect the fenders - and ensure a tight fit -  I cut out some rubber washers to act as cushions behind the nuts that attach these trim pieces to the body panels.


They look great - if I do say so myself!

The hood trim is like the crowning touch! I think it looks great either way: black and red or red and black. After more research I found examples of both styles, so I'm sure it's a matter of personal taste.


Next, the  Front and rear glass gets installed, then I can install the doors!


A few other things that where done today include getting the taillights mounted, a front tire was removed for resealing and I spent a couple hours getting my 390FE engine onto a new engine stand.
If you're interested in a 390FE rebuild, plus the custom installation of a turbo to it, stay tuned to this blog!

November 14, 2011

The big run-up to completion!

This week is going to go a LONG way to getting her to look like a complete project. After (too) much time on stuff you can't really see (wiring!), I'm about ready to install the doors, the bed wood was beautifully coated by one of the owners and the rear fenders are here. As well, on Friday the F & R Glass goes back in.

Once I get some of those parts on, I'll move it back to the  lift. That'll give me more access to finish up the brake system, rear light wiring, do a basic alignment and tune it up.

Stay tuned - by next weekend I hope to be taking some "Near completion" photo's!


Yikes, after a year and a half and nearly 300 hours on this sweetheart...it's time to start thinking of the next project.... :)


Don't forget to check out the website at www.E-tekRestorations.com ! Special thanks to www.Eastwood.com and www.CarCraft.com !

November 13, 2011

Chrome trim paint

Today was Sunday. Family and rest....but rest takes on many forms - right?

After a family walk and playing with the kids for a few hours, I sat down to search out some more information on the ignition wiring situation and did a little detailing on some of the trim pieces. You may recall I painted them red first. While looking at different examples with one of the owners, including the LMC parts book, we decided they should be black, with red inserts. Today, with a razor, I carefully stripped the paint from the parts that are to be left chrome. I think they look great!


Anyone who has done some factory-correct restoration work knows how much research goes into a build. Like anything, these days information is readily available - if you search long and hard enough. After a couple hours of troubleshooting the ignition on Friday, I found a better schematic today online and got some more information from the members on the HAMB Forum. The HAMB forum is devoted to older cars and trucks in every form and a great place to get a lot of information quickly.


Don't forget to check out the website at www.E-tekRestorations.com ! Special thanks to www.Eastwood.com and www.CarCraft.com !

November 12, 2011

Let's get this started! Part 2...of several.

Quite a bit of time spent today getting the wiring sorted out. What was throwing me for a loop was the one-position ignition switch that wouldn't send power to the START and "RUN" (IGN2 here) tabs on the ignition switch - and therefore getting power to the coil, which is needed to get spark to the plugs.

So I "bench-tested" the switch - which just means pulling it out of the truck and hooking it up to a battery and a tester on the work bench. There I found no power was going to the IGN2 or START tabs on the switch, and therefore no spark. The key, unlike modern switches, only moves one position on this one. It powers the ACC (accesory) terminal, but doesn't send power to the START terminal and, as I mentioned, doesn't have a second notch to light up those terminals. Like so many of these issues, it's partly due to the fact I didn't take this truck apart, so I wasn't sure if GM IGN switches should have 2 positions, or if all terminals should light up at first/only position, or was it somehting more sinister?

After much head scratching and a call to one of the owners, I ended up jumping power from the ACC terminal across to the IGN2 and START terminals to get power to all terminals. I then had spark at the plugs, but I knew that set-up means there's 12V to points all the time....which can burn them up in short order. Good enough to set the TDC today, but it'd have to be figured out before getting it running for anything longer than a few minutes.

GM's 6 cylinder ignition switch - terminal view.


So, after pouring some gas down the carb to get fire (it did!), I decided to leave it for a fresh day and a fresh brain. That decision was made after a fine-sounding backfire - one that reverberated off the big garage doors and seemed to yell: "I'm alive!"
 
Today, after a few hours of research, I started a thread on the HAMB (a great classic car and truck forum) and someone told me what I needed to know: that 6 cylinder ignition switches only have the 2 positions (off and on). There is no key third (or "start") position because it used a foot starter. Apaprenlty only a V8 switch will have 3 positions.

I also found that the IGN2 and START tabs don't even get power from the switch in a 6 cylinder truck, due to the foot actuated starter motor. They get it from that starter motors switch when the foot pedal is depressed. This circuit is used to bypass the ballast resistor while starting the engine. Therefore you get 12V for starting, but somewhat less for running. Very unique.

After some more research, I also found a better schematic diagram to use - key tools for wiring up old vehicles. As with so many things, I sure wish now I had spent more time concentrating in Grade 9 electronics class!!


Don't forget to check out the website at www.E-tekRestorations.com ! Special thanks to www.Eastwood.com and www.CarCraft.com !

November 11, 2011

The shop truck


My own vintage truck is this 1946 Mercury M1 we dubbed "Old Man". It see's a lot of action every summer and fall hauling stuff and taking my lawn equipment to our rental homes. That makes it a write-off!!

Let's get this thing started!

Today, I worked on getting a few things out of the way in order to be able to concentrate on troublehooting the engine prior to starting it up. This included the installation of the firewall pad and front bumper. Of course as it goes in restoration work, everything takes MUCH longer than you think it should!

After deciding which way was up, which took much longer than it should have - owing to the thing being fairly similar top and bottom...I finally gotthe bumper bolted up.


Along the way, I sprayed the Bowtie insert on the hood emblem red, first applying some self-etch primer to ensure adhesion.


When I went to install the firewall pad, I ran into the opposite issue I dealt with on the cowl to hood seal. Recall the cowl seal came with metal clips that where too big and would have scratched the paint causing a possible rust spot - so I opted for plastic clips there instead. The firewall insulator pad however came with the push-in clips you see below. There where slightly too large and very brittle. I pushed and pushed, then used a mallet, which only served to bend and brake them.


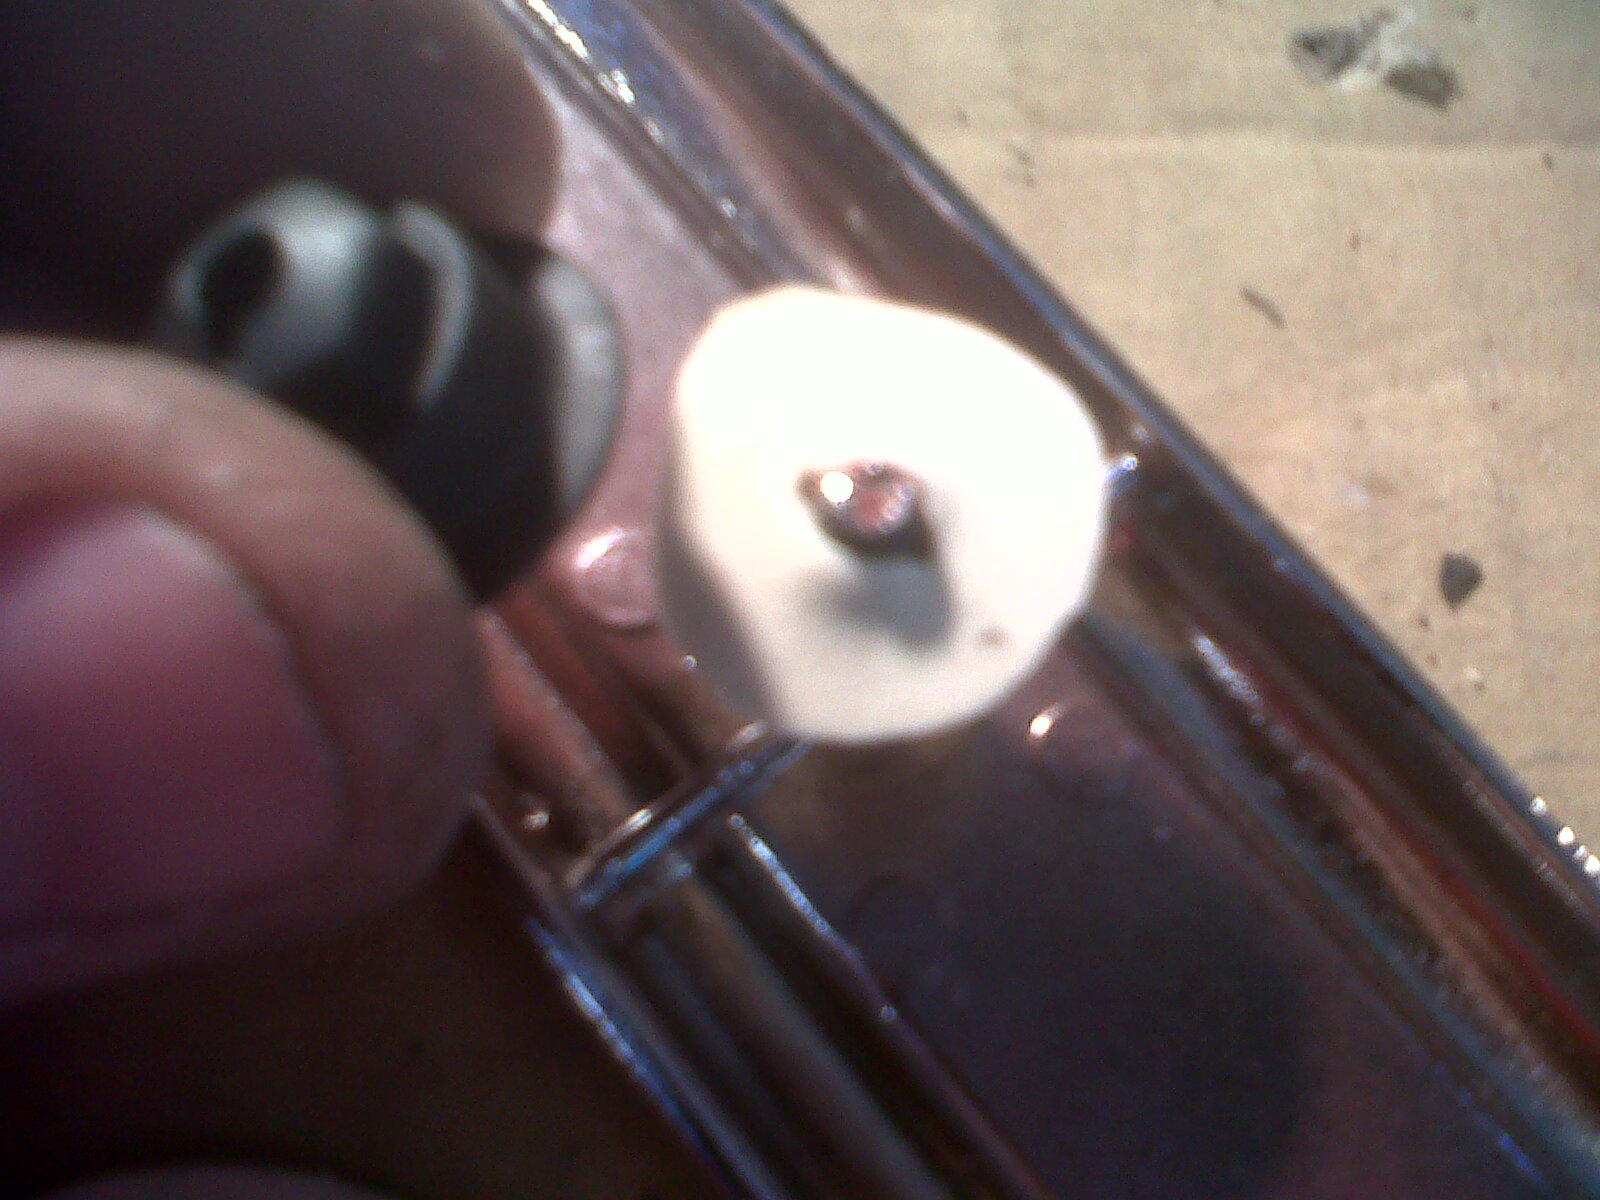
When I was going through the various clips and things, I had noted that the original firewall pad clips where very unique. I found them - properly labelled by the owners who did the tear down - and took stock. They where a sciccor clip that wouldn't damage the paint and likely would hold the pad just fine - as it had in the past! As well, there's something about saving items so unique to the year and make that I liked. A quick buff and some Zero Rust and they where ready to be put back into action!


The pad comes with all sorts of pre-cut holes, in order to facilitate the pass-through of various wires, cables and accessories. ...of course none of them matched this particular type of heater, even though it was a GM unit that came from the factor....So I had to fight like hell to make holes through it for the heaters' water pipes and mounting rods. I first used a heated probe (solder gun) to melt a clean hole through the rubber membrane layer, then used a razor to cut the jute padding below it.

After much struggling and fitment issues, I finally got it back through the firewall. Holding it in place with my left hand, I reached around the front and over the fender to thread the nuts on to hold it in place.


The floor mat covers everything you see here - from the front of the seat half way up the insulator pad. I'm going to leave it off until the very last thing, then have the owner roll it out before he drives it away - kind of the "red carpet" treatment for the owner and then he can say he helped finish it!
OK - it's finally, time to troubleshoot the engine  and get some systems ready for start up tomorrrow.


Once the heater, battery tray and battery where all re-installed, I pulled the distributor out and rigged up a long slotted bit to turn the oil pump drive with a drill. This pressurizes the oiling system and brings oil up to the rockers, cam and lifters. Very important. When I do a V8, I plumb a gauge in somewhere and look for 60psi of oil pressure. As it was, I could feel the system pressurize: the drill spun freely, then slowed down as the pressure increased, then sped up again once it was freely flowing through the engine,


First off though, a new oil filter was installed in the remote filter cannsiter.


Once it was pressurized, I re-installed the distributor, bumped the starter until I could feel the number one cylinder come to TDC, then ran all the distributor leads in sequence.

Next, I put a gallon of antifreeze (mixed 50:50 with water) into the rad to check for leaks and all seemed OK at first - until I heard a dribble while I was doing something else in the shop. I checked and it was coming from a bung I had missed - due to it being covered by a circle of black tape! So, I caught the antifreeze in a clean container and wondered why the rad wouldn't have come with a stop-cock....because it came with blocking inserts for the auto-trans cooler, which I installed prior to putting the rad in the truck. Likely it was extra....

Anyways, in the back of my mind I knew I had one - somehwere....


That 'somewhere' was in the bits and bites compartment of my old toolbox. Much of this stuff had been in there since my Dad used the box, back in the 60's.  I checked and sure enough, there was a stop-cock that I'd seen a thousand times, over 30plus years -  another reason NOT to throw anything away!


So, after a quick buff and some sealer, it screwed right in and solved the leak!


While I was under there, I took a minute to admire the part of the truck few others will ever spend time admiring.... but where a LOT of the work went into - the undercarriage.


Don't forget to check out the website at www.E-tekRestorations.com ! Special thanks to www.Eastwood.com and www.CarCraft.com !