fb icon

fb icon
Follow E-tek on fb!

December 2, 2012

Phew - What a GREAT weekend!

                                     Check out my website at www.E-tekRestorations.com

Lots got done this weekend - on several different vehicles. For a change of pace, I spent some time on my 1971 Datsun 240Z, removing the badly deteriorated partially-fiberglass quarter. First thing to do was scribe around the new replacement panel so I would know where to make the initial cuts:


It took a fair amount of cutting, grinding and ripping to remove the several layers of glue, fiberglass and  fillers that connected a fiberglass panel and made up the wheel arch:


In order to minimize the dust cloud that would be created by using a cutting wheel,
I used the air saw to cut through the fiberglass and filler instead.


Judging by what was on top, it was not as bad as I thought underneath. It'll take some custom work to rebuild these inner portions, but the fiberglass work - in addition to being stored for much of the last 15 years, may have protected it from further deterioration:


 Over the years I've found the air chisel - and now those newer cove cutters 
- to make quick work of undercoating.


Cutting the quarter away gave much more access to the gas tank filler and vent hoses.


I'm always amazed at the amount of crap that comes out of a rusted car. 
This pile of metal, rust, fiberglass, glue and fillers.


 Uh oh - "Made in the USA" pieces on my Made in Japan car?!  Yikes!
I'll use the new inner wheel house to seam this area like new.

Here I've clamped the new quarter panel section on the cut-out portion. Nows the time to fit it into the exact position, then measure and make the other parts that go in and around this panel. As well, one has to decide whether to butt weld, overlap or crimp a flange into it. Butt welding leaves the nicest finish in and out, but is not always the strongest choice. Overlapping may be the easiest method, but requires too much filler to cover the lap joint and leaves a gap between the two sheets where rust can start again.


Here's something very rare on these cars original, clean, no-rust metal!

 Next I'll begin making and fitting the various pieces to be welded in under the quarter skin.....


But before getting to that, I also wanted to also get a start on the 390FE I bought from the local chapter moderator (Morris) of FTE.com, my favourite truck site. Morris is one of those guys that always has a few extra's of everything and the stories to go with! I've now purchased a '53 Flathead engine (which cuurently resides in my '46 Merc) along with this 390FE.

This particular engine was apparently running when removed, turned easily and had the factory 4 bbl manifold and Holley carb on it. This would be a great exhange/spare for my '67 Galaxie Convertible.

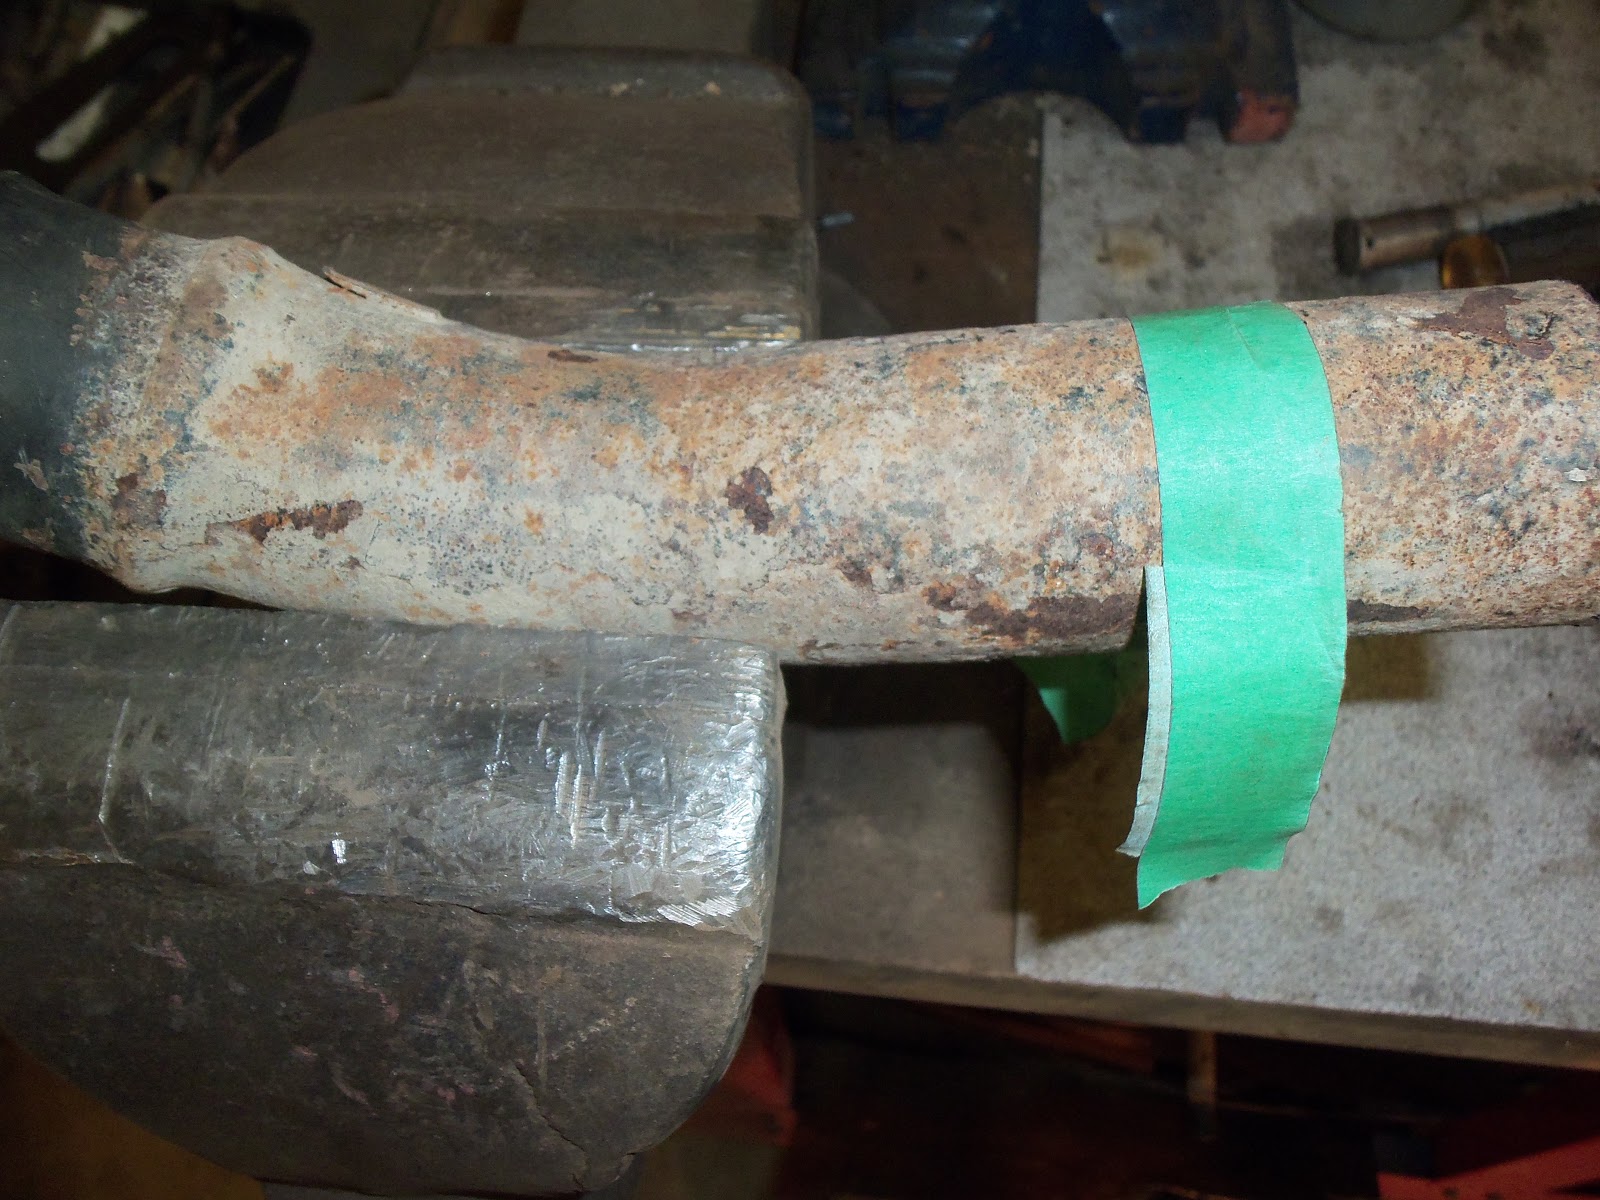
Getting the original Holley 4 bbl carb off for an initial clean and soaking was task 1.


 I always take photo's of linkages and small complex parts in case I need to refer back to them on re-assembly.
 Duraspark Ignition wiring.
 Reluctor wheel inside distributor. Looks like it's been DRY for a while!
 Some of the hoses still had the original spring clamps!
 Carb ID plate calls out Original Equipment Holley 4 bbl.


 Also still present was the fiber (asbestos?) covering on the choke warming tube from the exhaust manifold.
Original style clamp on one side of the water pump bypass....
This photo reminds me that I need to get the lift chain back to Morris....
Pulling the carb shows little dirt and just a light coating of moisture-caused rust.
 Various other clues together make it appear that this engine has not been apart for a very long time - if at all.
Spacer below is a nice piece without a bunch of vacuum openings that would have been added later.


 Finally, time for a bath to wash some of the surface gunk off.


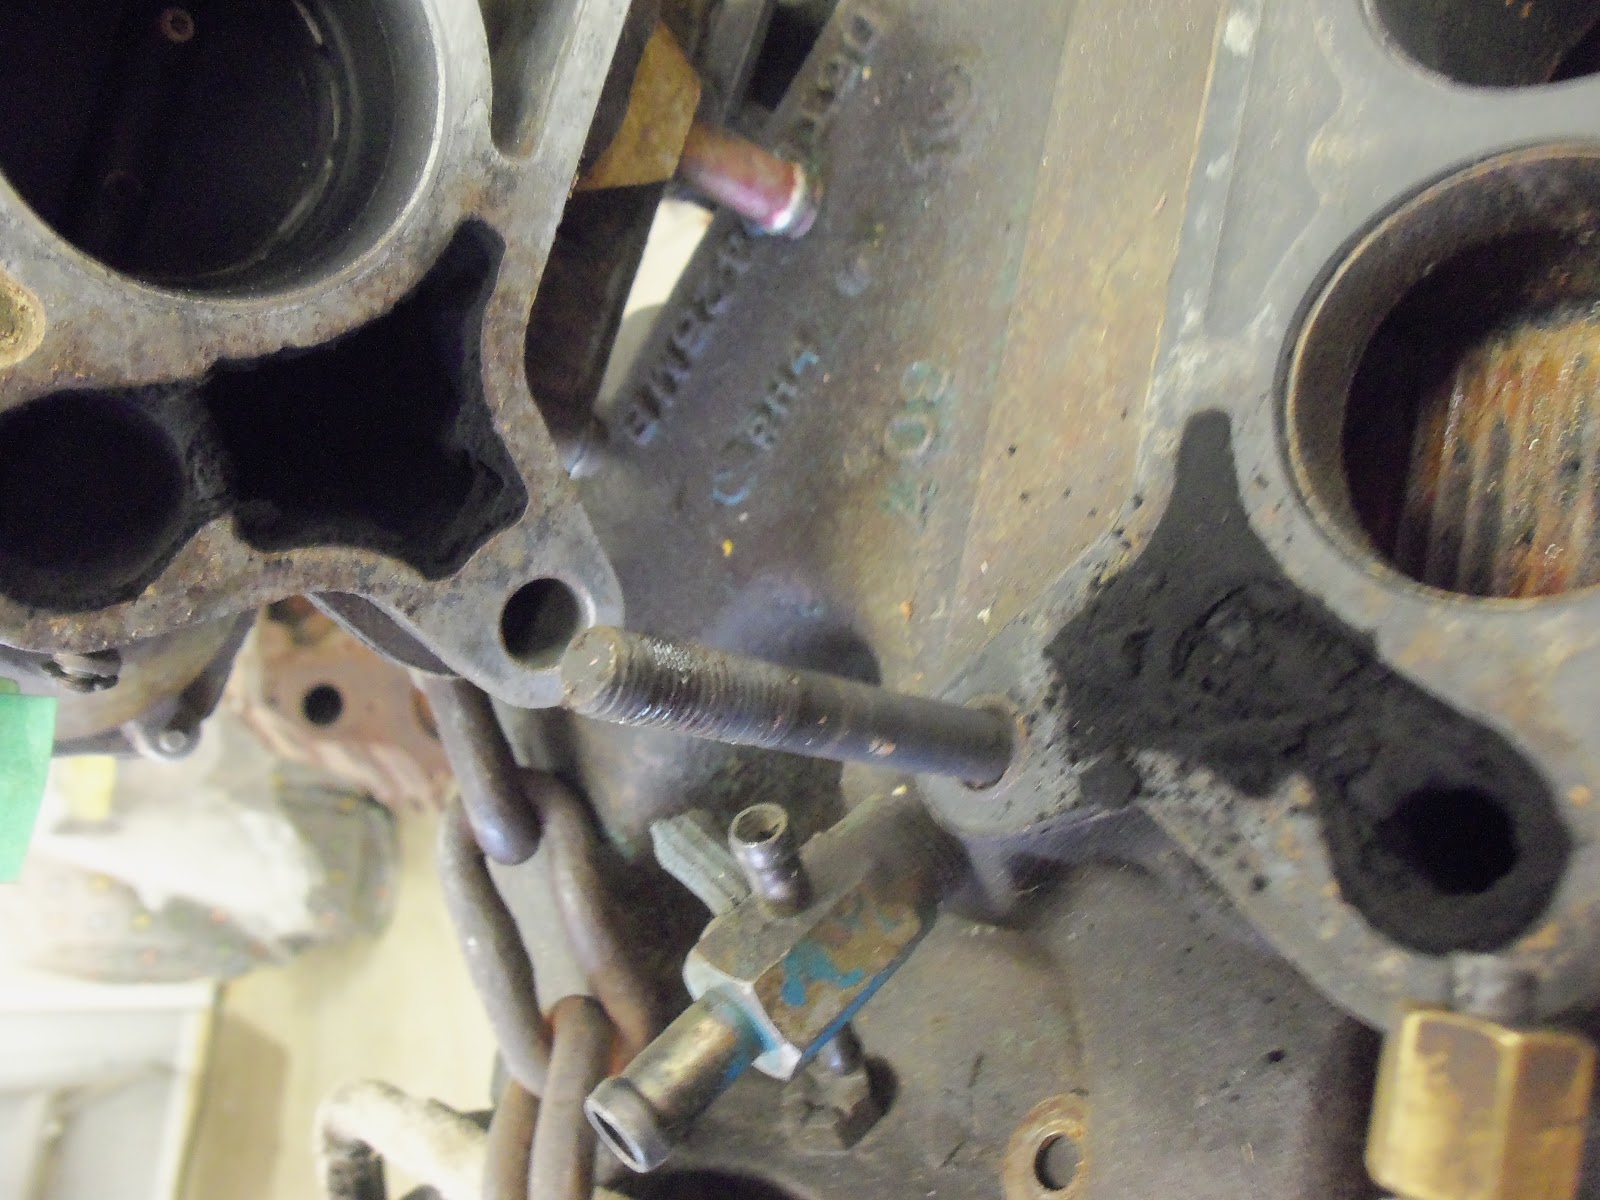
Detailed reference photo's for re-assembly. We'll come back to these when the engine is back together and looking like new!


The 390 really wakes up when these restrictive exhaust manifolds are replaced by headers.


Once torn down, it'll go to the machine shop....about the same time this flathead block comes back!


Finally, I got back to a few things on the 40Ford Rod, like connecting some last bits on the dash cluster.

Here I'm adding ringed terminals with shrink tubing to lengths of wire to connect the gauges to the wiring harness already in the car. When I wire things up, I always remove the hard plastic end pieces from any terminals and replace them with shrink tubing. The hard plastic ends always get crushed when crimped and not only look like sh*t, but often leave bare areas or fall of altogether.


The ground wires from the LED turn signal wires came into close contact with a power terminal, so I cut a small piece of electrical tape to act as a protective barrier between the two:


Below, this small button gets wired into the digital speedometer to calibrate and set the various parameters built into the speedo's software. It'll get mounted under the dash.


Also looked at were the seat belts would be located. It's important to look forward as you go in case you need to make any changes, adjustments or considerations as assembly continues.


PHEW!!  What a great weekend (for a car-geek)!!


November 29, 2012

Check out my website at www.E-tekRestorations.com


Got the gas filler neck connected to tank. Looks angled down here but it's not. Still, we'll test it to make sure it fills properly, otherwise I may have to shorten the uppermost section a bit more, but that's "rod-work"....


Finished tracing and labeling the EFI harness and got all the various bits grouped into systems. Doing so I found that the MAP (Manifold Absolute Pressure) sensor and BP (Barometric Pressure) sensor were missing (likely still in the donor car).


 I can now pretty much delete the AC section as we're using a Vintage Air stand-lone system here and can tie the GM column mount ignition switch into the IAS aftermarket harness and then have it fire the Ford EFI system.


 Left for tomorrow will be matching the correct wires to the "Run" and "Start" circuits to activate the entire system.


With the grounds all carefully gone through, including this cable from the manifold to firewall, all that will be left is connecting up the custom rad hoses and filling the respective fluids and we'll be in "fire" mode!


November 27, 2012

Just got word I was chosen as one of the members for 
Dupli-color's new promotion, the Dupli-color Paint Crew!


Watch for updates of my work (as usual) here, 
as well as on Dupli-color's Facebook page and 
see my review some Dupli-color products 
on my site:
www.E-tekRestorations.com !


November 25, 2012

Engine Management System

Time to get down and go to town on the EFI....


First, I stripped off all the tape, vinyl wrap and corrugated tubing:


With the corrugated tubing removed, the wires take up a lot more space!


Now I could see all the wiring and trace each to it's source, as well as where it terminated. Many wires go nowhere, due to the engine being pulled apart from the donor car and many of the firewall-residing components won't needed on this car (Vapor canisters, solenoids, etc.).

The alternator was first to be completed, running the power wires to the starter solenoid and the excitor wires to a relay, fired by a wire from the aftermarket wiring harness that connects the GM style column mounted ignition switch.


 Those are wiring schematics on the computer - really! Jokes aside, the page open is actually www.GarageJournal.com...


 The corrugated tube contains wires from the new wiring harness installed in the car. They include connections for the lights, oil pressure and water temperature, as well as the horn.


Odd materials used by the OEM's...


These relays switch the EEC and old AC system. Half will be removed.


Believe it or not, it's all organized:


Details, details....

Time for some catch up posting!

I wanted to get a lot of detail work done sp that if I needed any final bits and pieces I could get them and keep the job moving. As well, getting most everything else started or out of the way will give me a clean slate to concentrate on the wiring.

Gas filler neck is going to be a modern set-up, with the breather cap inside the gas door and a no-spill filler neck:


The old piece - can you say CRUSTY!


New piece from a modern car:
Fitting the upper piece:
Then the lower piece....


Looks good from the top side. Lots of fanagling to get the lid to fit properly...

 Close!


Next up was doing a trial fit on the hood latch system:


With those items checked out and parts ordered, I decided to finally dive into the EFI wiring system, then mate it to the aftermarket harness and finally, wire up the rest of the car.

One thing you hear a lot about when people wire up cars - or any time something goes wrong with the electrical system - is bad grounds. That being the case, I made sure the basics were covered, like an engine to body strap, as well as strong battery to frame and frame to body cables.


While buying, I grabbed a 12V power supply to install in the console or under the dash:


 This is what the wiring behind the dash looks like now. Once the dash is mock-wired it'll come off again and everything will be finalized.


 White Zip-ties are still loose, until all wires are routed: