fb icon

fb icon
Follow E-tek on fb!

October 24, 2011

1956 Chevrolet Apache/3100 truck restotation - final stretch!

As promised  - today was an 8 hour romp in the fun-zone!  Got a lot of different bits done or started and other things sorted out for later this week.

First up, I pulled the seat out again, flipped it over on some stools and attached the underseat baffles:


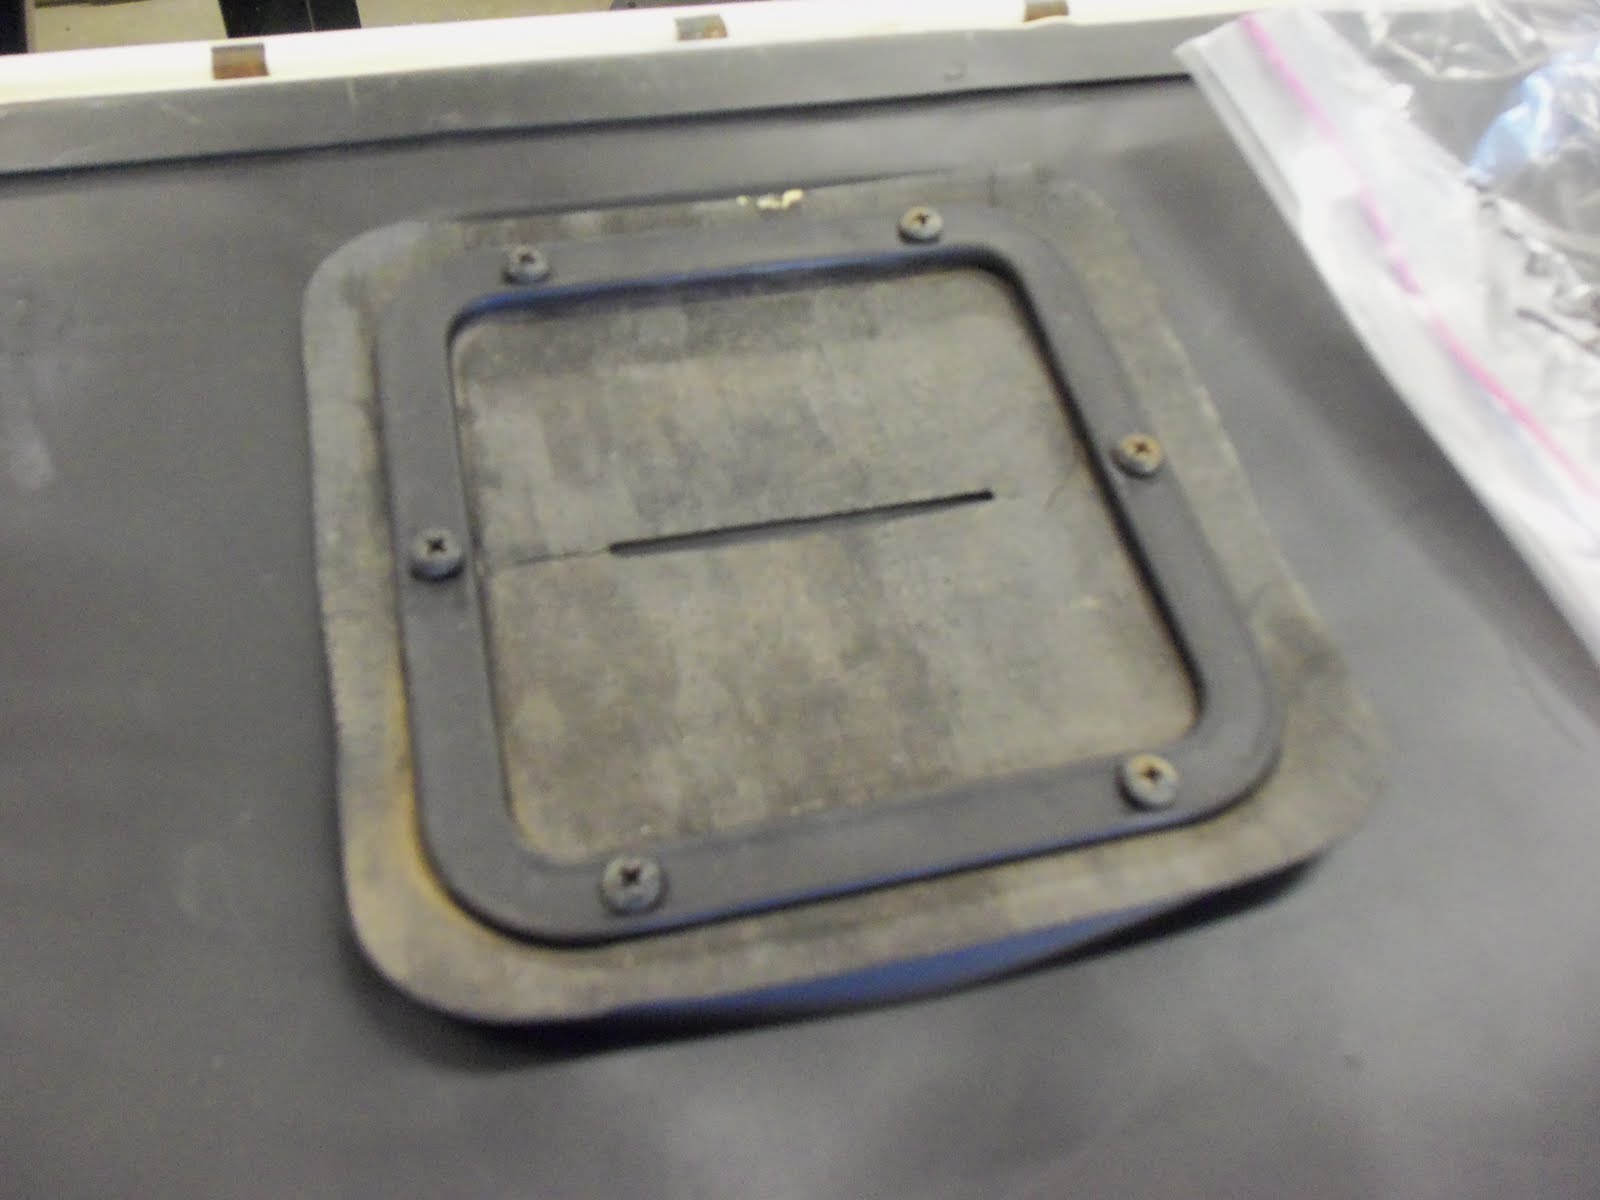

Lubed and attached the runners. It's the last time I'll use graphite lube near upholstery though - it was hard to get off even after a few seconds, so I'm guessing it would stain if left any longer!


Ever screw and bolt gets lubed upon assembly:


Next up was the drivers door that didn't have it's windows installed yet. Even after learning how it should go when I did the passenger door, and having a helper, it took several tries and over an hour!
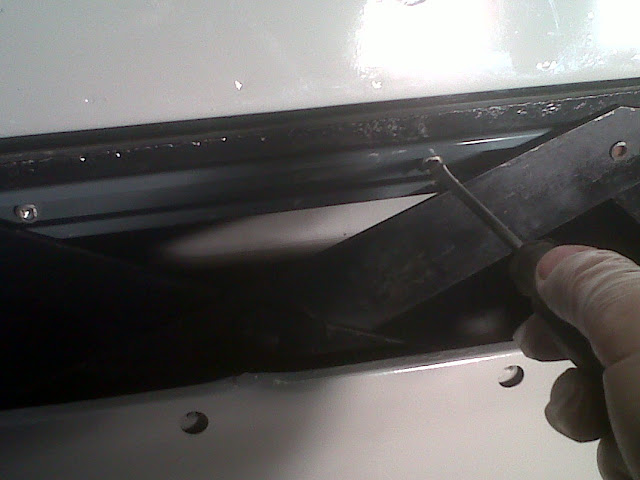
The "key" is to put the door glass into the static runner (latch side), holding it about half-way in, then carefully sliding the vent assembly in as well, moving it towards the window once it's half-way in to catch it in it's runner. Once that happens, you can then carefully push the vent assembly down into the door and into position, making sure it's tab engages the slot in the door. While still holding the window, put one or two of the small screws in that go around the top of the vent window. Next, put in the large screws that attach the bottom of the vent runner assembly. With the glass in between the two runners, attach the regulator arms to the bottom of the door glass and slowly roll the glass up and down to ensure it doesn't catch on anything, finally tightening the lower vent glass runner screws.


As I mentioned in the post assembling the passenger door, make sure to put a bunch of tape on the door to protect it from scratches. Of course no matter how well I know that, I often don't put tape on - until it's too late.....


The kick panels where attached - again with white-headed screws, just to add a little sum-sum...


Staying with the interior, I started on wiring the gauge assembly and more:


On the steering column I cleaned up the horn contacts and torqued the steering wheel down:


Next up were the HL buckets and rings. Sandblasted, primered with self-etching primer, the inners where painted with hammered-silver and the outers with flat lack, then rocker guard on the back, This will protect them inside the fender wells.


The retaining rings where cleaned with fine steel wool. It works on all stainless and chrome.


Lastly, I re-installed the window winder knobs in the handles, which consisted of trying to flare what is left of the metal stub. When removed, much of the metal was also removed, so it's not as solid as stock. If they don't stay attached we may have to order new knobs.


Stay tuned - lots to come this week!


October 23, 2011

Tune in this week!

Now that nearly all the parts are ready and have come together and the 1956 Chevy Apache 3100 Truck has it's basic components attached, we are feeling the home stretch nearing.  This week we are putting eveything else on hold to go at it full throttle. With some long days devoted to this single project, we can get deep into tasks like wiring the dash, hooking up the gas lines, bleeding and adjusting the brakes plus assembling the bed wood. Once all that is very near completion, we'll be able to hang the doors and attach the box fenders and steps, the front and rear bumpers and have the glass installed.

This is where the "magic" happens - and by magic I mean where my sweat and stress turns into a finely finished vehicle! My last project, the E-tek Chili-Challenger, really came into being when the strobe stripes went on and the bumpers where bolted up. It's a time when you can easily put in 12-14 hours days seeing so much progress and not wanting to stop until it's done!

Stay tuned!

October 17, 2011

Bits and pieces.....

Polished and riveted the data plates back to the driver door jamb...


Cleaned upand detailed  the instrument panel. The plastic cover had a lot of scratches as well as some sealer or glue where someone tried to seal it to the bezel....


After a couple hours of air dusting, brushing, polishing & detail painting.....

October 15, 2011

The Chrome was all delivered this week and boy was it ever nice to see! Although one can see some tiny imperfections in some pieces, I've been through this before (with this company) and they may not come out any better if you send them for redo. I do know though that if I where going to do a concours job, or a 1936 Mercedes Coupe, I'd send the stuff to one of the high-end chrome shops in the states.


Also did some more detailing of parts, including putting some texturized coating (aka Rocker guard, or sprayable undercoating) on a few pieces:


October 14, 2011

Eastwood's Rust Products

One of the biggest parts of any restoration is the repairing - and abatement - of metal cancer: RUST. It never sleeps, so you have to either remove it, or kill it. Sandblasting or cutting is the only way to remove it, both of which aren't always feasable - or necessary.

The other way of dealing with rust is to arrest it by either chemically converting it to Iron Oxite from Iron Oxide, or by permanently sealing it from Oxygen and moisture. As one would imagine, there are LOT of products out there claiming they stop rust and it's difficult for the layman to know which products work and in which circumstance. That's where I come in.

Several products roducts I've been testing this year are from Eastwood. They have a Rust Encapsulator, which is applied to rust and "fixes" it, or makes it inert. Once dry, you can apply various topcoats, like a primer, or their Chassis Black paint, or - as below - a sprayable undercoat.


These are splash sheilds from the 56 Chev Apache product we're currenlty working on. They had a sprayed undercoating on them from the factory (or dealer), so I wanted to replicate that, but needed to make sure the rust wouldn't keep cooking underneath.


I like to pour it direclty on the item to be coated, then wipe off the excess (you can't return any to the bottle). Once it's been on for 30 minutes or more it turns black, which means it's working. The product will dry to a hard shell, at which time it's ready to prime or Top Coat.


As I mentioned, I elected to use a sprayable undercoating on these pieces. For this I used a product from Safety Clean, but many manufacturers have something similar.


More to come!

Door Glass Assembly and Mrs E-tek was right.....again.

 Holy Cr^P.  Ever have one of those super-frustrating days where a seeminly simple task takes HOURS longer than it should and you can't find what you need, try it 5 different ways and even cut your head open....and then the WIFE comes in and figures it out in 5 seconds....No? Oh. Well never mind then.
Today I installed the window runner felt kit, the vent window and runner and the door glass assembly's into the drivers door. After what was a 6+ hour ordeal, the riight door likely won't take more than an hour!
First off,  install the window side felts, AKA Cat Wiskers, which snap in on either side of the window opening slot. You may have to use a screwdriver to squeeze one end of the clip to get it started in the hole, then push really hard to snap it in. You can't do these later, as the window will be in the way (same on most cars).


 Next, I attached a pair of Vice Grips onto the regulator spline in order to be able to move the regulator arms when installing the door glass:


Next comes the large window runner felt on the door side. This item is slid down into the door and seated in a clip near the bottom of the runner, then carefully measure to where the vent window frame meets it and then cut to length with tin snips:


Poor photo, but this is looking down into the door. The new felt is slid into the clip at the bottom of the runner:


Now with most cars - and all others I've done - you slide the window down into the door and either tip it sideways to engage the rollers, or attach felted bolts through the window into the regulator arms......not so with the General. Not so at all.

After 2 or 3 hours of trying the above, scratching the shit out of the freshly painted window frame in the process, I took a break to re-paint the frame. While waiting for it to dry, I decided to try the other door, this time with the vent glass in. No go. Then I decided to remove the runner from the window and attach it first, then send the glass down and attach it. While that worked to get the channel on reg arm wheels, I still couldn't get the glass in with the vent runner attached in. Then I took the vent glass out, put the door glass in and tried to install the vent glass and runner. Couldn't get it by the door glass. No go....

So I'm looking on-line, searching forums, studing the manual and generally being pissed off when the LOVELY - and incredibly SMART - Mrs E-tek walks in. I tell her of all my trials and she says: "I'll bet you have to pull it all half way out, put the door glass between the two runners and slide it all in together."   "Right honey", I say.  Women..... ;)
So while I go back to the manual, she asks if I want a Pumpkin Spice Blizzard (DQ does it right) and is off on her cloud of loveliness....

Now - back to the probelm at hand:


After a few more tries, I decided to pull the vent glass assembly part way out, then slide the door glass between both runners, then squeeze it all together, slide it all into the door and attach the door glass to it's lower channel and the vent runner on the bottom and it's small screws on top. The glass was now captured between the two felt runner bars and I was able to slide it up and down.

Bingo!!! SUCCESS!!!! Up, down, up,  down, up, down. I could have done that all afternoon - thinking of Mrs E-tek of course!!!  Damn woman - brilliant. Not sure if I'll tell her though because she's been right on a few things lately and I'm trying to preserve what's left of my manly dignity.

After about 10 (maybe 15) minutes of enjoying the now perfectly working door and vent glass assemblies, in walks Mrs E-tek with my Blizzard. Yummy. She asks how I got it together. Hmmmmm - how could I not tell her how much she just helped me? I did of course and she felt nearly as good as I did!

Here she is - new seals, painted and working smoothly!


Awesome Links for Hot Rod and Classic Cars

 I'm always searchingfor more and better information on my love of all things vehicular....to that end, I'm going to keep a list of great sites I've come across. Check them out!

Hot Rod Garage - A collection of useful articles

www.hotrod.com

www.carcraft.com

www.powerblockmagazine.com

http://www.secondchancegarage.com

http://www.stovebolt.com