fb icon

fb icon
Follow E-tek on fb!

October 26, 2011

Sometimes you have to go backwards to move forward.....

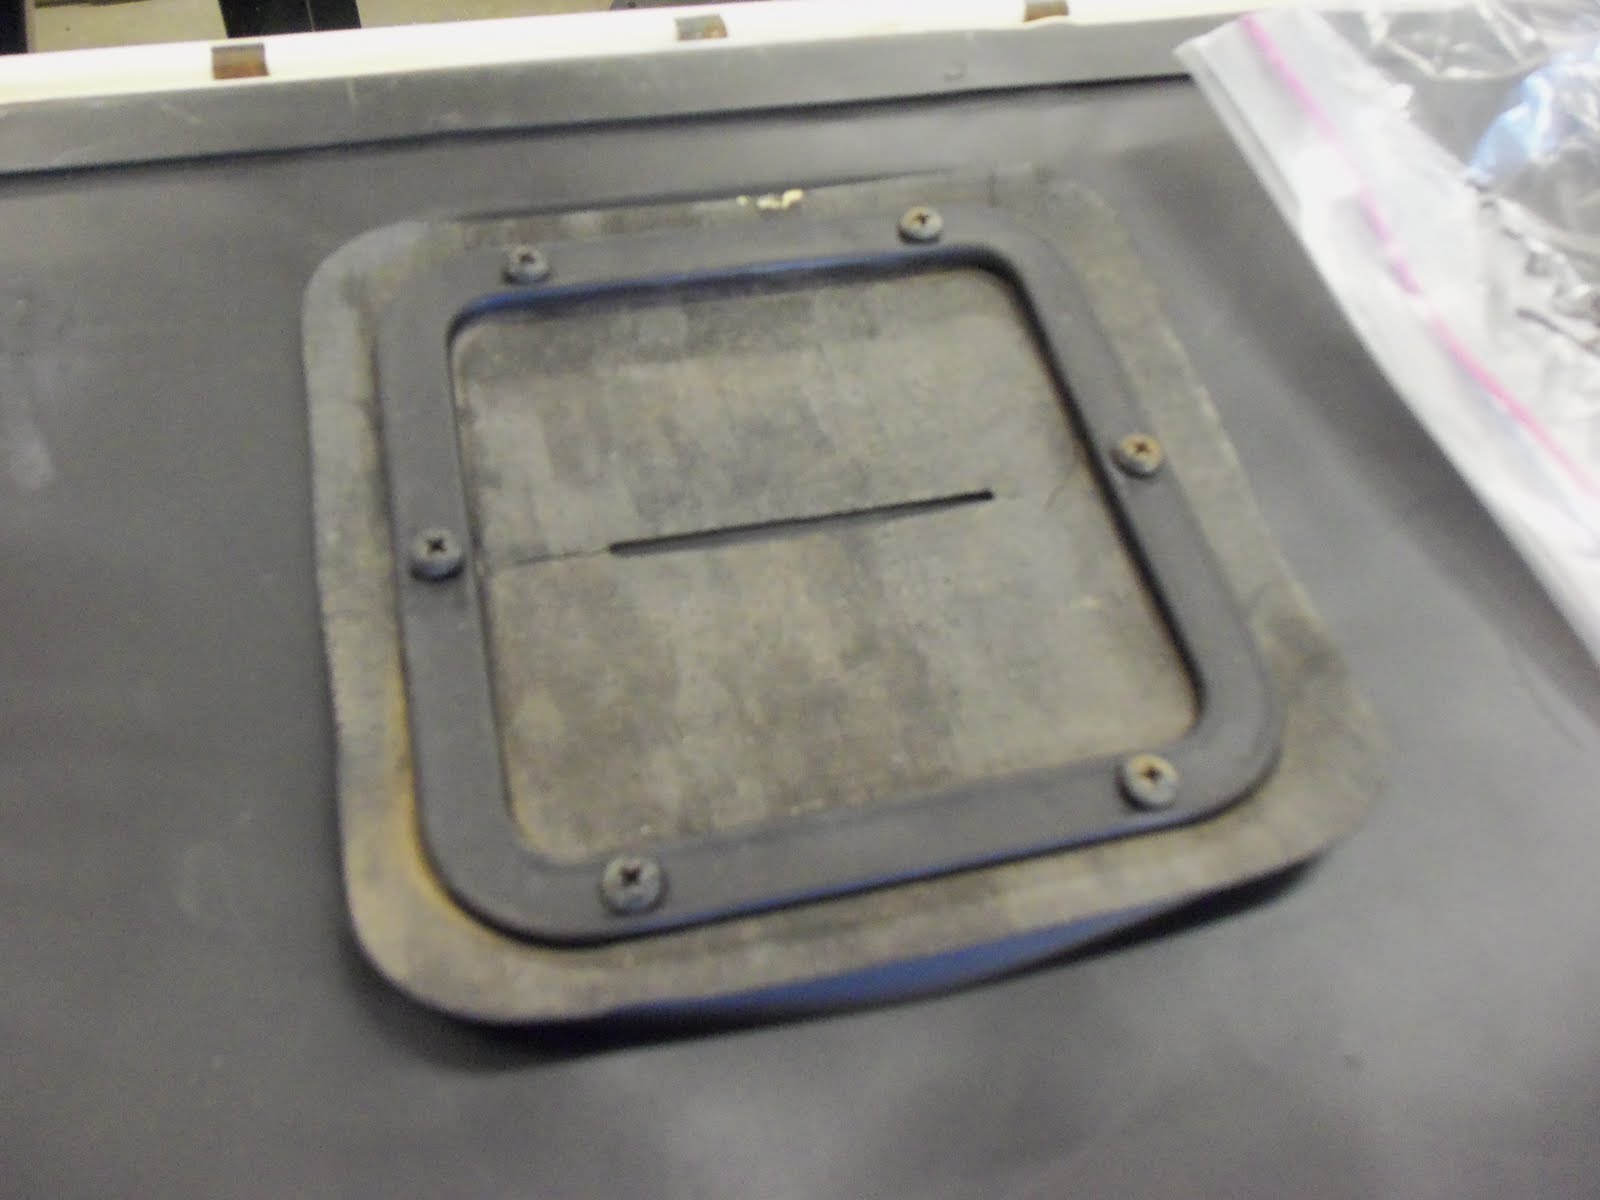
Today was spent going backwards on a few projects in order to get them to the point that we can move forward. First up was the cowl vent seal.
These are the clips that came with the seal. Although I should have known better, I attemped to put a couple in only to find the metal tabs bend and break easily, plus could scratch the finish upon insertion, leading to a rust spot.

After aligning, measuring and inserting the metal push-in clips through the seal, I ended up breaking several of the clips upon insertion.

In the end, I decided to  purchase plastic push-in clips to replace these metal ones. Breakage, paint damage and rust are likely some of the reasons car makers went to plastic clips and here's a perfect use for them.You would think the replacement parts compnaies would know that too and I highly suggest you try to find a plastic replacement for any metal clips you come across in a restoration.


Below is the larger original clip and the new ones that came with the seal. Crappy!

Next up was the gas tank and it's hold-downs. These are two of those things that should have been done prior to paint, but I missed the boat on the broken studs and the gas tank itself went direct to the painter without being cleaned and inspected.

Oh well - time to get 'er done so the project can move forward!

 I've learned over time to use a scribe before drilling, especially in a spot like this! The last thing you need  - especially after paint - is a skating drill bit!

I broke 4 small bits, used a dremel at one point and also broke a large bit.....but I got it done. Sometimes I actually LOSE money at my shop rate!


Things are arely what they seem! The time lapse between the two drilling photo's was nearly 90 minutes!


After the drilling was finally done, I painted the holes with POR15, to protect them from any rust formation.

The tank looked great after paint, but no one had taken it apart yet. As soon as it was deleivered I could smell bad gas and hear rust sliding around. After removing the cover, this is what I found:


First, I vaccummed out any loose material from the bottom of the tank. I was surpirsed to see how much there was.  Here it is filling a half-inch of the bottom of the vacuum bucket:


Next came several good water flushings:


Once the tank is dry, I'll repeat the wash-out with fresh gas, then Muriatic Acid, then a baking soda solution to neutralize the acid. Once that's all dry the sealer gets poured in and the tank rotated until it's evenly distributed. Stay tuned for that tomorrow.

A couple other projects included relacing the gasket on the oil breather/filler cap. One of the owners noticed it was loose and commented on how it would dirty the valve cover quickly if oil could blow by the gasket - good eye.

By bending the tabs, the piece that clocks into the valve cover comes right out. Then I just cut a piece of rubber gasket material to match the old one and tested it for fitment - nice and tight!


Lastly, I glued the seal onto the tranny cover lid. I used Pro-Foam seam sealer in black, which adheres well to metal and rubber.


Once the gas tank is sealed, the interior will come togther quickly. I'll be able to install the tank and hook it up, do (a lot!) more work on the electrical connections under the dash, then I can install the seat and finally, the doors. It's key to do things in the right sequence: even though I would have liked to hang the doors, they would have been in the way doing all this work. Once the gas lines are attached wired and grounded, we can pressurize the engine with oil, add some antifreeze, stitch up the dizzy and get 'er running!

Thanks for following along! 


October 24, 2011

One of the best ideas for restoring a vehicle is the rotisserie. After years of crawling under a car - at worst on a gravel drive, at best on a garage creeper - restorers now are able to flip a vehicle up on it's side, or even upside down, in order to be in a sitting or standing position while stripping, repairing and refinishing the undersides.

There was a time that a restoration ended at the rockers. Even in decent quality shops, vehicle refinishing below the doors left a lot to be desired. It was not uncommon to see repairs left undone, filler left unfinished, primer spots and even a lack of paint down low on cars. Nowaday, if the shop you take your vehicle to doesn't have some way of lifting the car up to eye level, or of tipping the car over on it's side, I would suggest you walk away! There's just no way a man on a creeper, or piece of cardboard can do the work down low to the same quality as when that same area is easily accessable.
While the rotisserie is one tool that allows full access to the underside of a project is it by no means the only one and - arguably - not the best tool in every situation. Have a look below at the myriad of ways people have thought of to gain access to the underbody in order to treat these important parts of a restored vehicle.

Mine:


Here's the link to my post on Garage Journal.com. It has a lot of great ideas, in addition to the wooden tip-over style:  Rotisseries and tip-over jigs

1956 Chevrolet Apache/3100 truck restotation - final stretch!

As promised  - today was an 8 hour romp in the fun-zone!  Got a lot of different bits done or started and other things sorted out for later this week.

First up, I pulled the seat out again, flipped it over on some stools and attached the underseat baffles:


Lubed and attached the runners. It's the last time I'll use graphite lube near upholstery though - it was hard to get off even after a few seconds, so I'm guessing it would stain if left any longer!


Ever screw and bolt gets lubed upon assembly:


Next up was the drivers door that didn't have it's windows installed yet. Even after learning how it should go when I did the passenger door, and having a helper, it took several tries and over an hour!
The "key" is to put the door glass into the static runner (latch side), holding it about half-way in, then carefully sliding the vent assembly in as well, moving it towards the window once it's half-way in to catch it in it's runner. Once that happens, you can then carefully push the vent assembly down into the door and into position, making sure it's tab engages the slot in the door. While still holding the window, put one or two of the small screws in that go around the top of the vent window. Next, put in the large screws that attach the bottom of the vent runner assembly. With the glass in between the two runners, attach the regulator arms to the bottom of the door glass and slowly roll the glass up and down to ensure it doesn't catch on anything, finally tightening the lower vent glass runner screws.


As I mentioned in the post assembling the passenger door, make sure to put a bunch of tape on the door to protect it from scratches. Of course no matter how well I know that, I often don't put tape on - until it's too late.....


The kick panels where attached - again with white-headed screws, just to add a little sum-sum...


Staying with the interior, I started on wiring the gauge assembly and more:


On the steering column I cleaned up the horn contacts and torqued the steering wheel down:


Next up were the HL buckets and rings. Sandblasted, primered with self-etching primer, the inners where painted with hammered-silver and the outers with flat lack, then rocker guard on the back, This will protect them inside the fender wells.


The retaining rings where cleaned with fine steel wool. It works on all stainless and chrome.


Lastly, I re-installed the window winder knobs in the handles, which consisted of trying to flare what is left of the metal stub. When removed, much of the metal was also removed, so it's not as solid as stock. If they don't stay attached we may have to order new knobs.


Stay tuned - lots to come this week!


October 23, 2011

Tune in this week!

Now that nearly all the parts are ready and have come together and the 1956 Chevy Apache 3100 Truck has it's basic components attached, we are feeling the home stretch nearing.  This week we are putting eveything else on hold to go at it full throttle. With some long days devoted to this single project, we can get deep into tasks like wiring the dash, hooking up the gas lines, bleeding and adjusting the brakes plus assembling the bed wood. Once all that is very near completion, we'll be able to hang the doors and attach the box fenders and steps, the front and rear bumpers and have the glass installed.

This is where the "magic" happens - and by magic I mean where my sweat and stress turns into a finely finished vehicle! My last project, the E-tek Chili-Challenger, really came into being when the strobe stripes went on and the bumpers where bolted up. It's a time when you can easily put in 12-14 hours days seeing so much progress and not wanting to stop until it's done!

Stay tuned!

October 17, 2011

Bits and pieces.....

Polished and riveted the data plates back to the driver door jamb...


Cleaned upand detailed  the instrument panel. The plastic cover had a lot of scratches as well as some sealer or glue where someone tried to seal it to the bezel....


After a couple hours of air dusting, brushing, polishing & detail painting.....

October 15, 2011

The Chrome was all delivered this week and boy was it ever nice to see! Although one can see some tiny imperfections in some pieces, I've been through this before (with this company) and they may not come out any better if you send them for redo. I do know though that if I where going to do a concours job, or a 1936 Mercedes Coupe, I'd send the stuff to one of the high-end chrome shops in the states.


Also did some more detailing of parts, including putting some texturized coating (aka Rocker guard, or sprayable undercoating) on a few pieces: