fb icon

fb icon
Follow E-tek on fb!

October 7, 2012

The bit's and pieces take time


I often start these by saying  "Lots done in the shop today...", but sometimes, I work all day and it seems very little gets done! Such is the case with custom work - sometimes you spend more time scratching your head than getting something finished and sometimes getting it finished means redoing something 3 times!!

Such was the case today. At least I managed to get past the brake pedal and e-brake set up and mock up the trunk hatch mechanism.

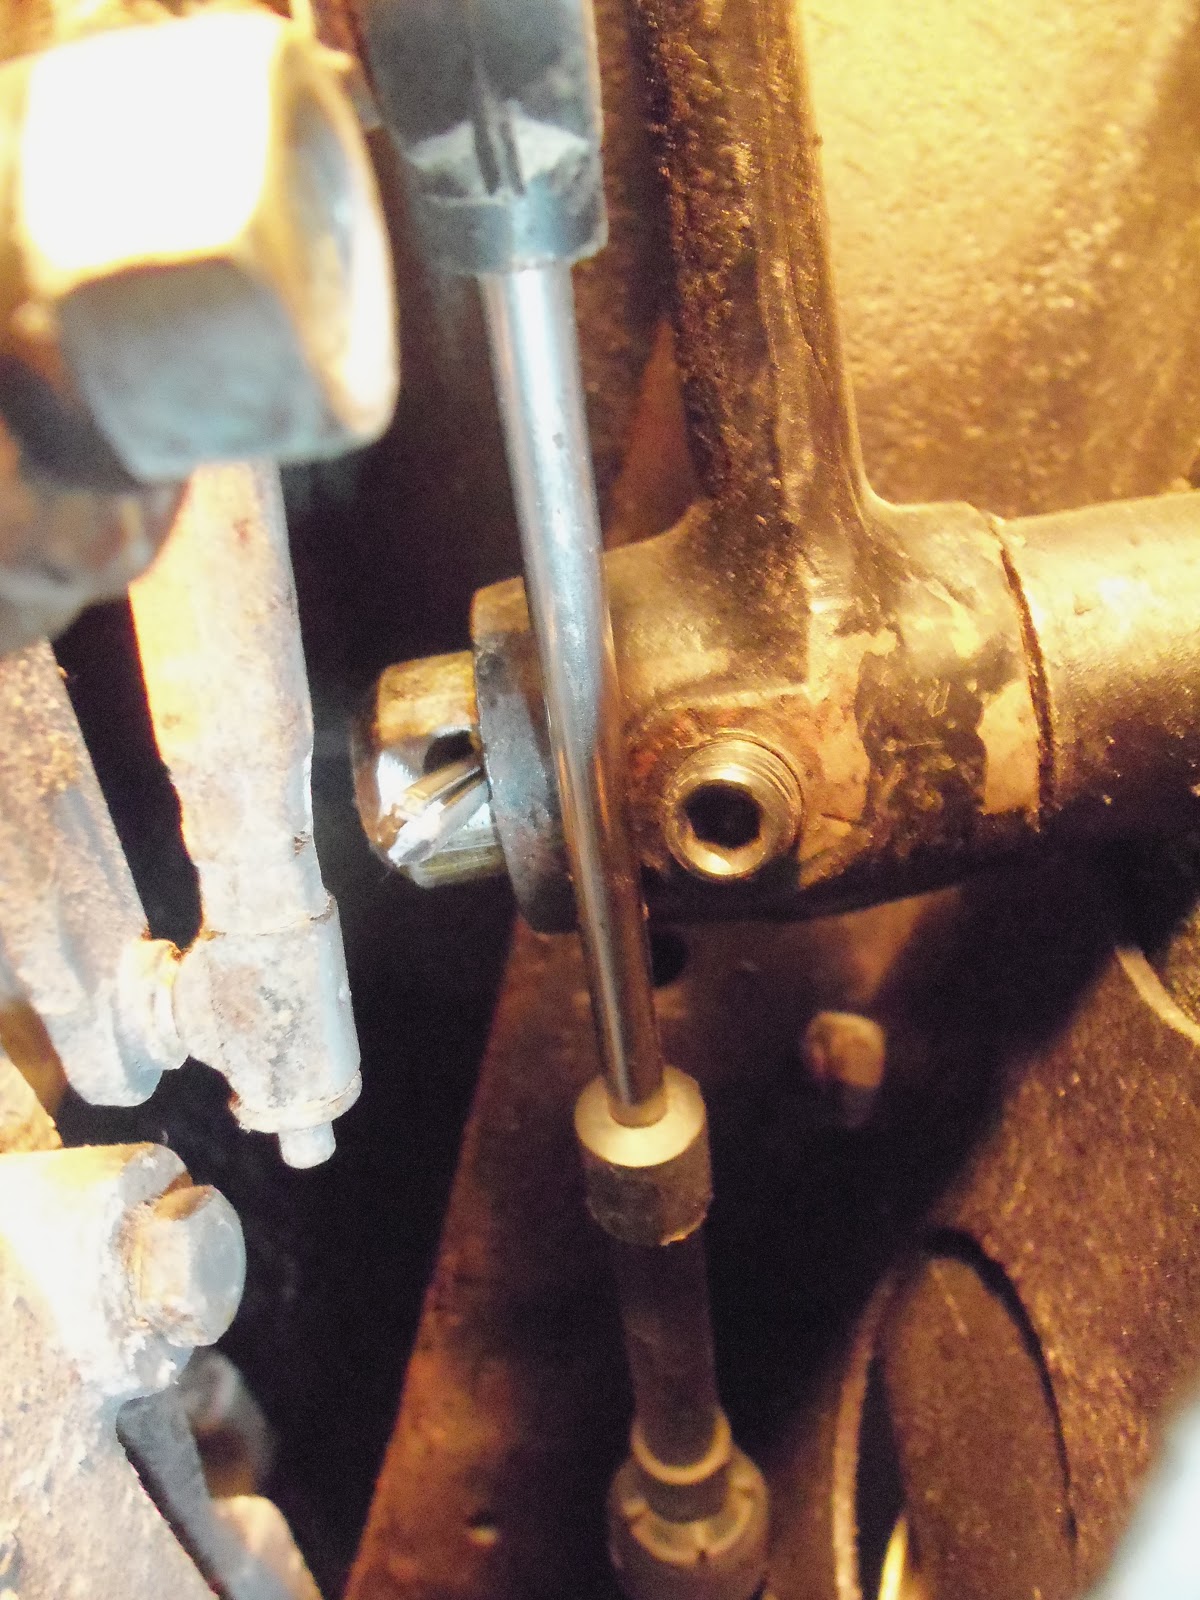
Last up for the e-brake was re-sizing of the mid-cable.


After cutting the original end off, I cut the wire to size, then made a new end from the shank of a 3/8" bolt and drilled a 3/16" hole through it to insert the wire cable.


 A good weld bead on top secured the cable to the end piece - permanently.


To secure the brake pedal to the shaft and secure it against it rotating on the shaft, I decided that just having a flat spot for the set screw was not going to be sufficient to handle the torque of the pedal on the shaft. After asking for some input on my favourite site, GarageJournal,com, I decided to drill the shaft part way so that the set screw would seat INTO the shaft.  This is definitely better - and probably enough - but I think Istill  may go one step further and put a bolt right through both the pedal and shaft...


At the back end, I finished up the battery cable placement by drilling though the trunk floor, inserting a "full-cover" grommet and running the wire through.


I'll be leaving the ends until the battery gets placed....


Next up back here was the trunk latch. The owner found a latch with cable and had made a bracket for it, so all I had to do was to "just"  place it correctly!

Here's my first stab at it. I first set it up so I could see where it "should" be set....

Then I cosed the lid and peaked through the side to see if it was anywhere close to meeting up with the trunk lids sheet metal.
Then I looked at it from the inside:


Once I figure approximately where it should be, I slipped it into it's spot and used some spacers to hold it in place

To give me some wiggle room, I slotted the mounting holes on the bracket:


My die grinder got a workout on this project...


Finally, I mounted the lower catch piece...and bolted in the latch. 


I drilled new holes directly below the bolts that mount the latch to the bracket, 
so I could get at them to adjust and service the latch.


Here is the trunk lid closed - without the tie-down strap it came in with!


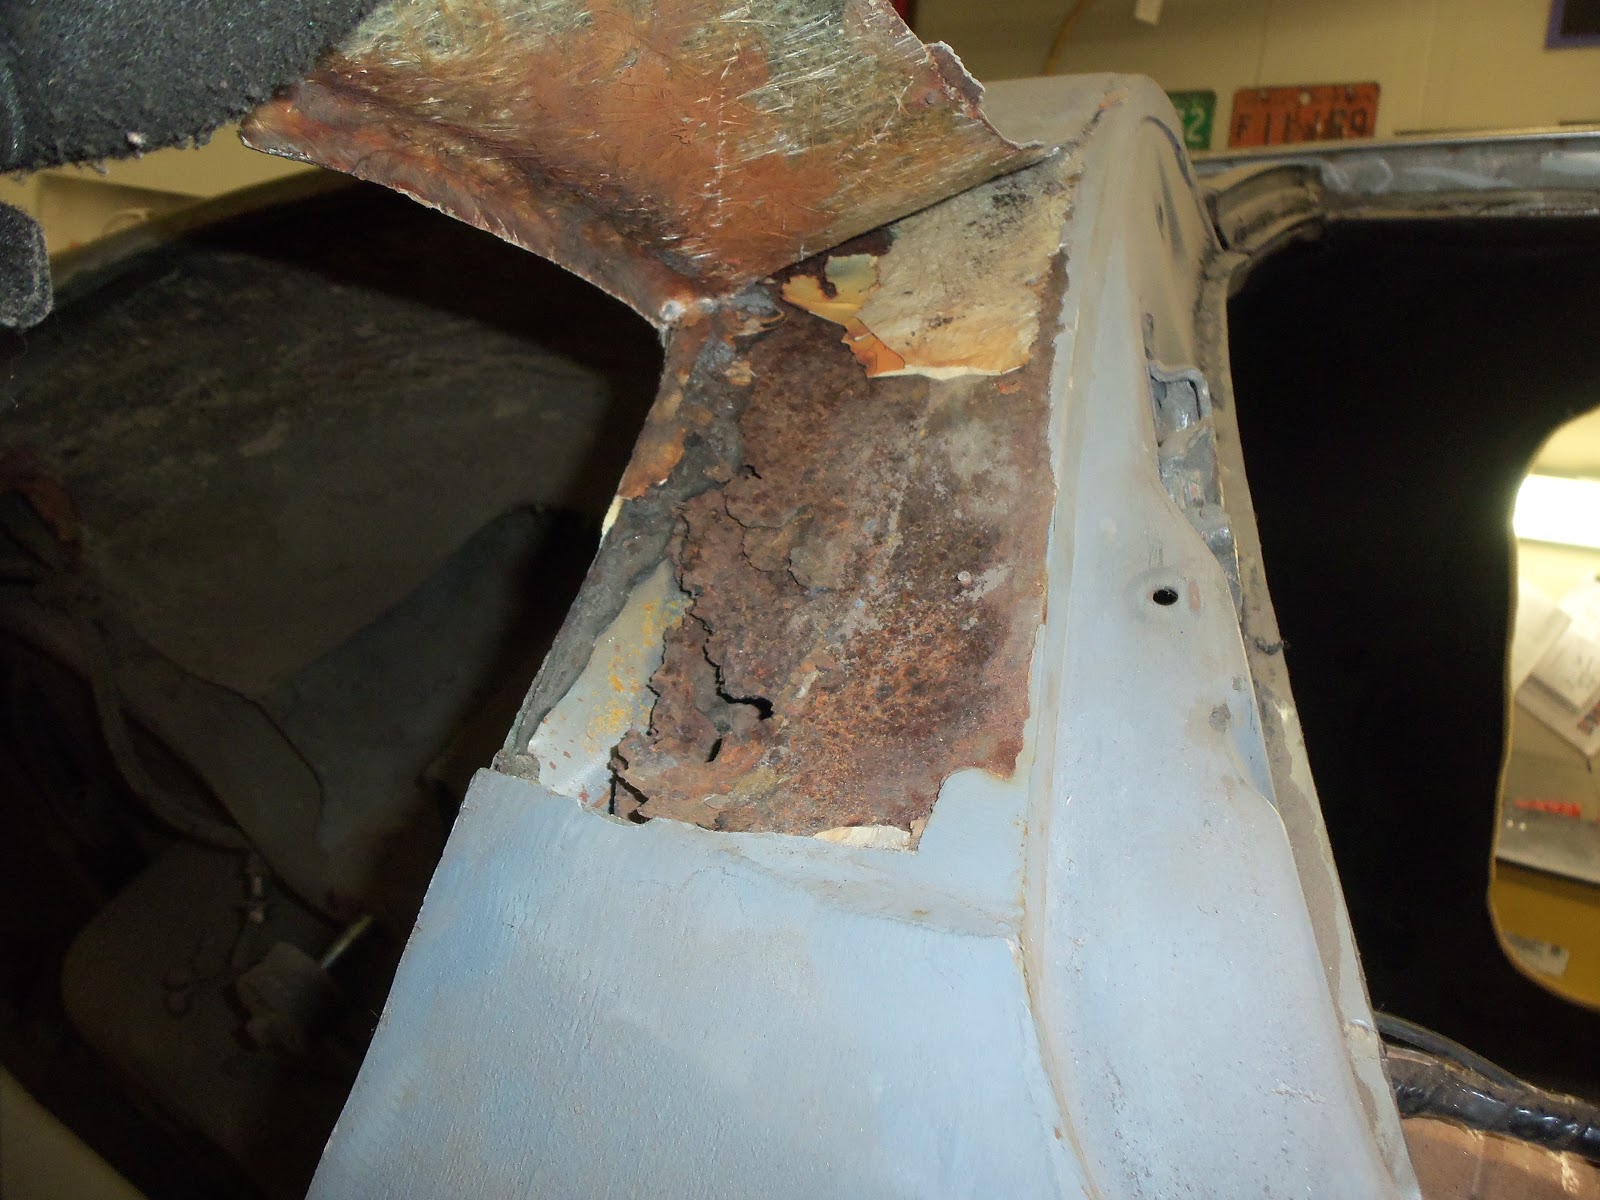
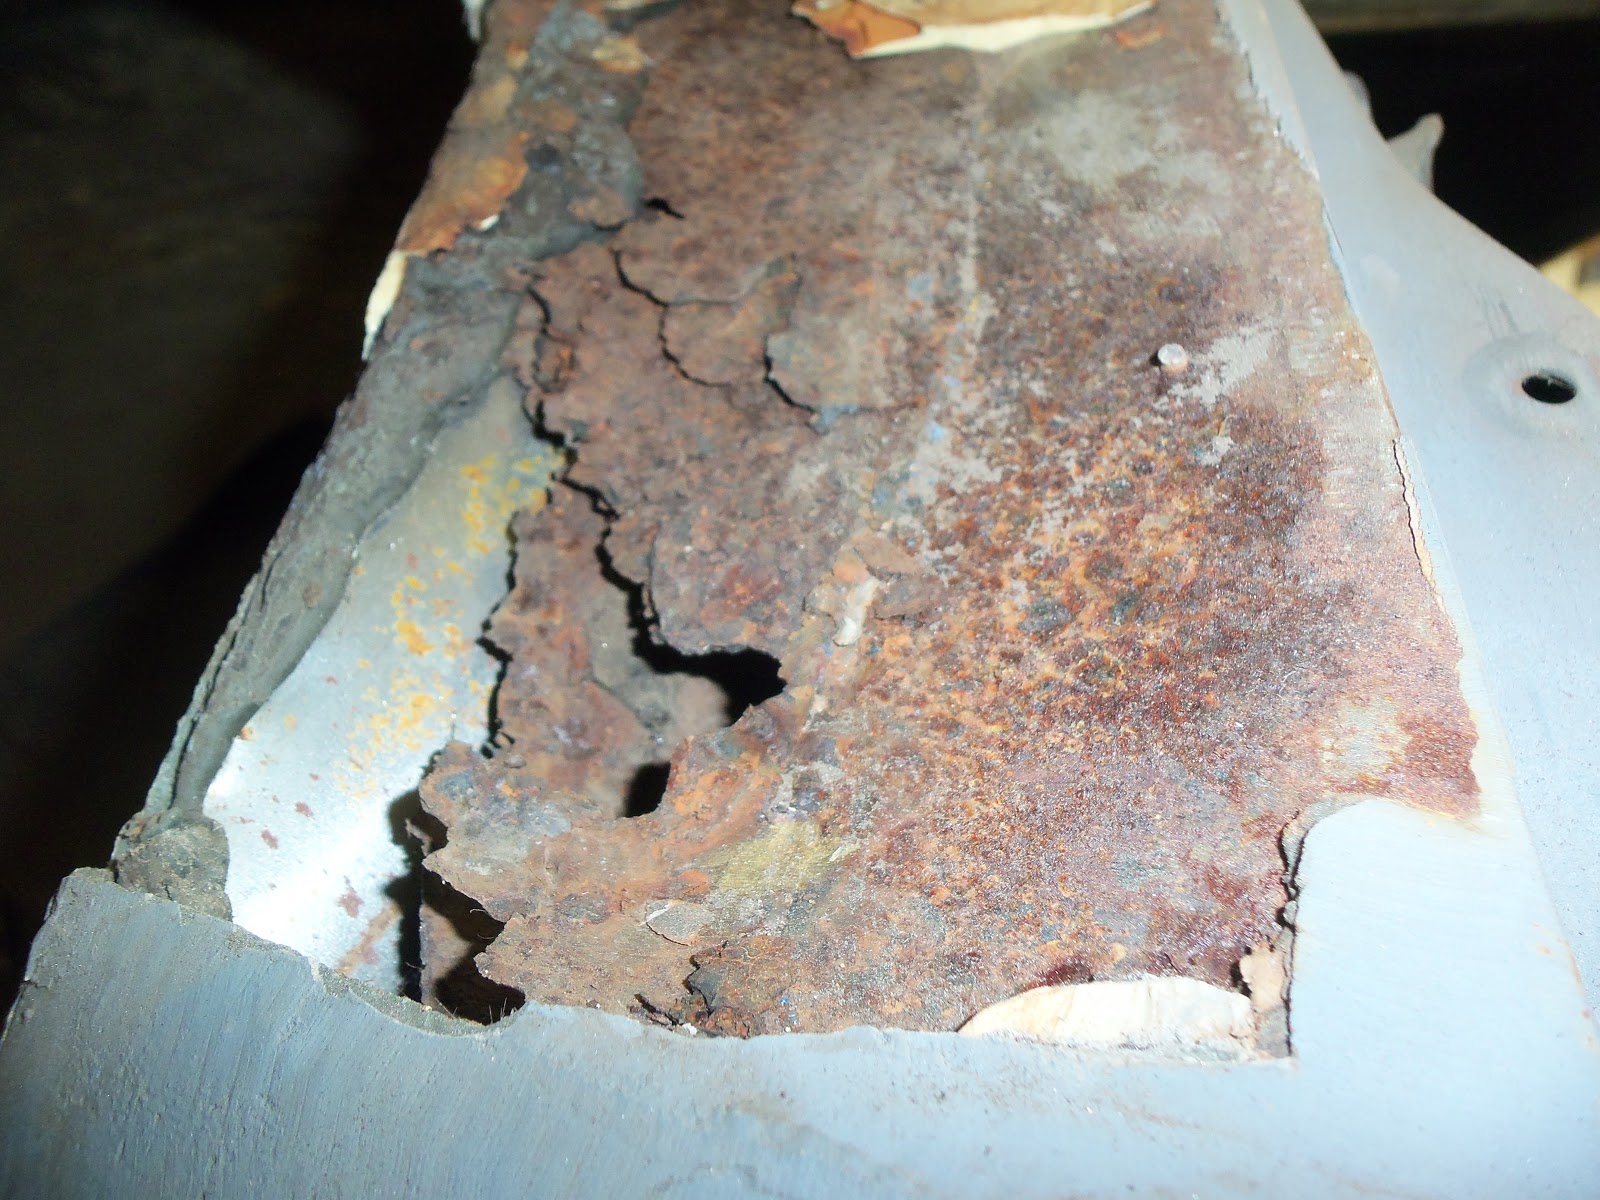
Coming around the side, the gas filler cover needed mounting - but more importantly, needed to be contoured and tweaked.


Just before shutting it down for the night, I wanted to get some POR15 on a couple things. When I tried to open the can it was like trying to open a cement tomb!

 After prying off the top, I found it was like cement of top. So I cut a hole through the side and poured ut what was still liquid:


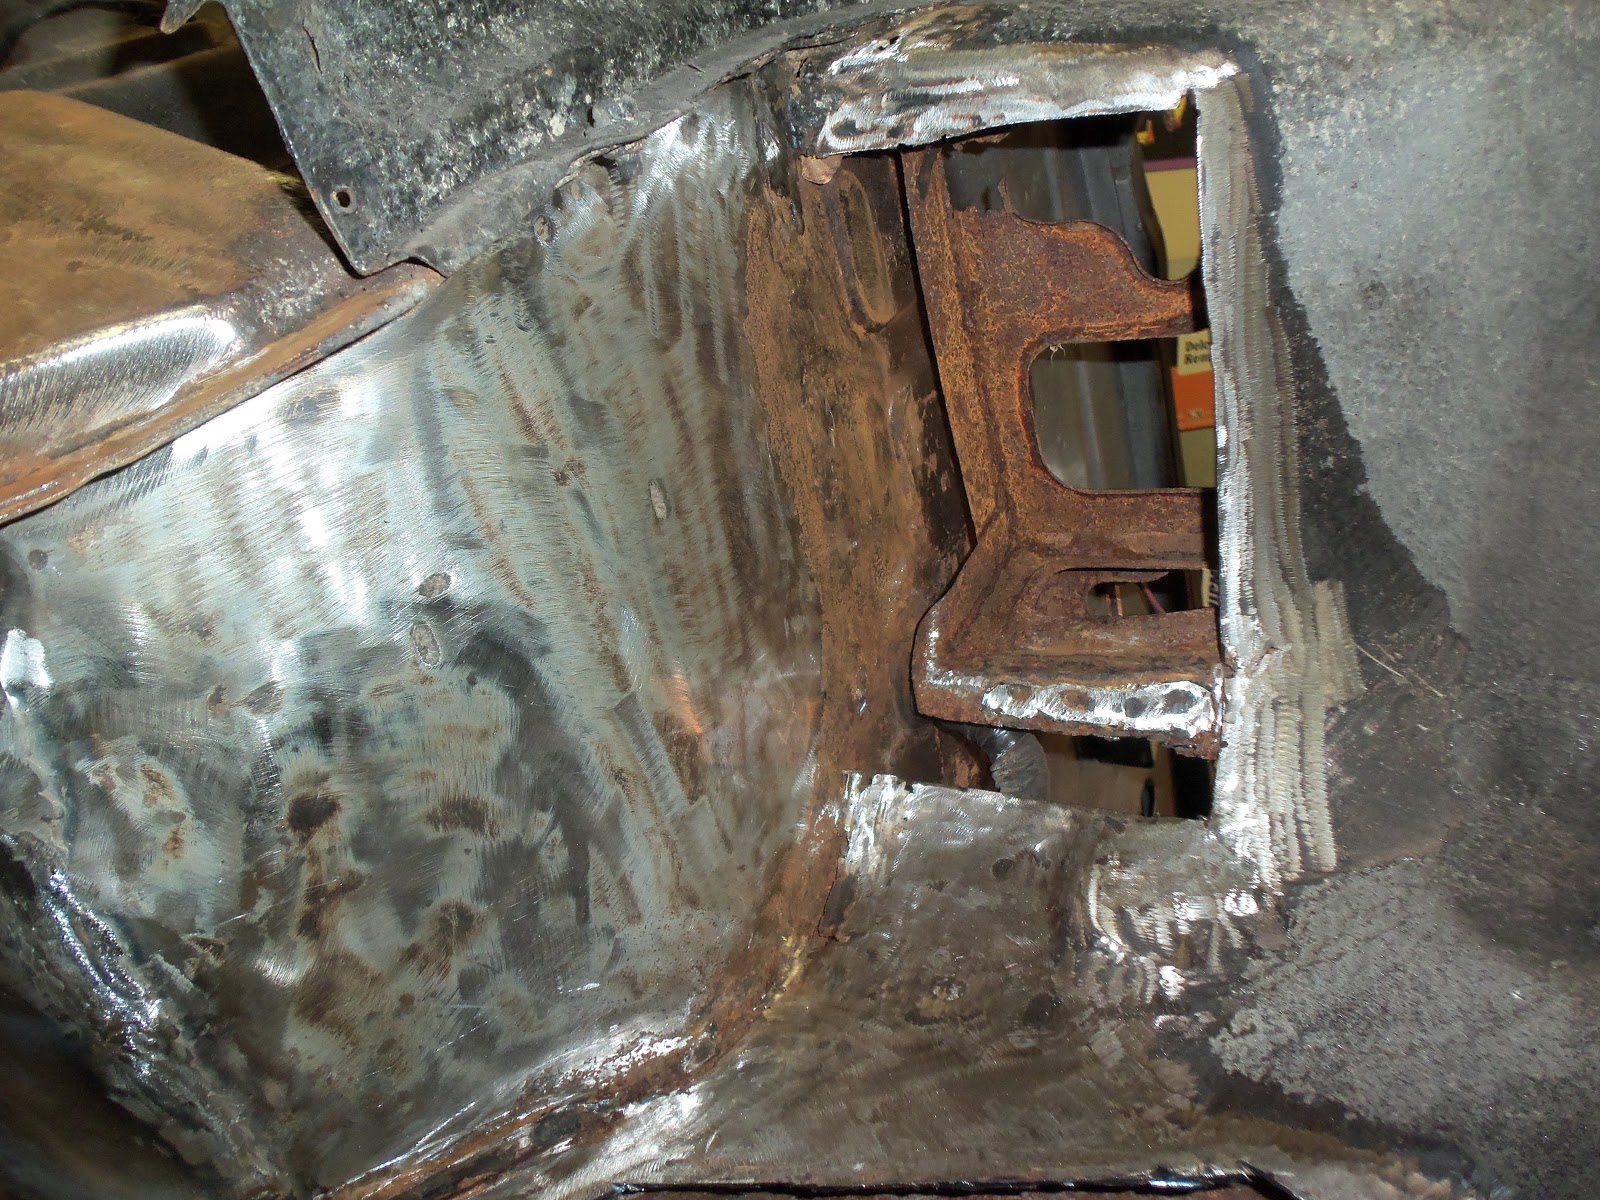
Some went on the rusting inner mount of the gas door....


....and some went on the undersides of the battery box, inside the open frame side and where the lip of the new metal will go on the 240Z:


Don't forget to check out my website at www.E-tekRestorations.com !

October 6, 2012

Fabricating working peices


One thing I always do when re-using bolts in a restoration is chase the threads. In putting the AC brackets back together for the 4th (but likely not the last) time, I cleaned up the bolts that will go into the block and pump, as well as the threaded ports in the block where it all mounts to.


I needed a specific shim to get the tensioner lined up just right, so I just made one out of some 3/8" stock by drilling a couple holes in the right spots, then cutting them into slots:


The finished product:


The tensioner pivots at the top bolt and slides along the slot in the bracket to adjust tension on the belt.


I had the power steering hose cut down and rebuilt at Greenline Automotive last week and just got to installing it. When I put it in the first time I realized it was going to interfere with the oil filter, making it real tough to change it during routine maintenance. So I flipped it over and mounted it with the hose facing forward. This gives us back the room to unscrew the oil filter - but now it rests against the upper control arm. Gonna have to think on that one for a spell - I wouldn't want the repeated contact from the suspension movement to cause an issue with it.....


Next up was the brake pedal assembly:


First up was to determine where everything was going to sit when the pedal was at rest and then fully depressed. We're using the original pedal shaft as it has the correct bits on the bottom end, so I had to find a nut that would fit the custom pedal that I could weld to the shaft:


Lots of checking pedal travel was key to the entire operation...


Under the vehicle, I mocked up the shaft, lever and pin, making sure the master cylinder rod would move all the way in and out and not bind up.


Once satisfied, I temporarily tacked the leg to the shaft.


With everything working, I took it all apart and fixed up the shaft so the pedal shaft would stay put when depressed. For this I put a flat spot where the set-screw would make contact. I also drilled a hole for a cotter pin to ensure this shaft couldn't go anywhere again!


The nearly finished piece:

Back under the car, I greased it, slid it through the mount and bolted it to the clevis. This bolt will get some Loctite before we call it done.


Looking at the other end you can see the set-screw on the bottom of the brake pedal. The first time I tightened the set-screw and depressed the pedal nothing happened. After some head-scratching I found that the set screw was binding in it's threads, so it would feel like it was tightening against the shaft, but really wasn't. That would be what happened to the first shaft! I removed it once again and ran a tap though the pedal, cleaning up some thread near the deep end and then the set screw went all the way to make contact with the shaft.


Then after welding that castle nut onto the shaft, I bolted the pedal on. Looks a little odd at this angle, but it seems good from inside. I also left the pedal high so as to err on the side of caution. Once we test the braking system and decide on a final spot, we can easily move it to suit the owner.


Looking under the dash, the EEC computer is mounted to the firewall and the E-brake lever (original) was mounted as well.


As the battery is being located in the trunk, I ran 4 gauge wire along the rail, separating it from the fuel line with rubber lined frame clamps.


...and here's the lug terminated at the solenoid:


MEANWHILE,, back at the farm....

After 4 hours on the Rod, I decided to keep the 240Z in play by doing a little bit on it as well. Under the battery tray is a rot-spot for all these vehicles. New metal on it's way!


As per my MO, I sprayed MetalReady on all the surface rust to stop it dead.


Looking ahead a bit, here's what lies in wait under a fiberglass quarter panel....


 Here's where you can run that horror-movie music in your head: Dun-Dun-Dun-Dun.....


Cue screams of horror!!!!!
Yikes! Looks like a lot of work....but just think what it'll look like with NEW metal!

Don't forget to check out my website at www.E-tekRestorations.com !